


The prompt was to create a coupling/link/connection in SolidWorks using principles learned in class and then 3d print it.
Process
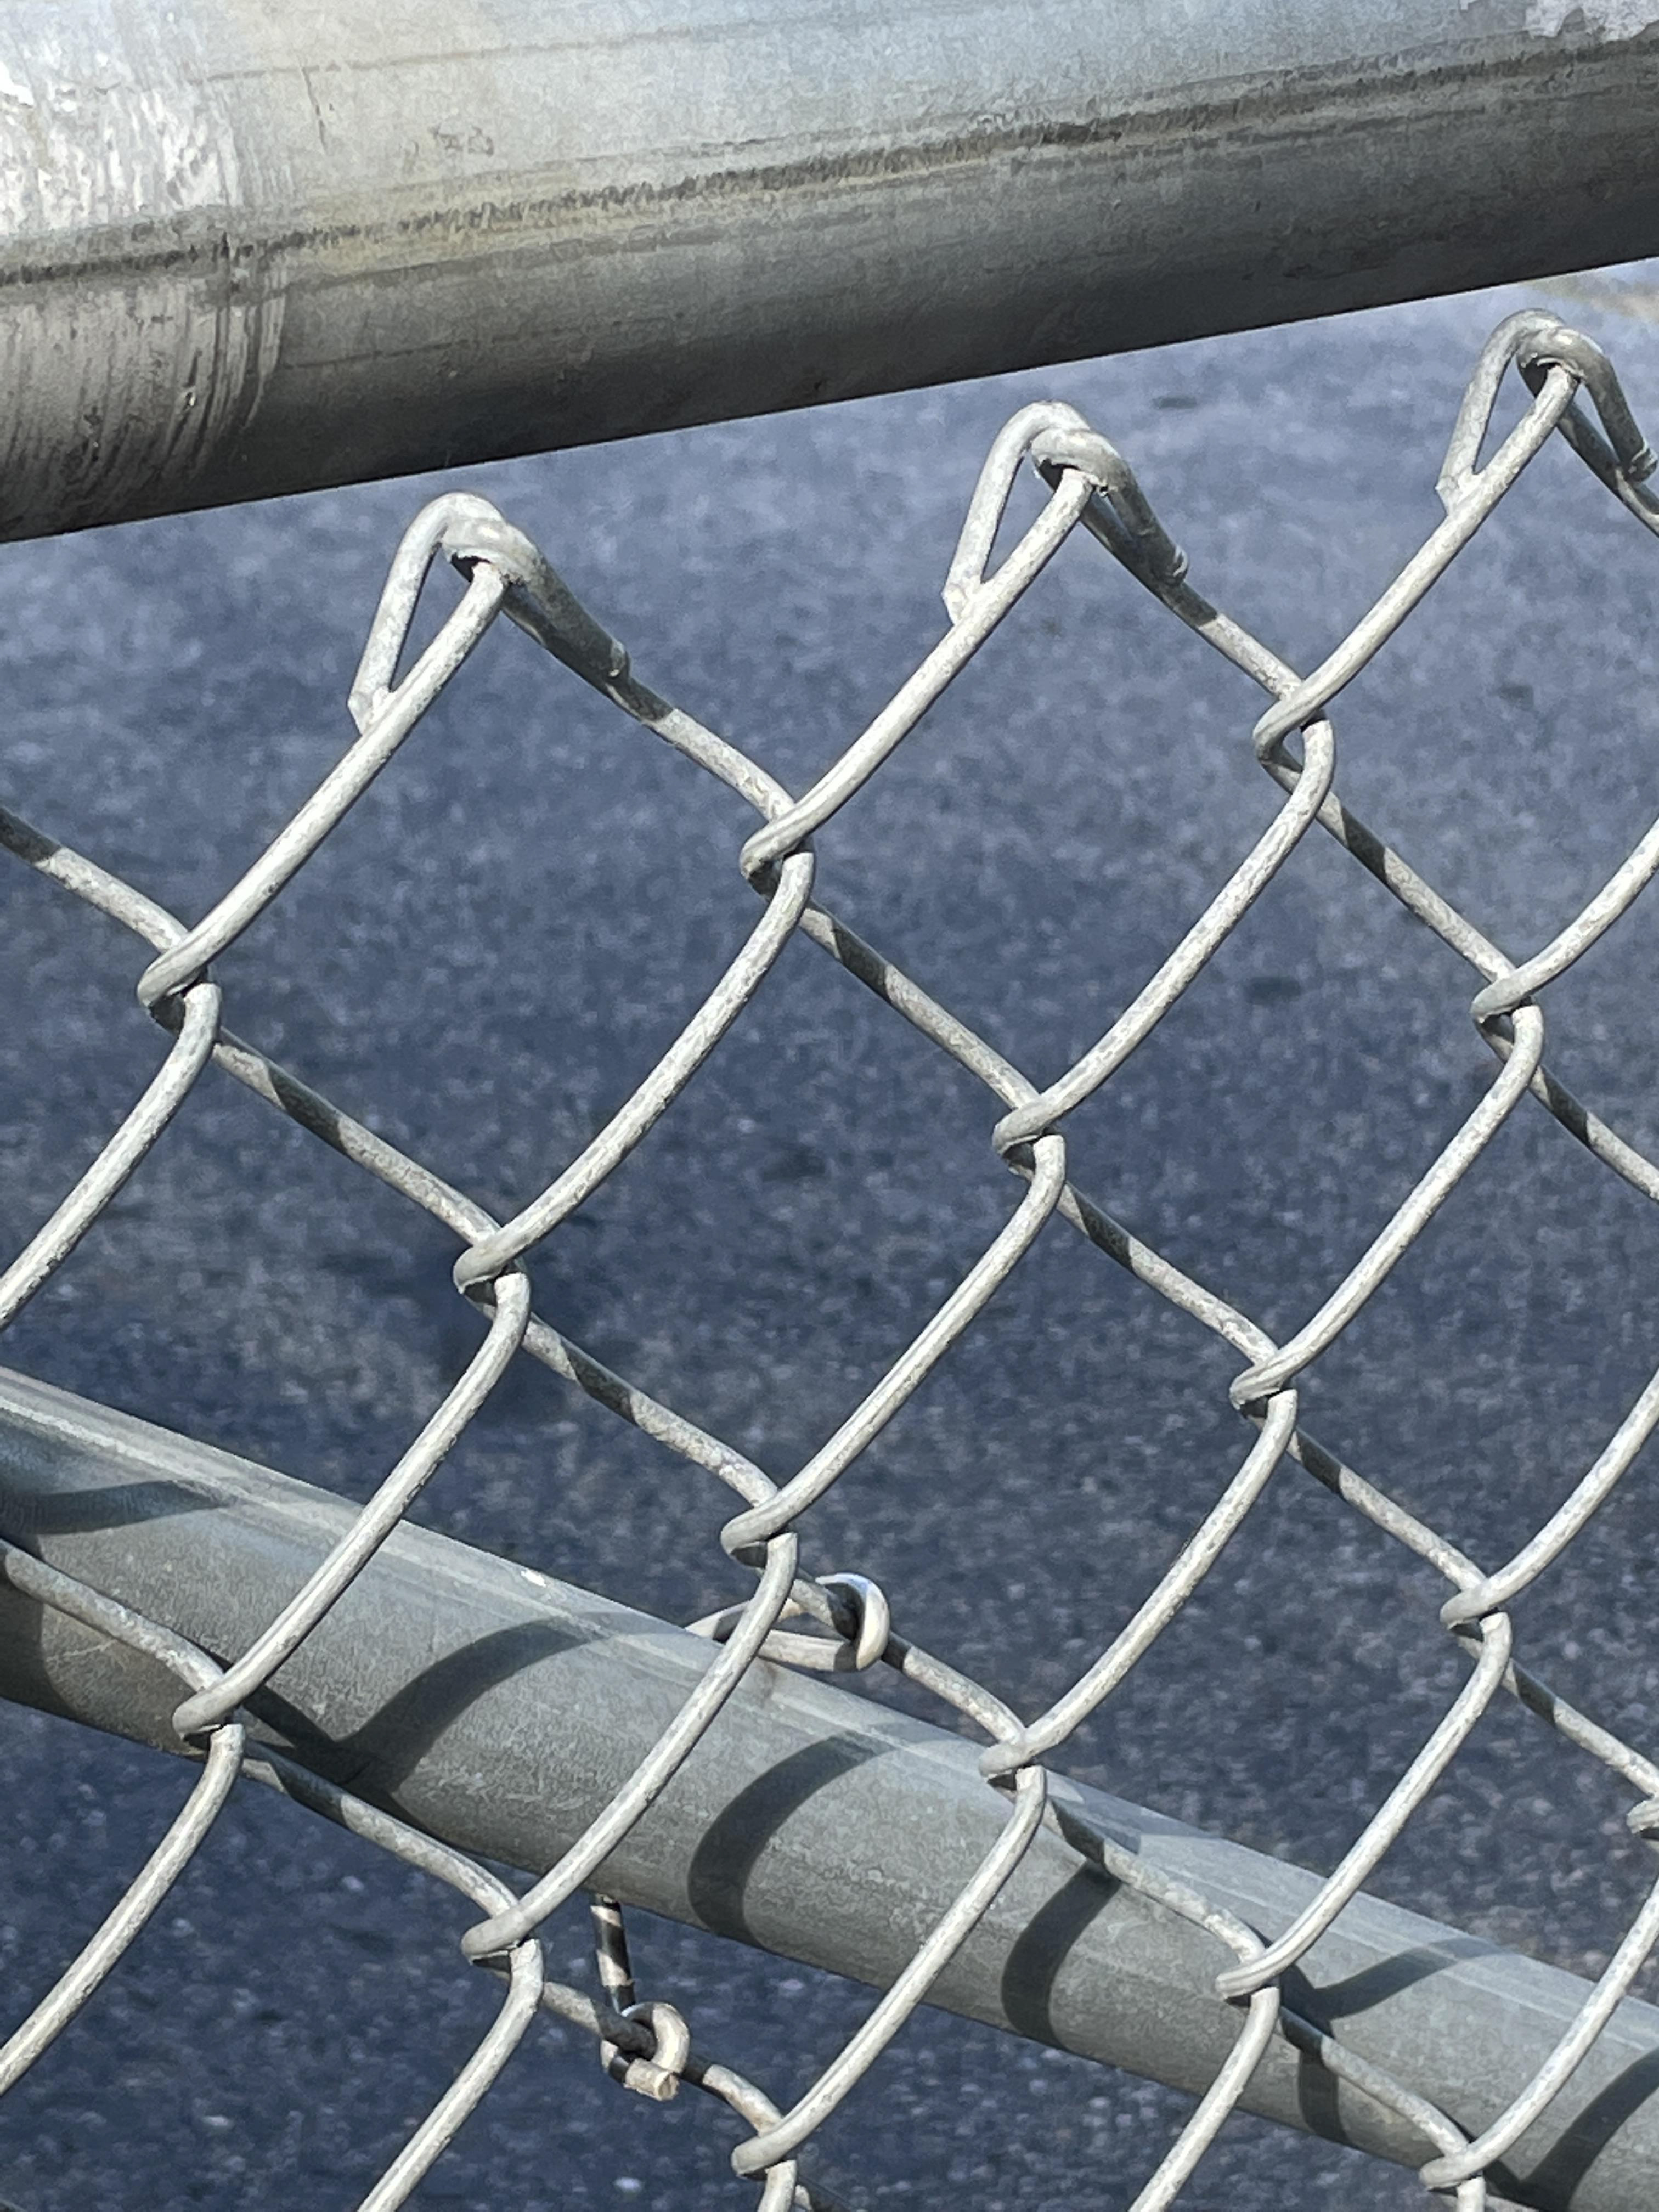
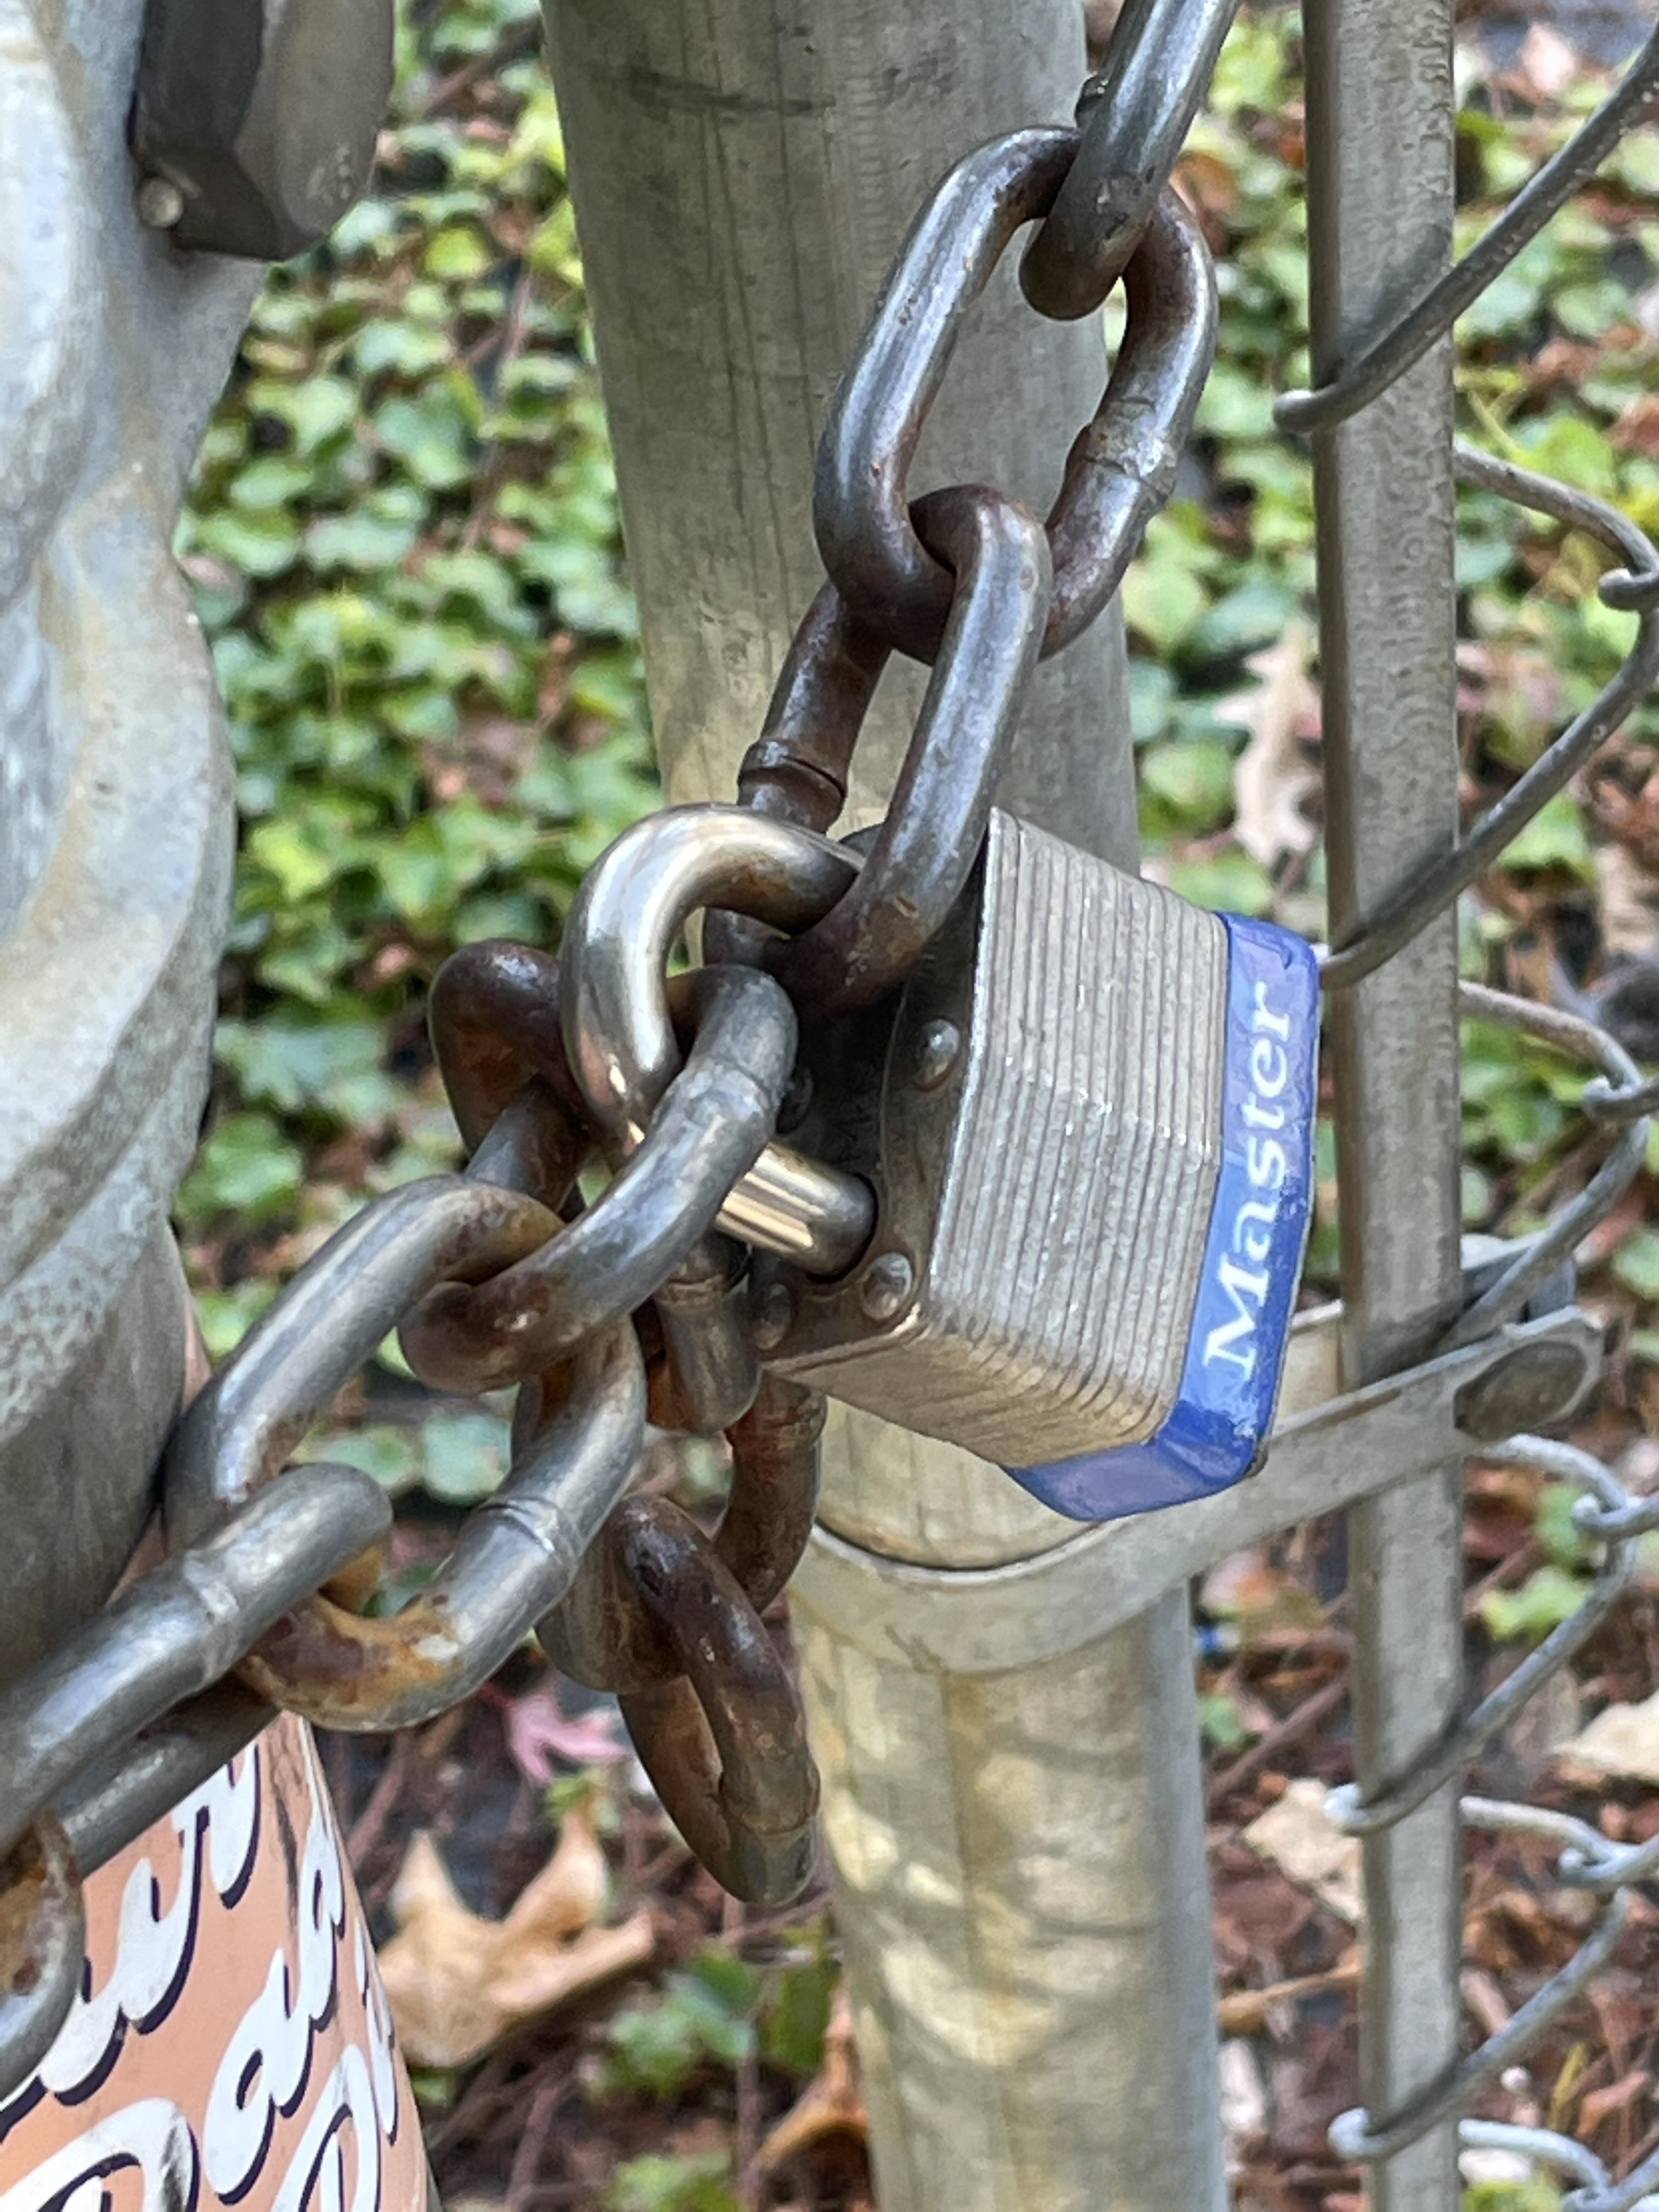
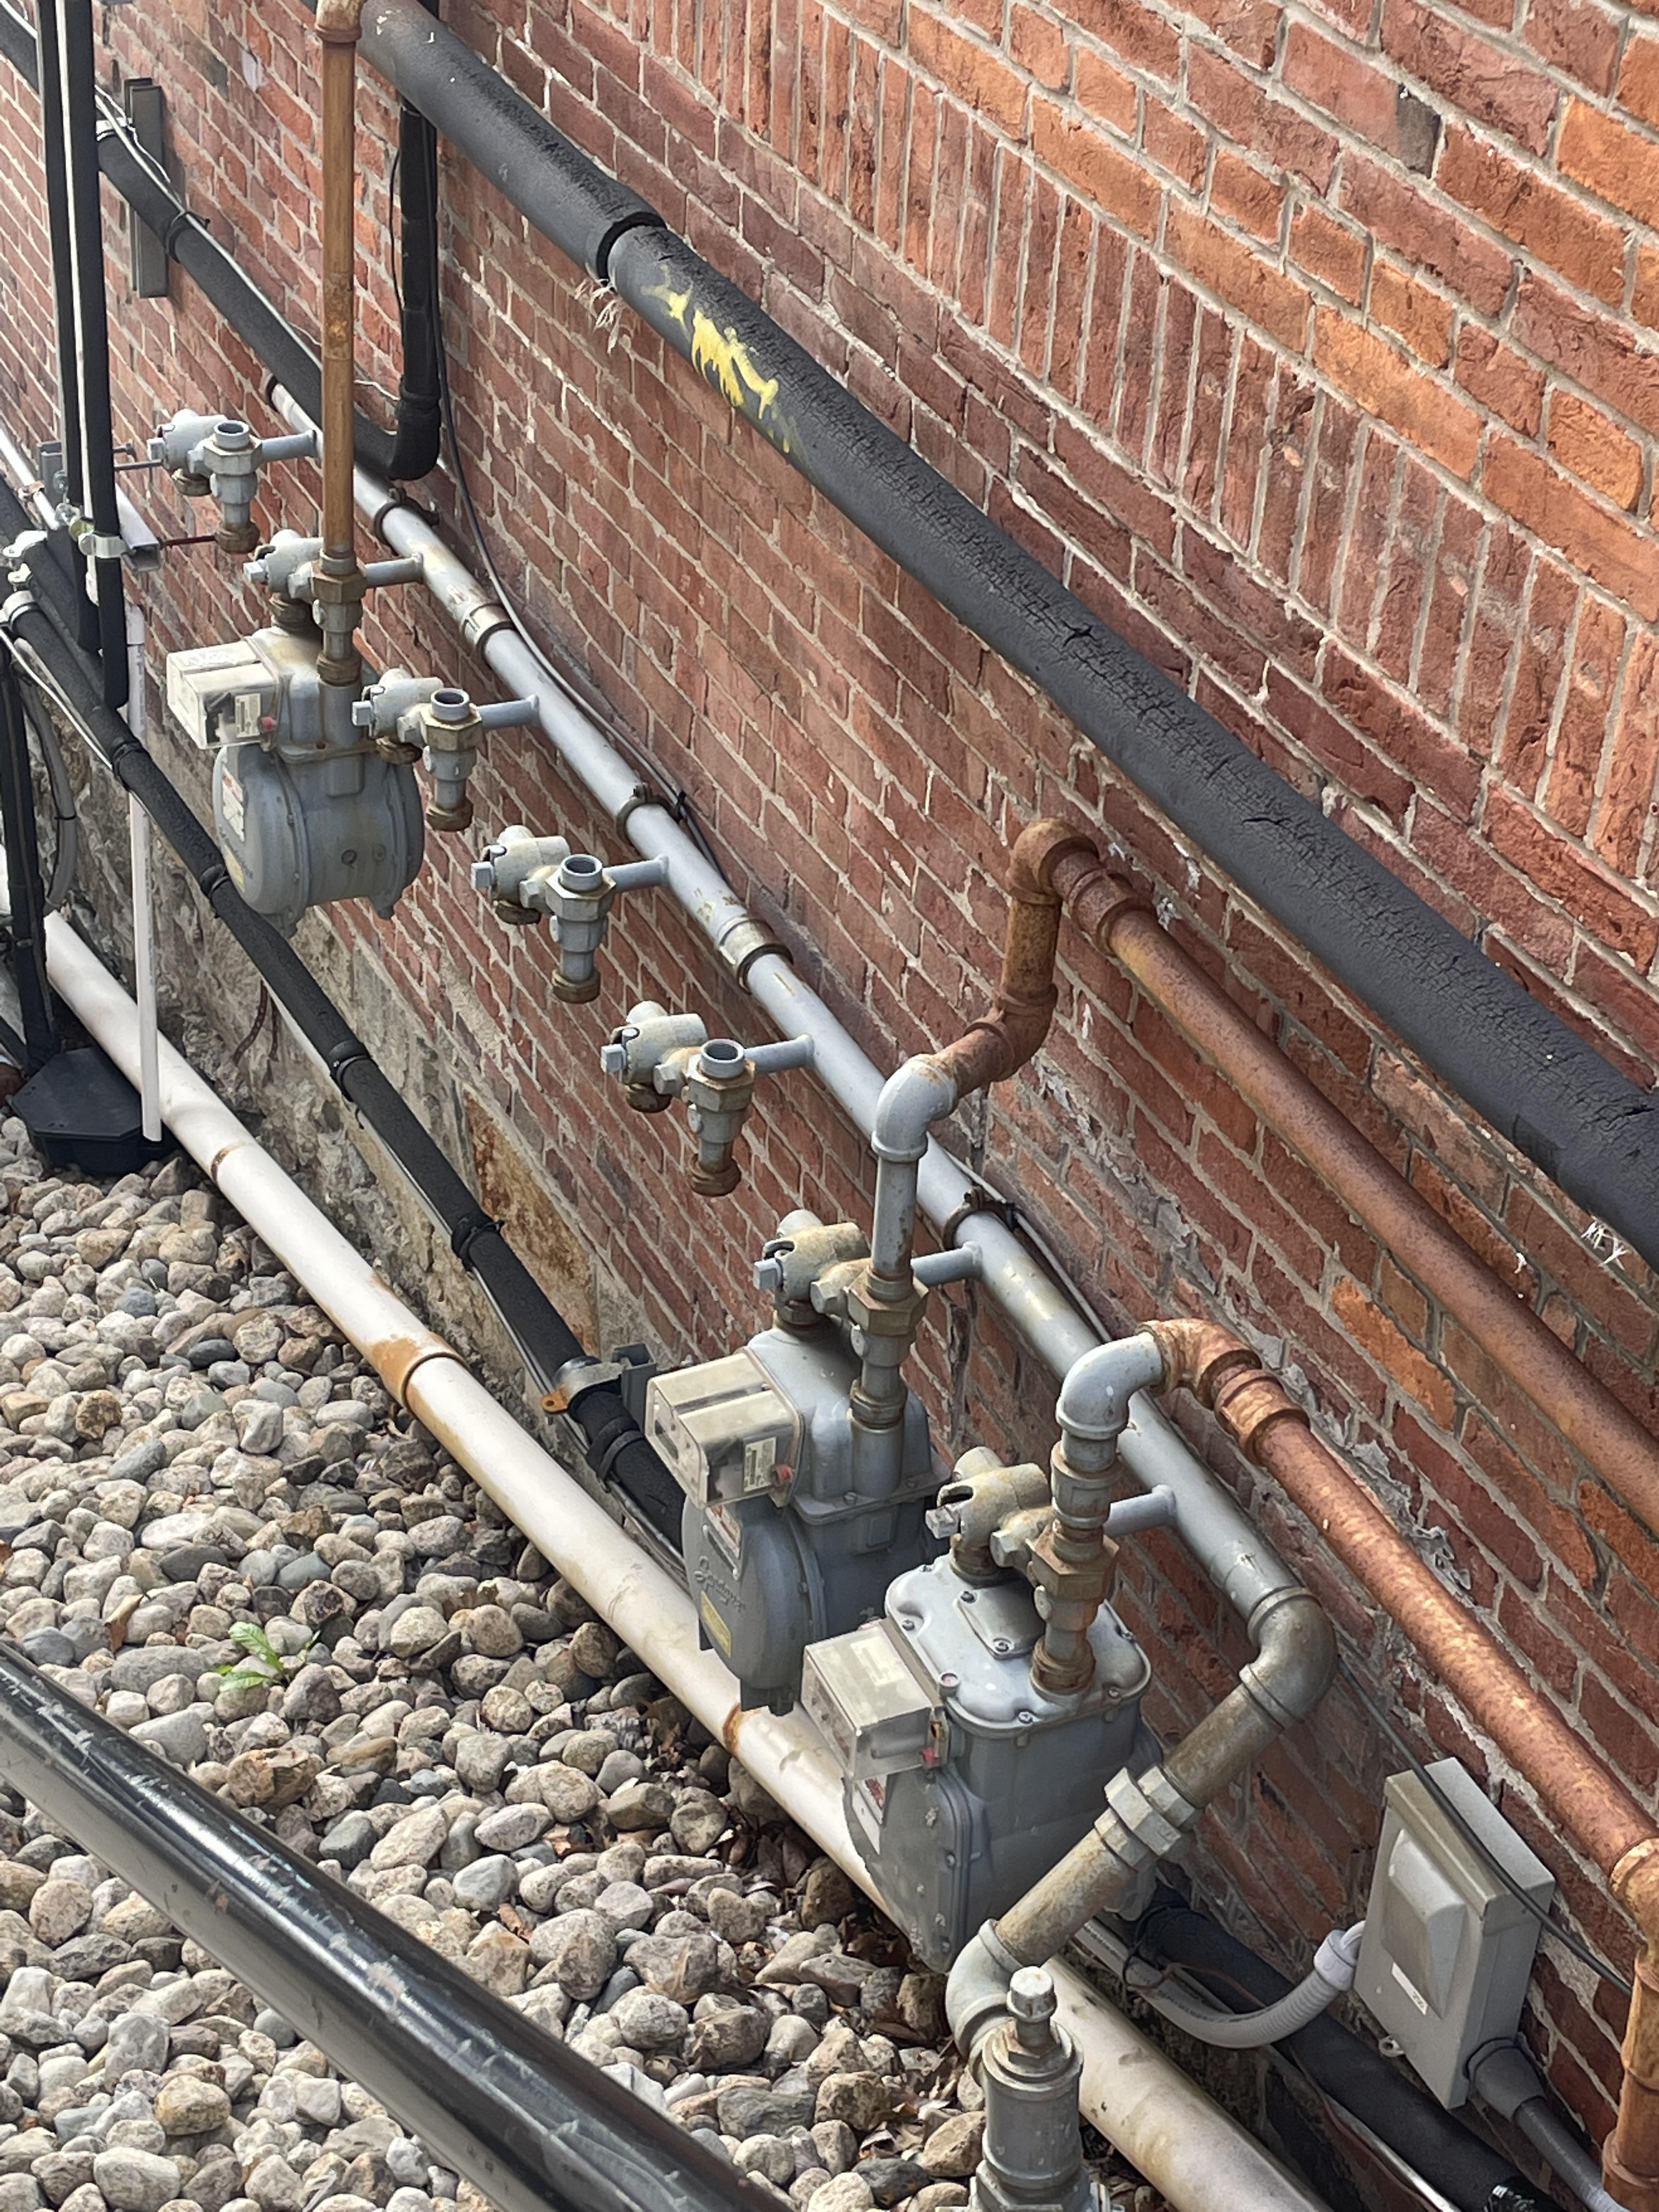
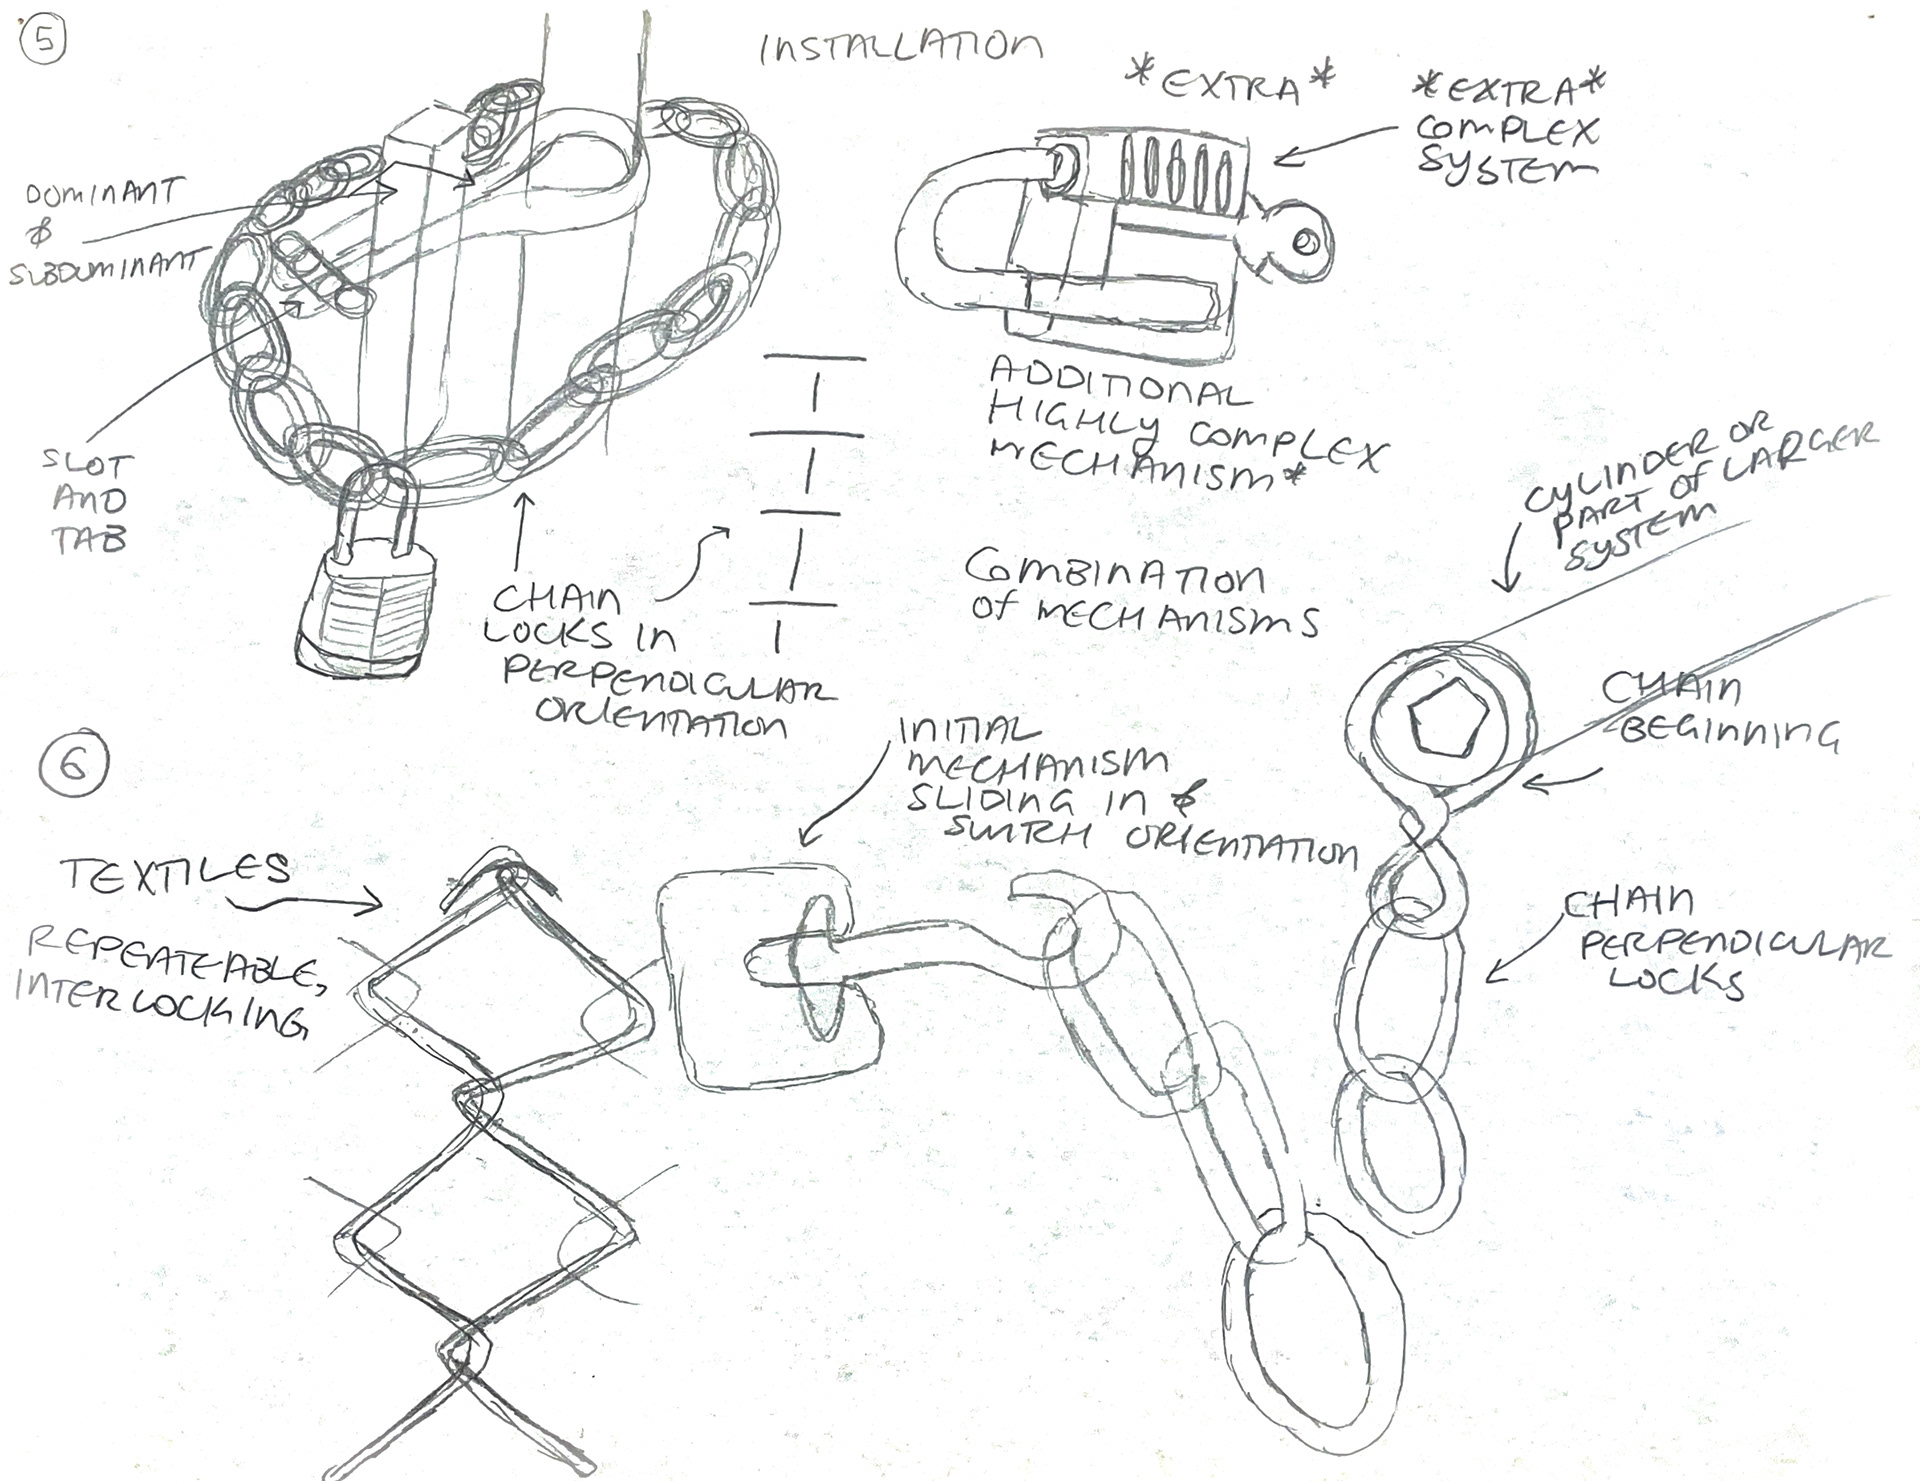
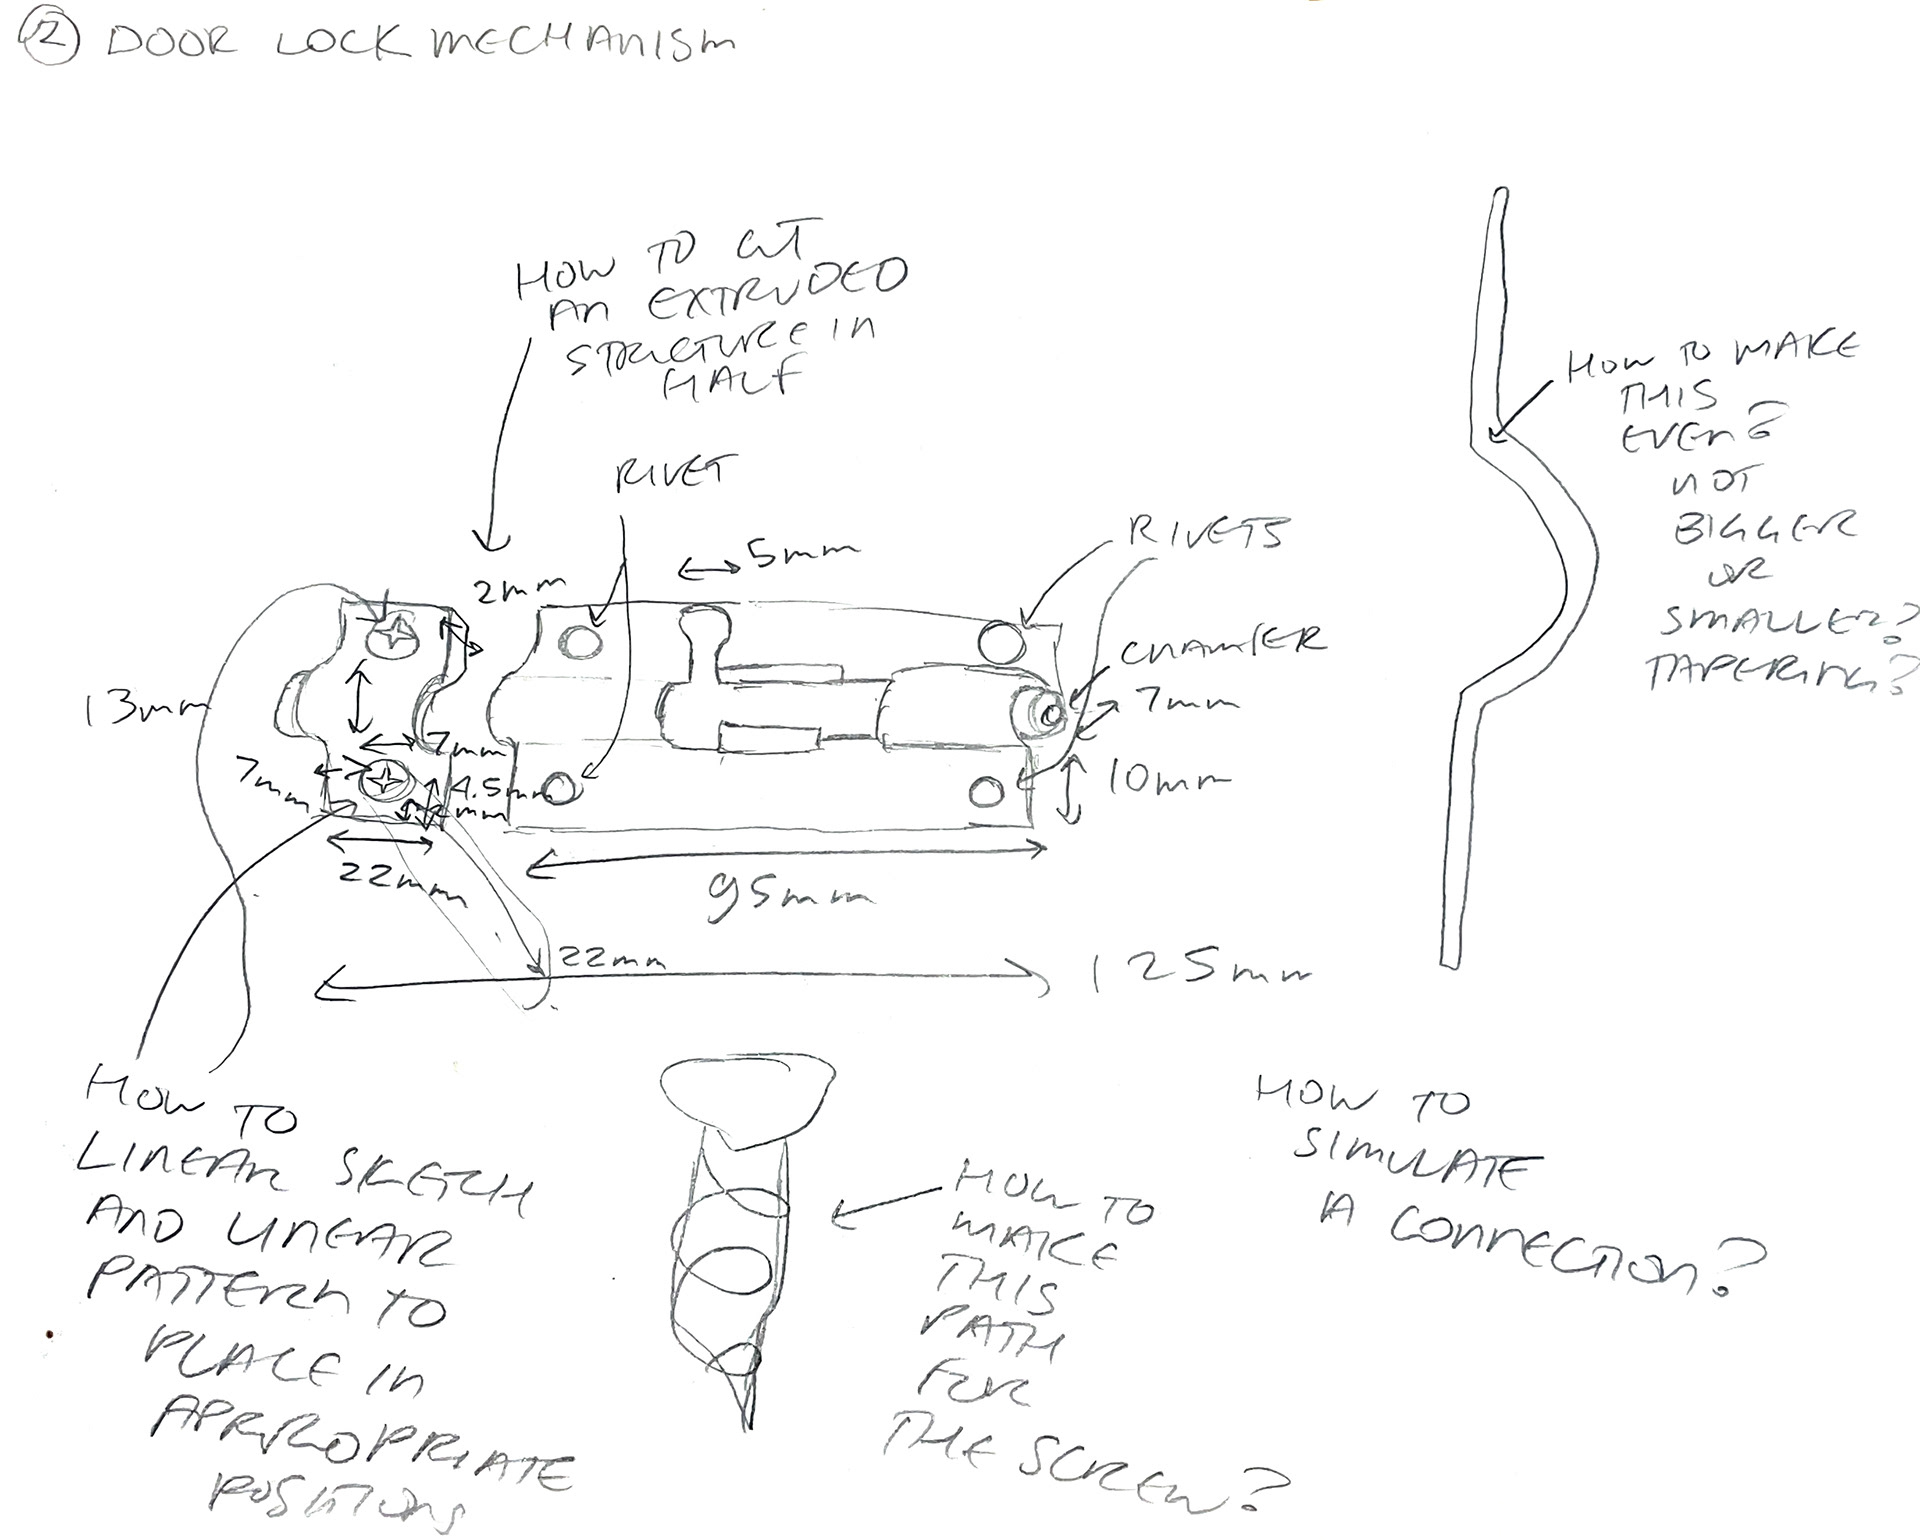
(1) I began observing and gathering inspiration around me — in building railings, pipe connections, textiles, locks, screws, and chains.
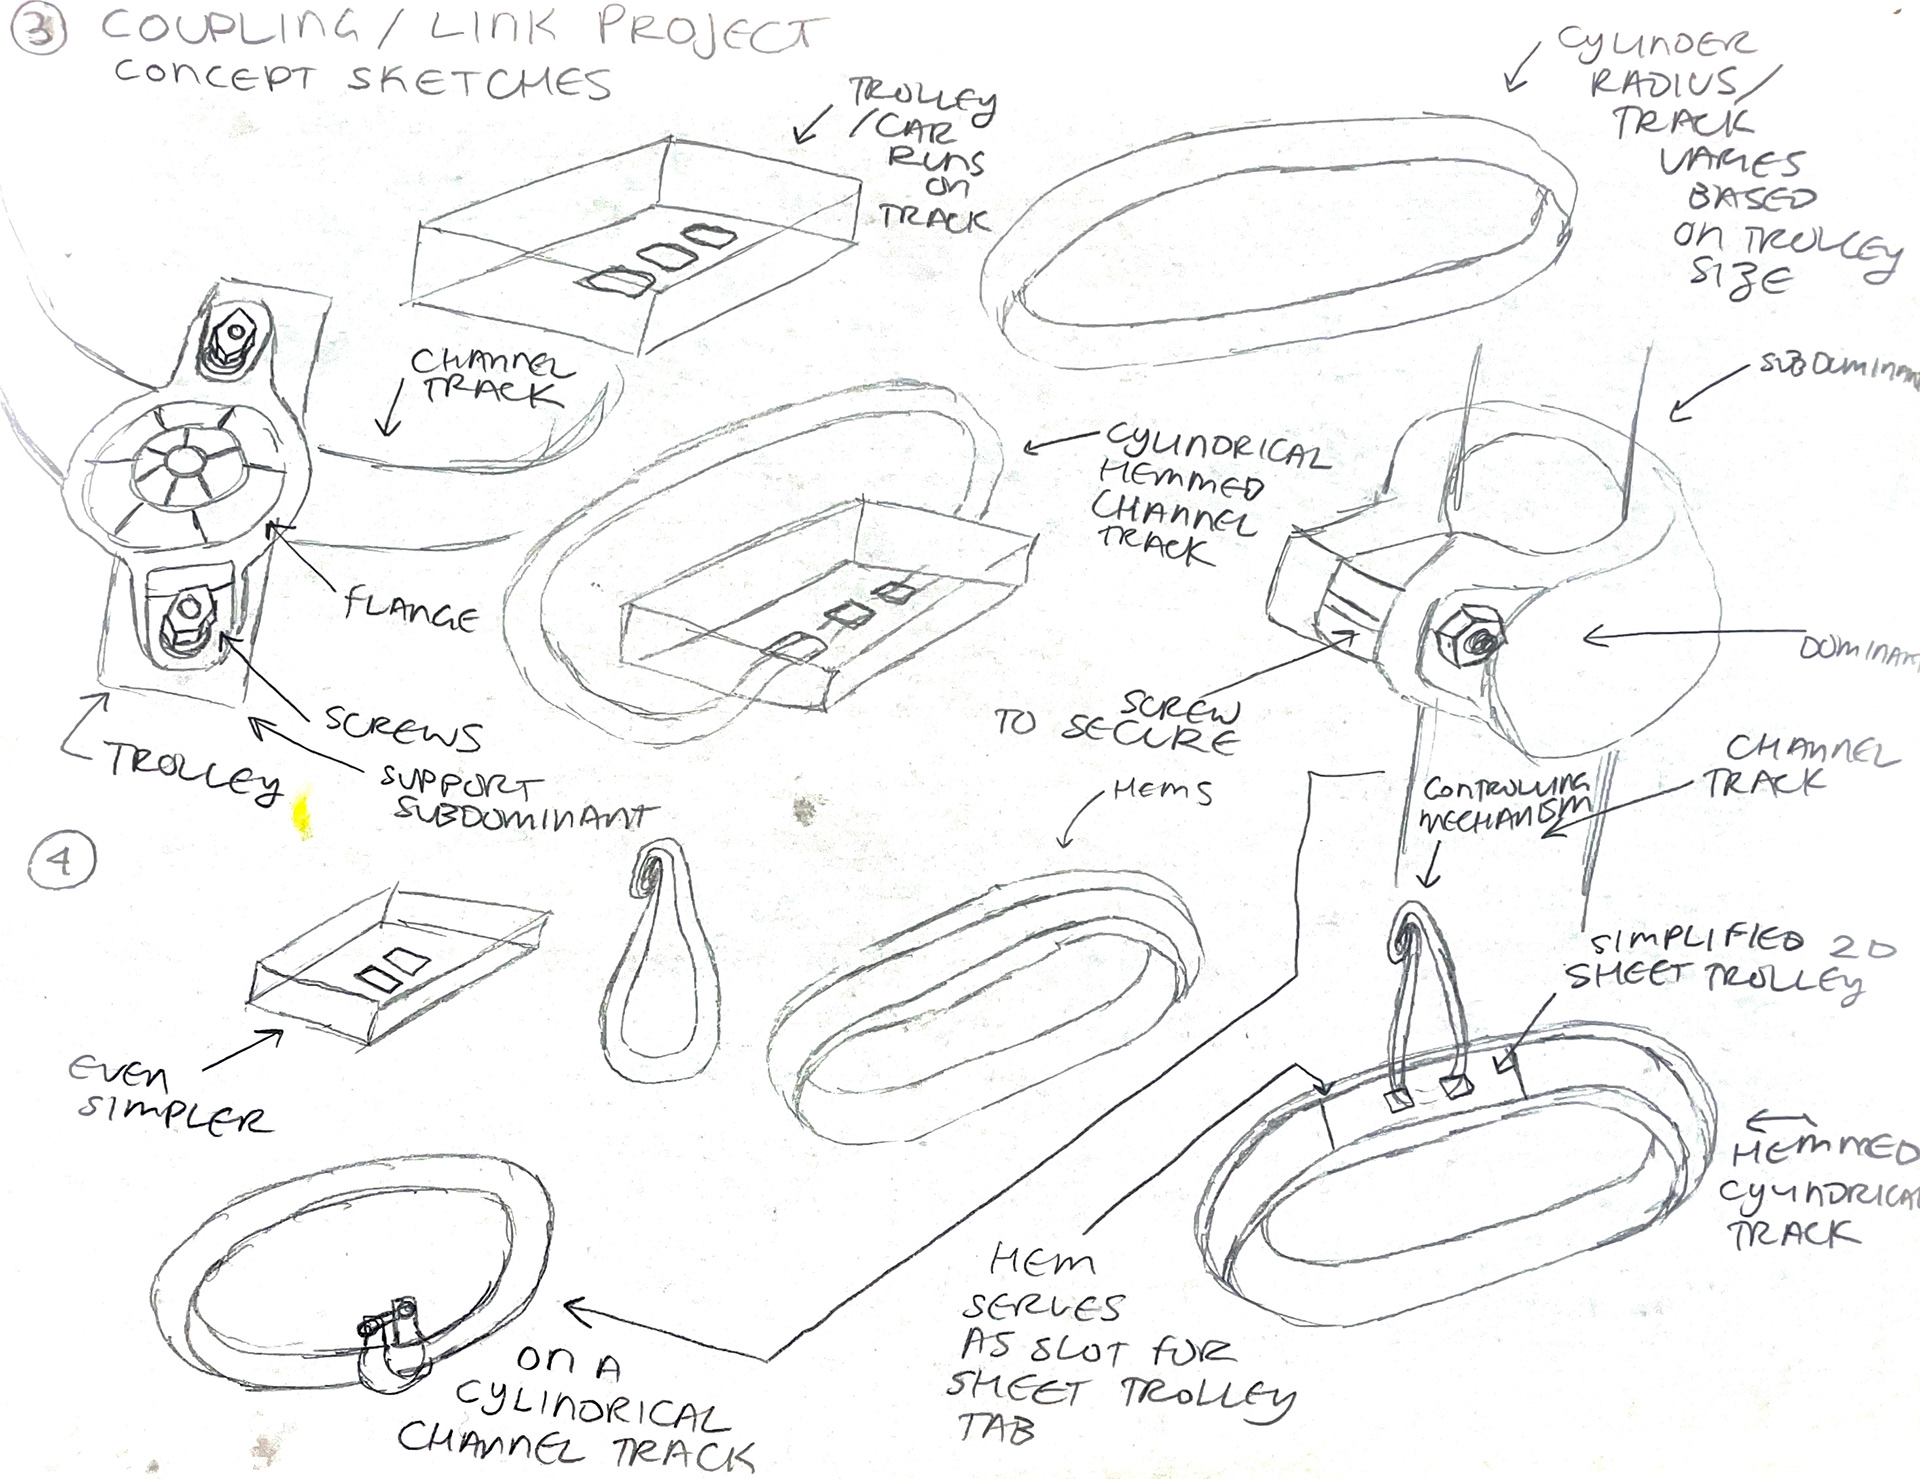
(2) I developed initial sketches of the observed connections.
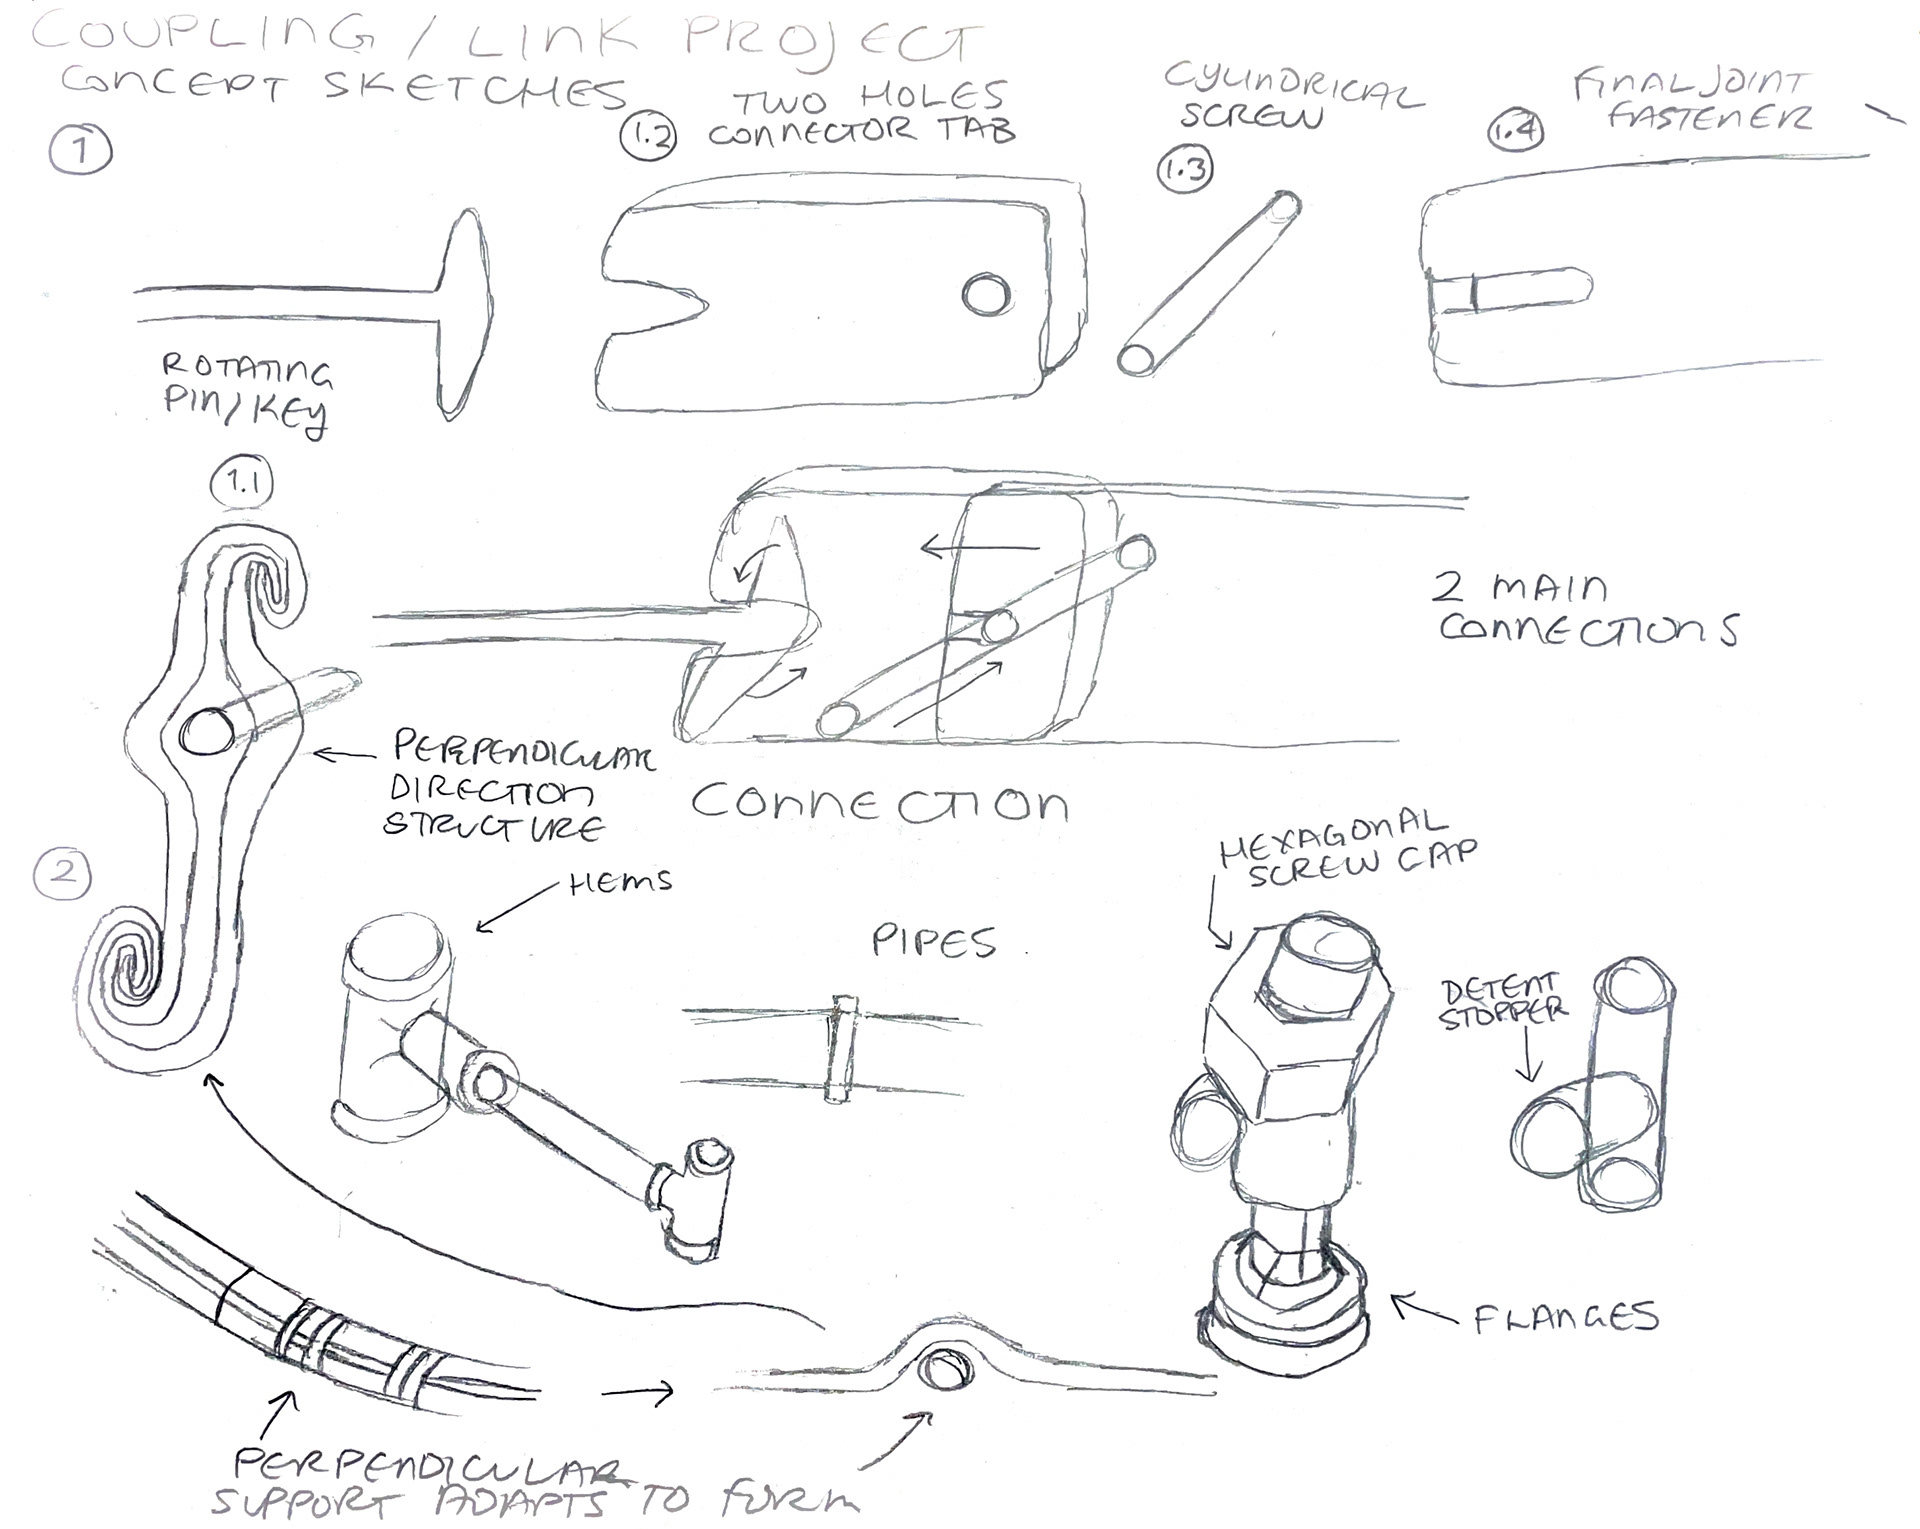
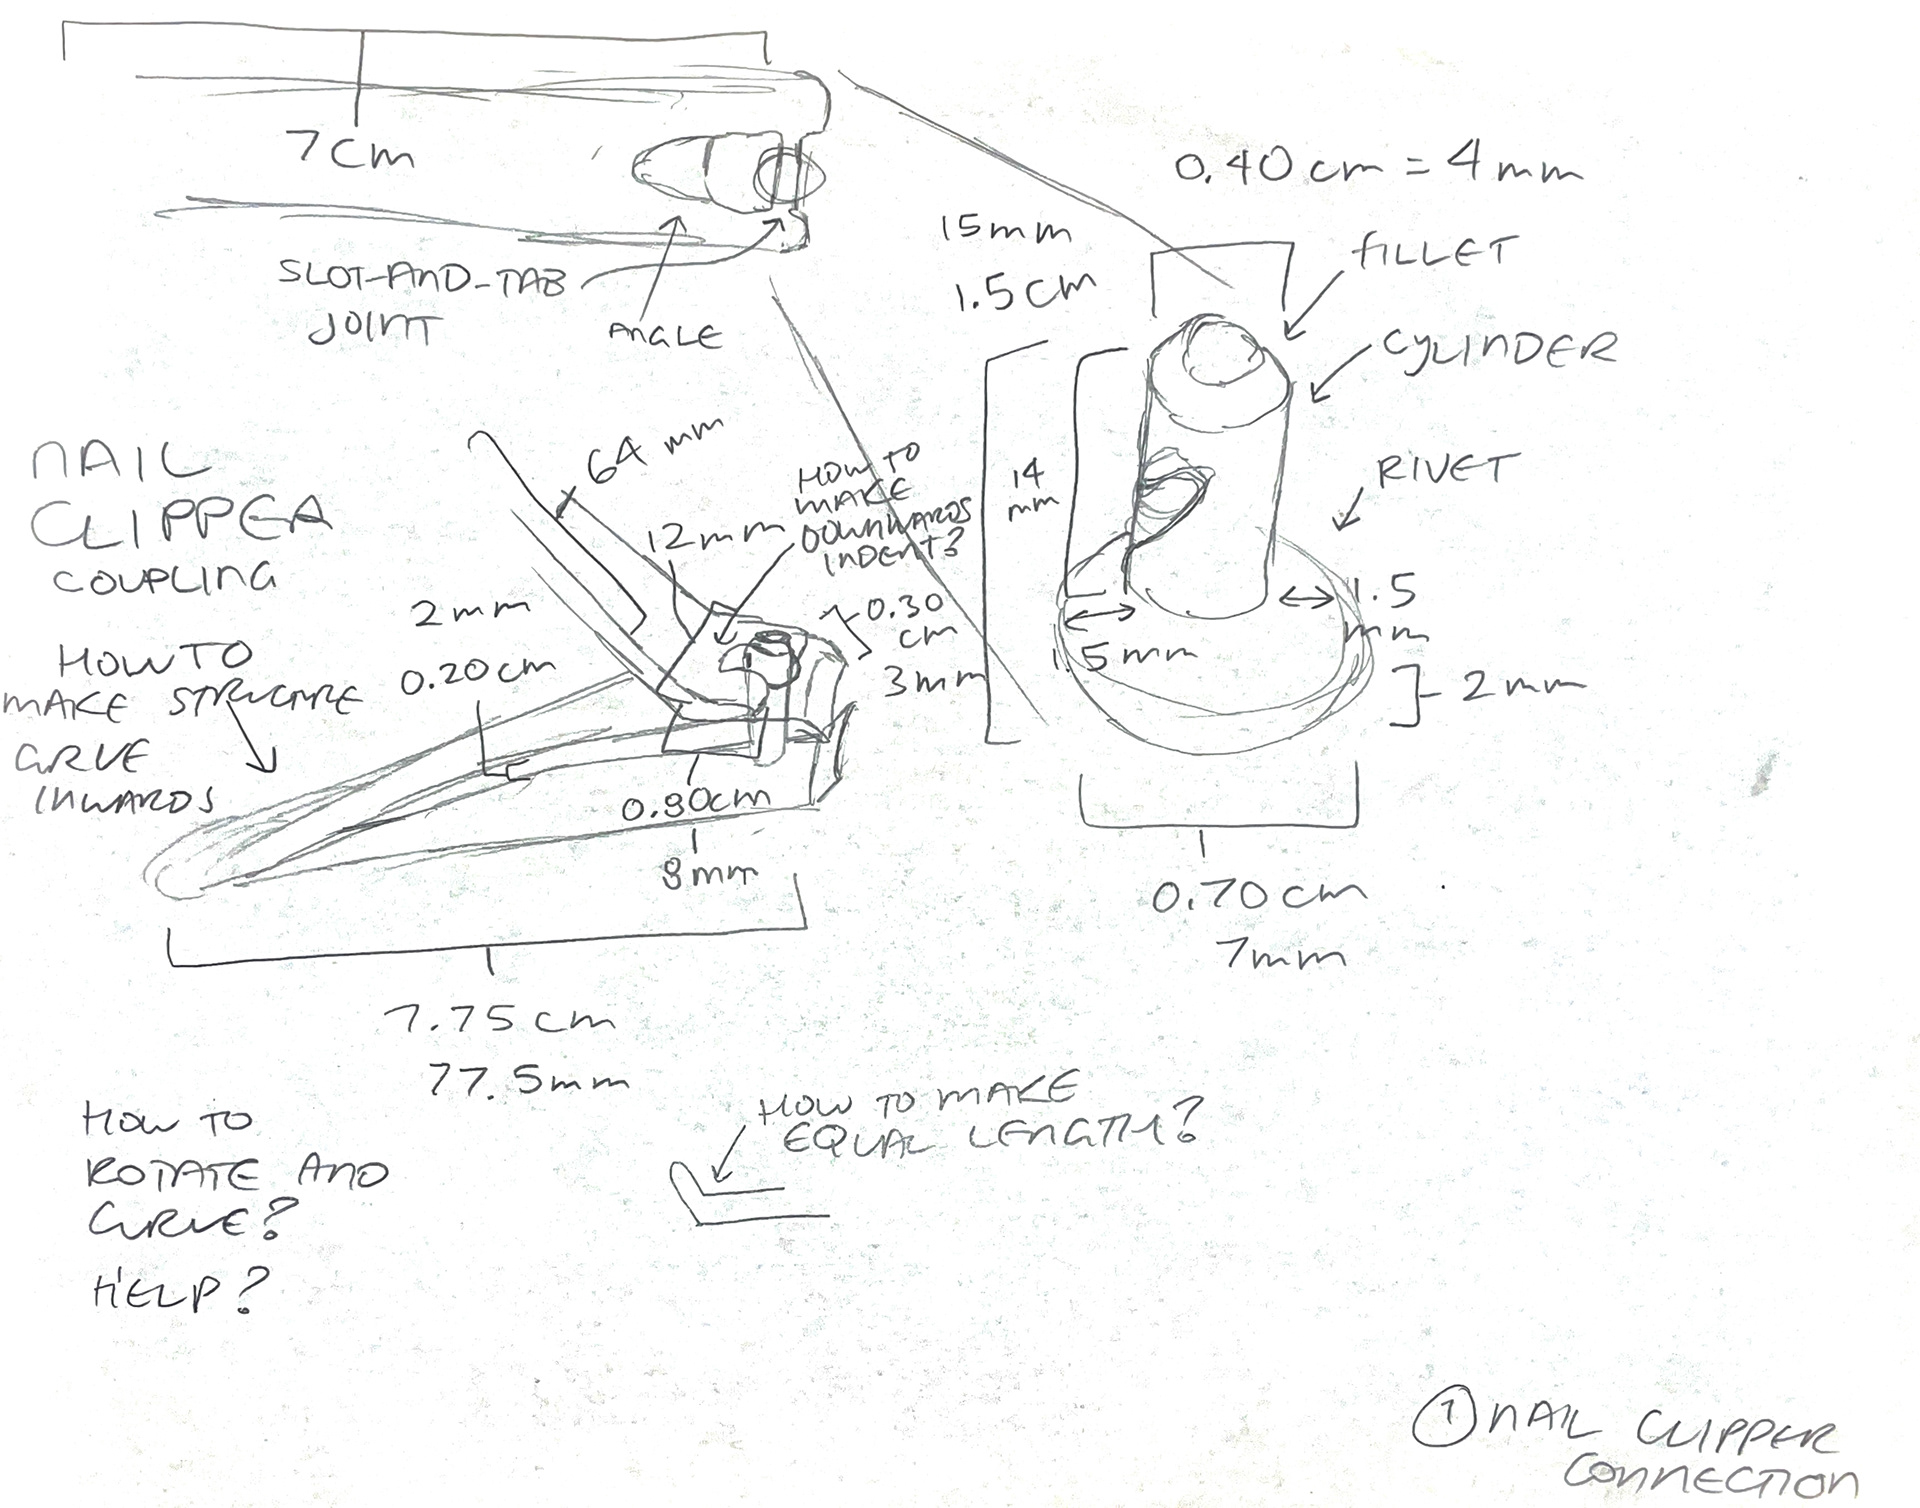
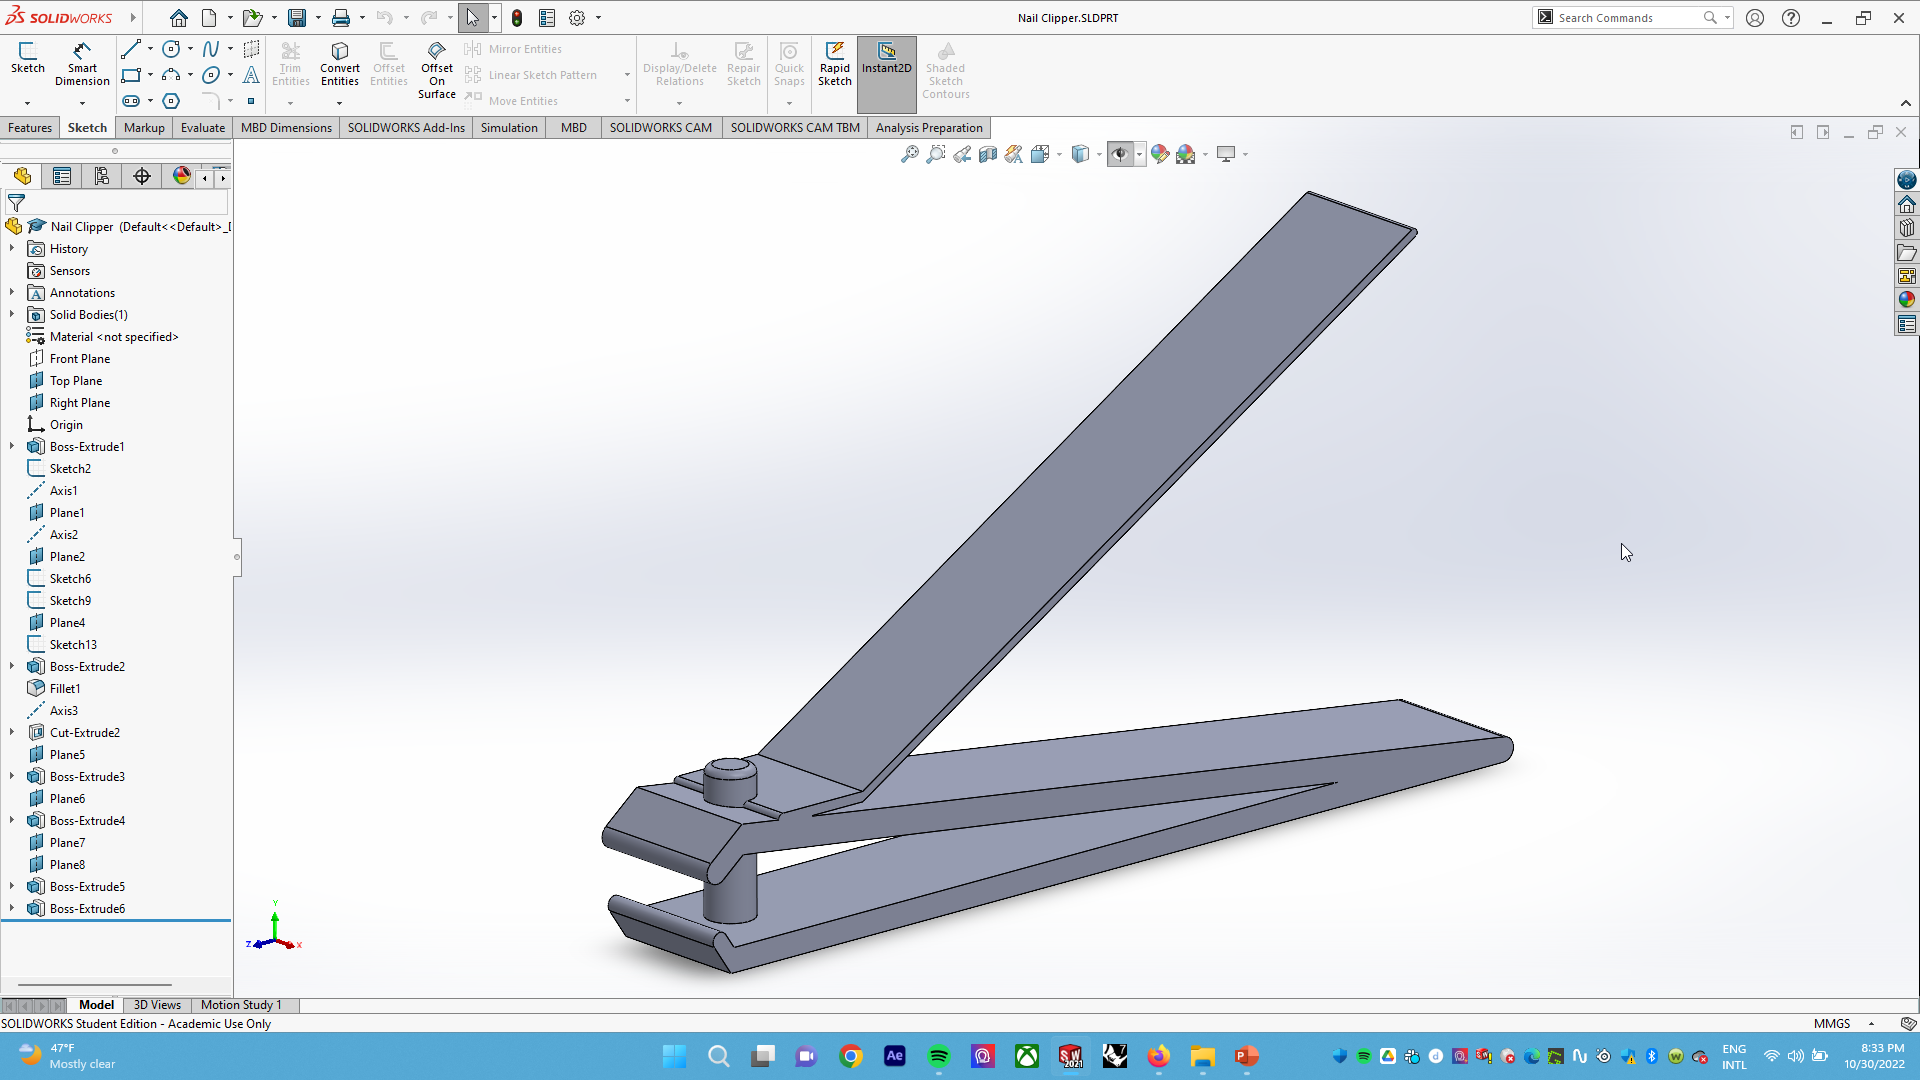
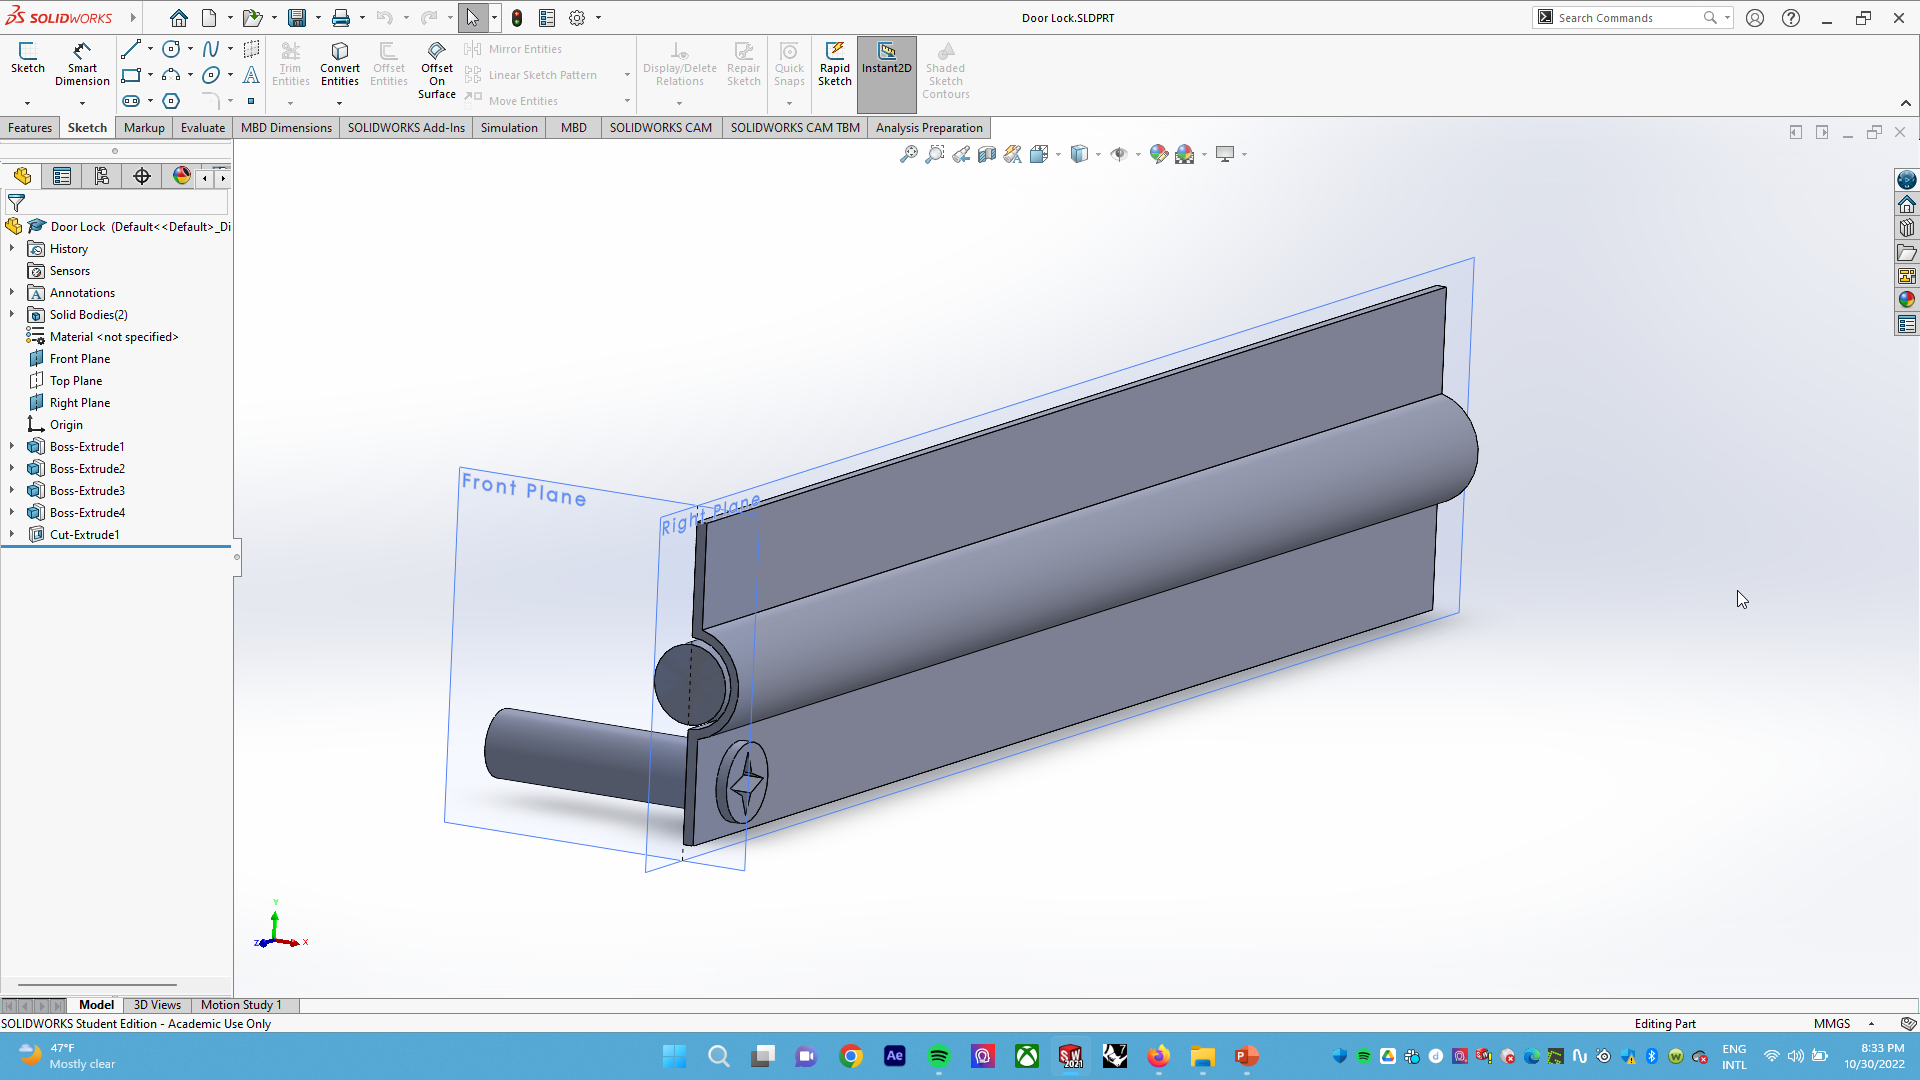
(3) During the second week of the project, I decided to develop draft CAD models of handheld connections — ones I could measure, take apart, and design.

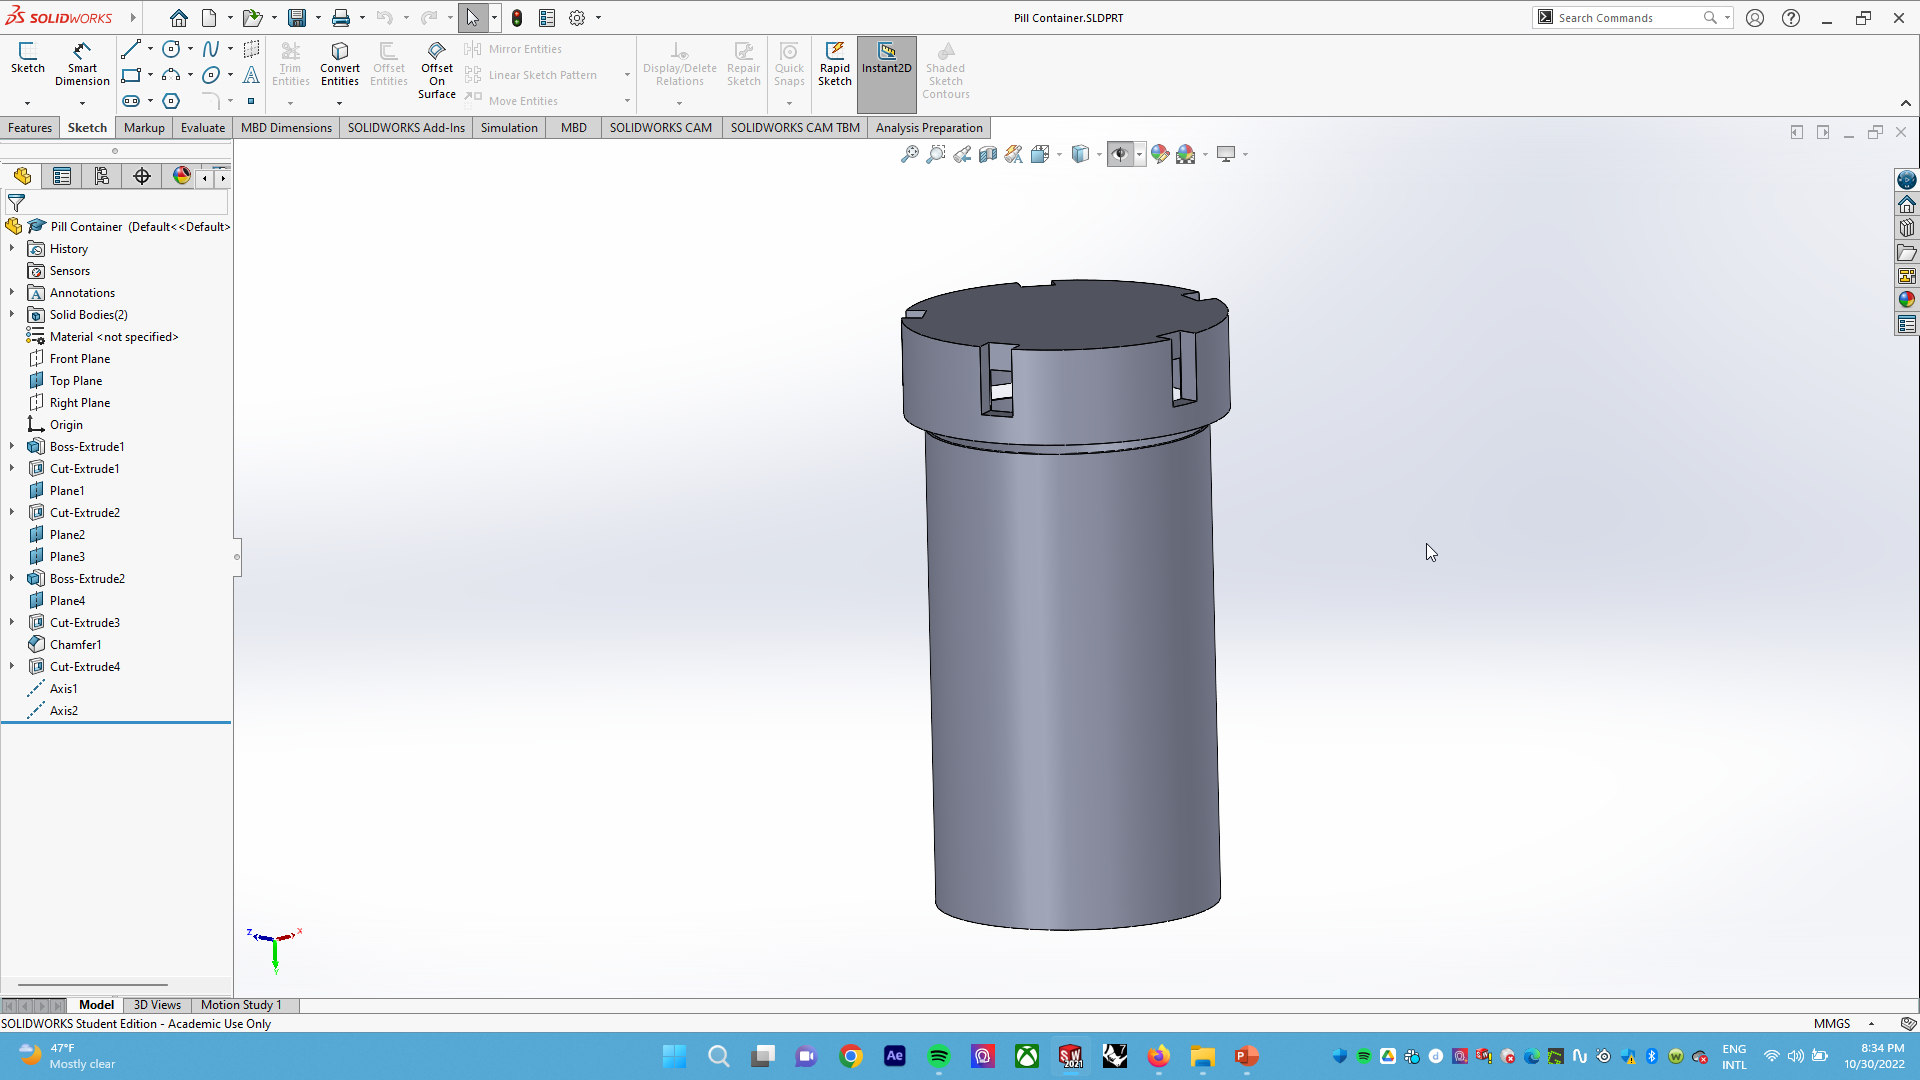
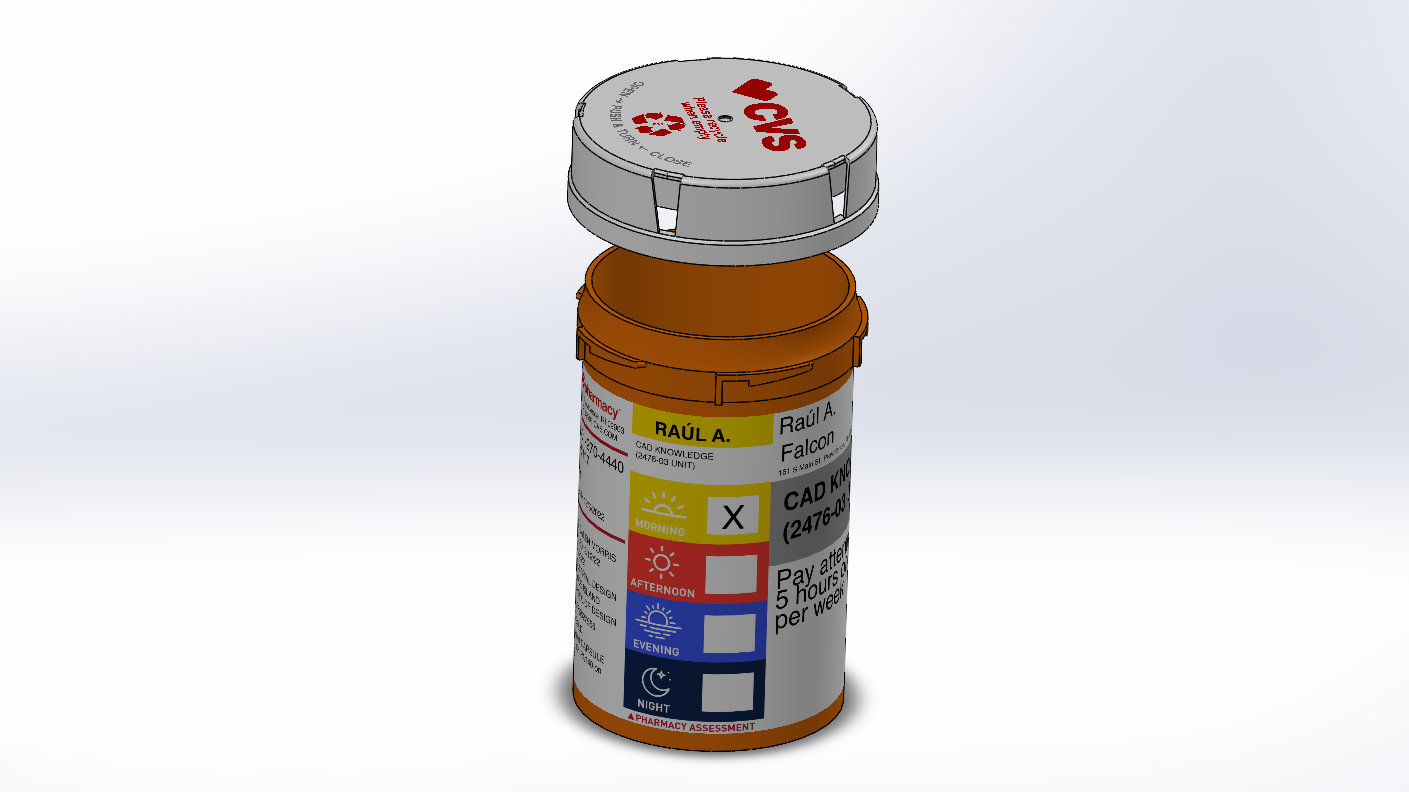
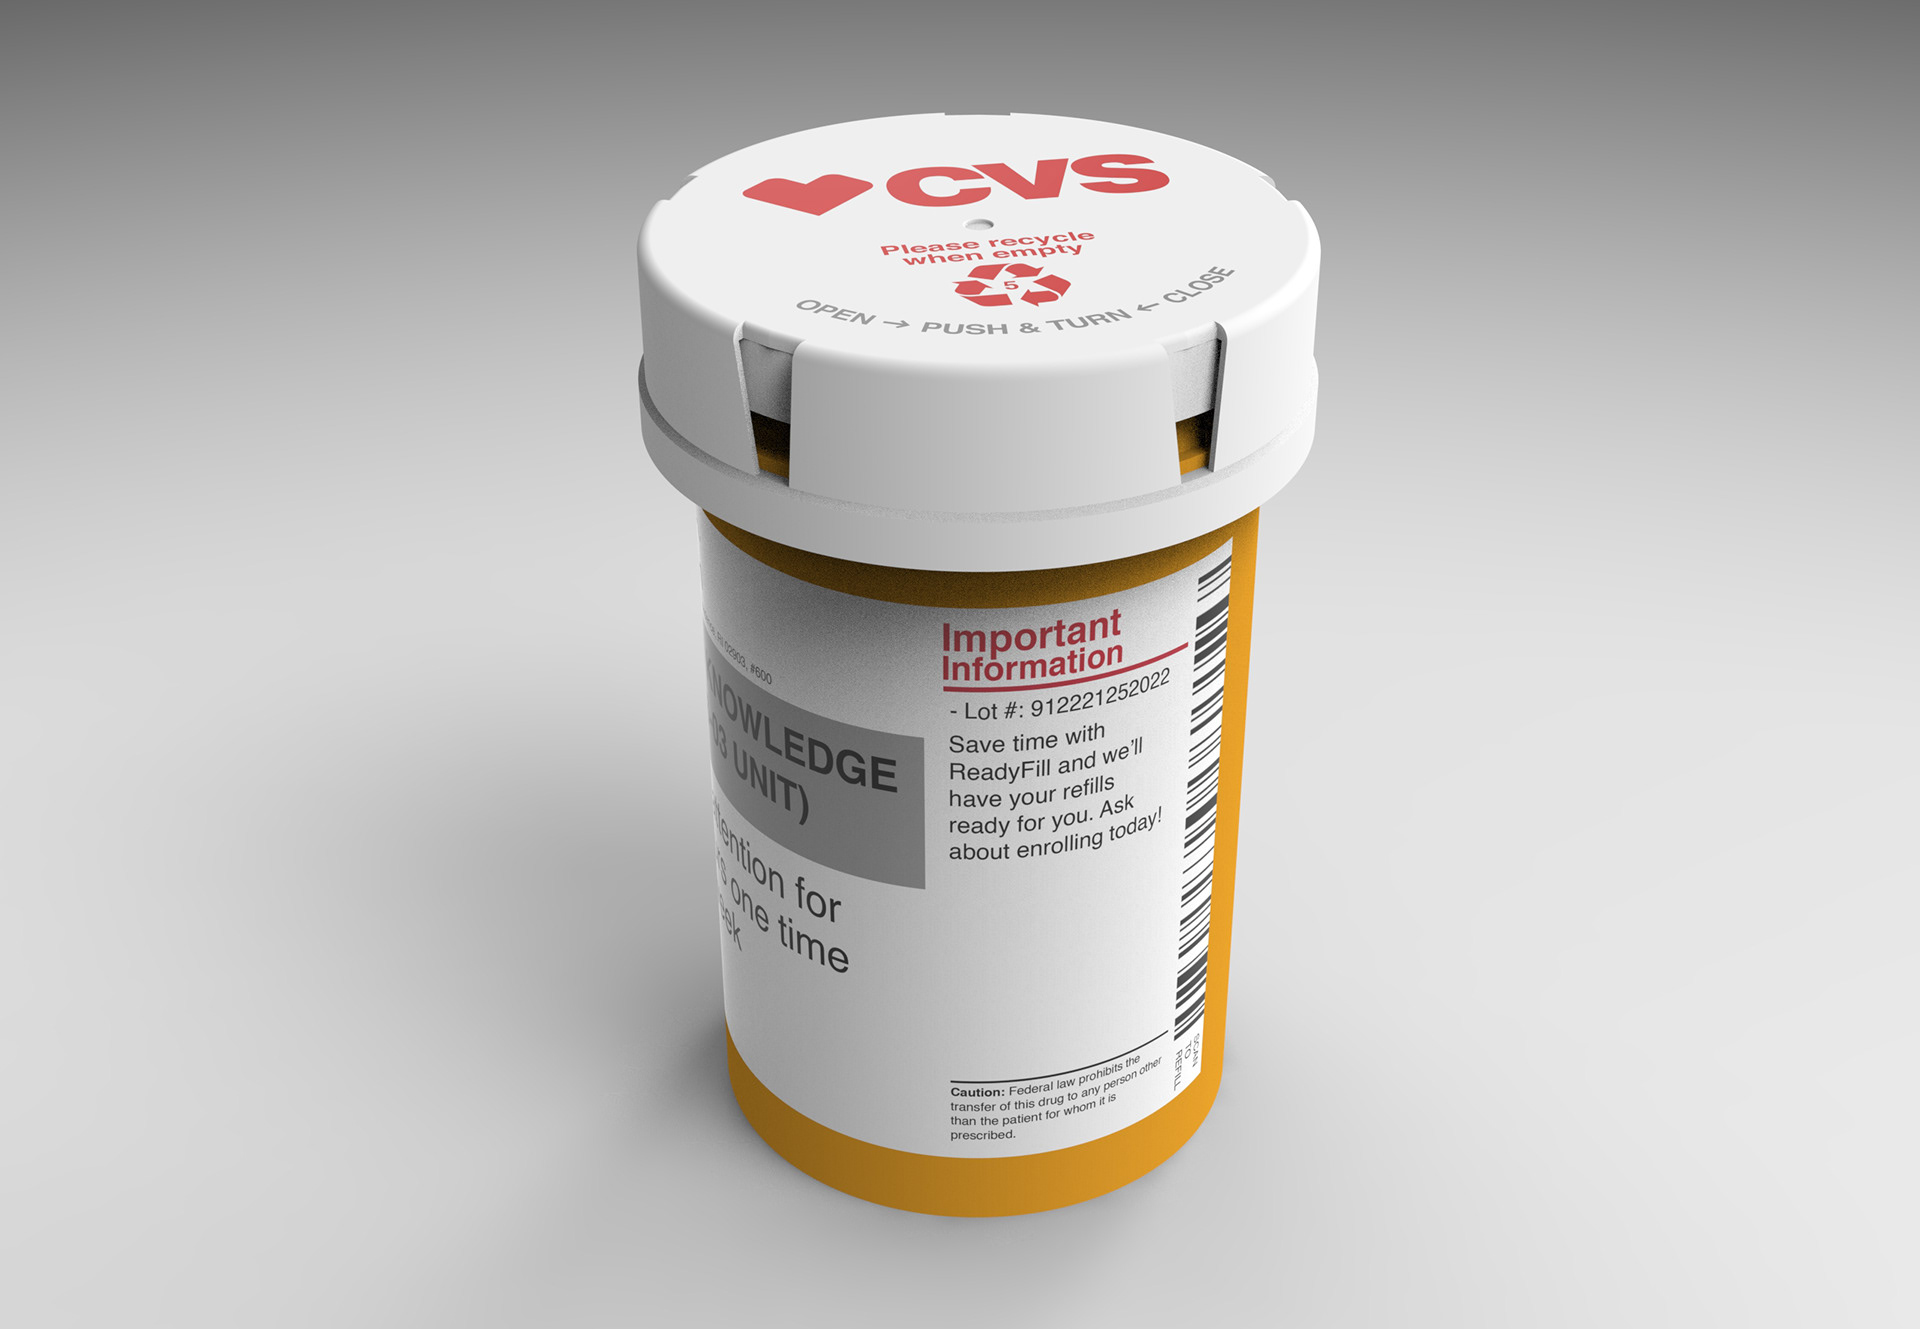
(4) I decided to focus on a pill container mechanism, which quickly became my favorite because:
1. Makes a nice click (snap)
2. Protects/safeguards valuable inner materials
3. Locks in place when desired
4. Easy to handle/maneuver/control
5. A good mix of complexity and simplicity
6. An equally spaced circular pattern
7. Compound, linear surface
8. Satisfying handheld experience
9. Able to be mass-produced
10. Accessible design
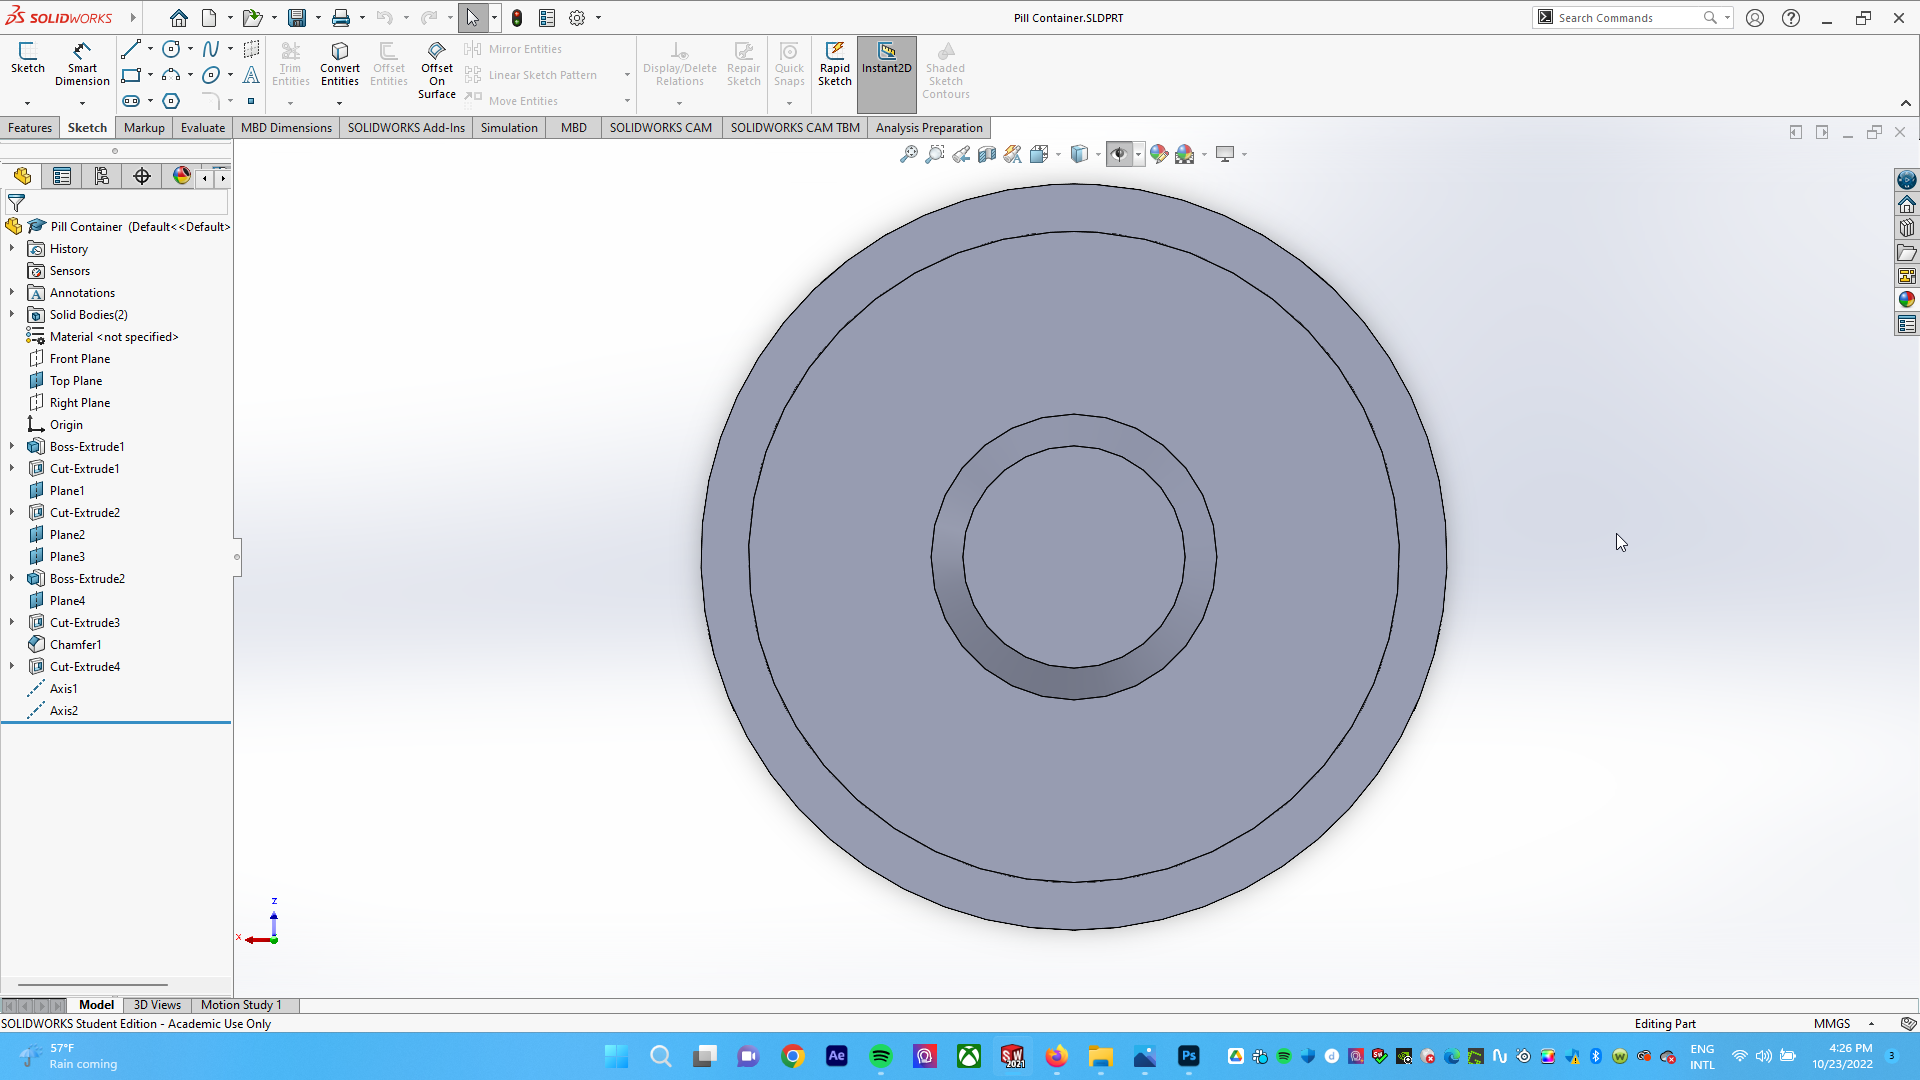

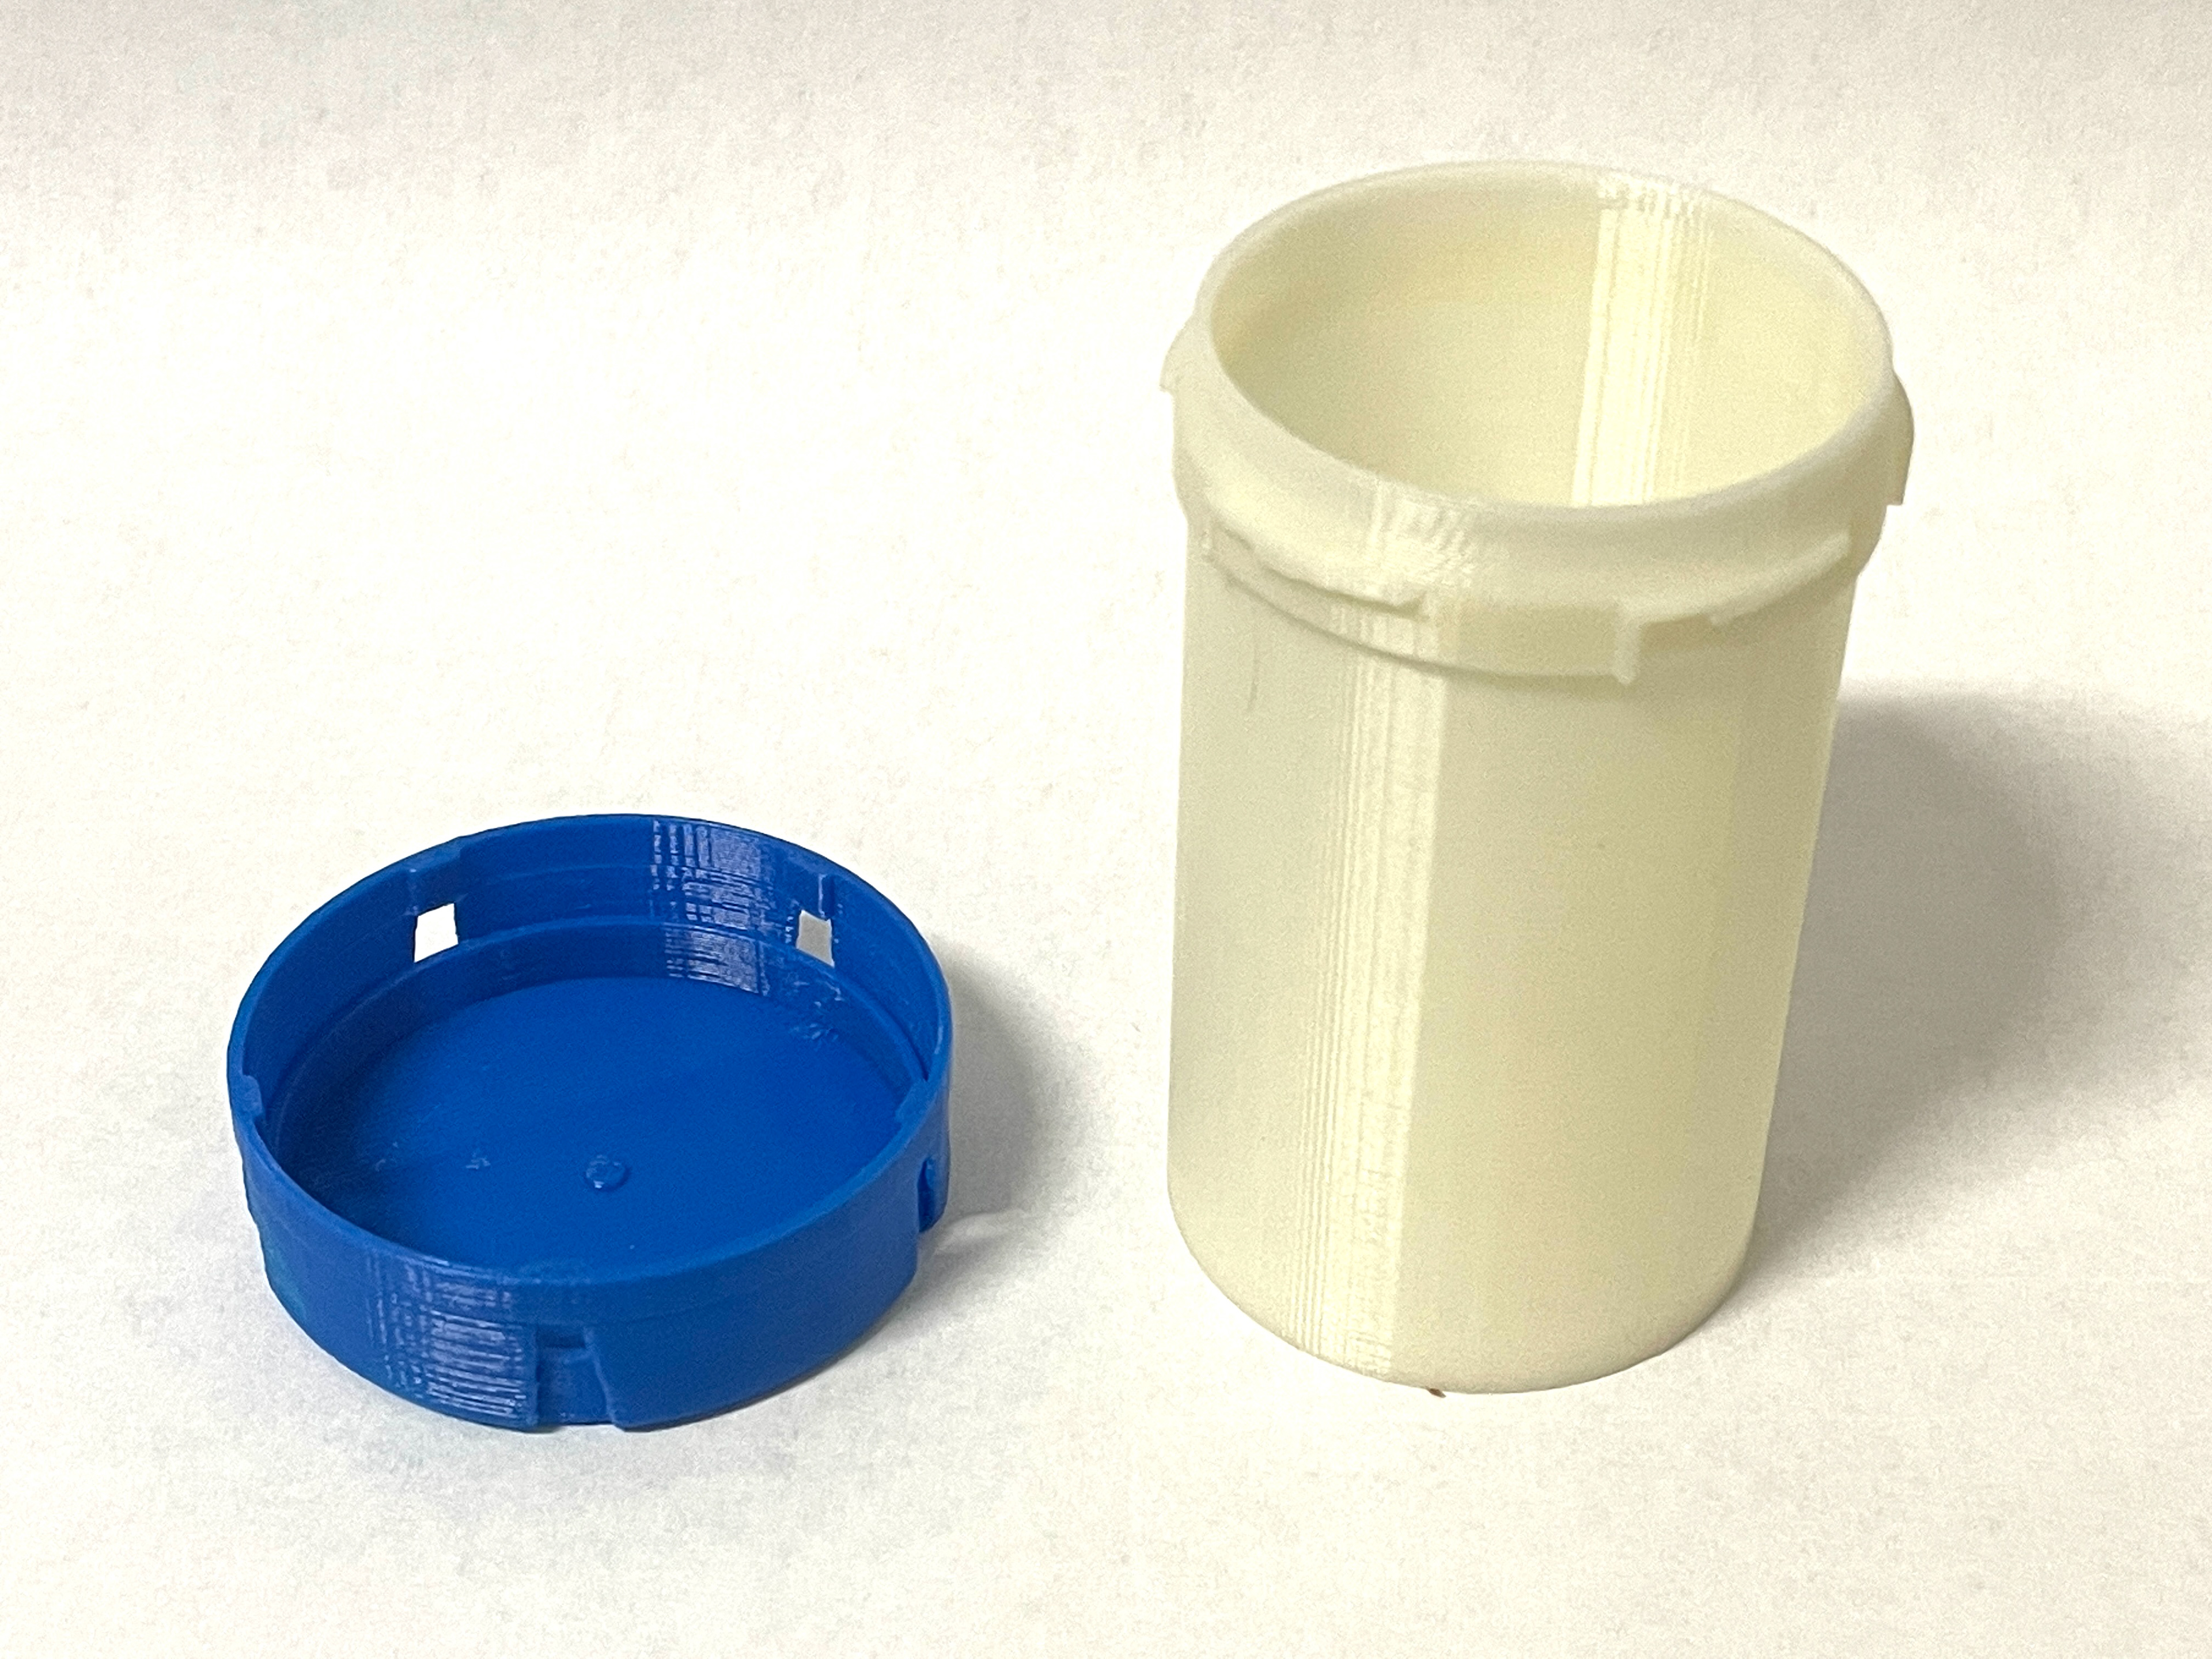
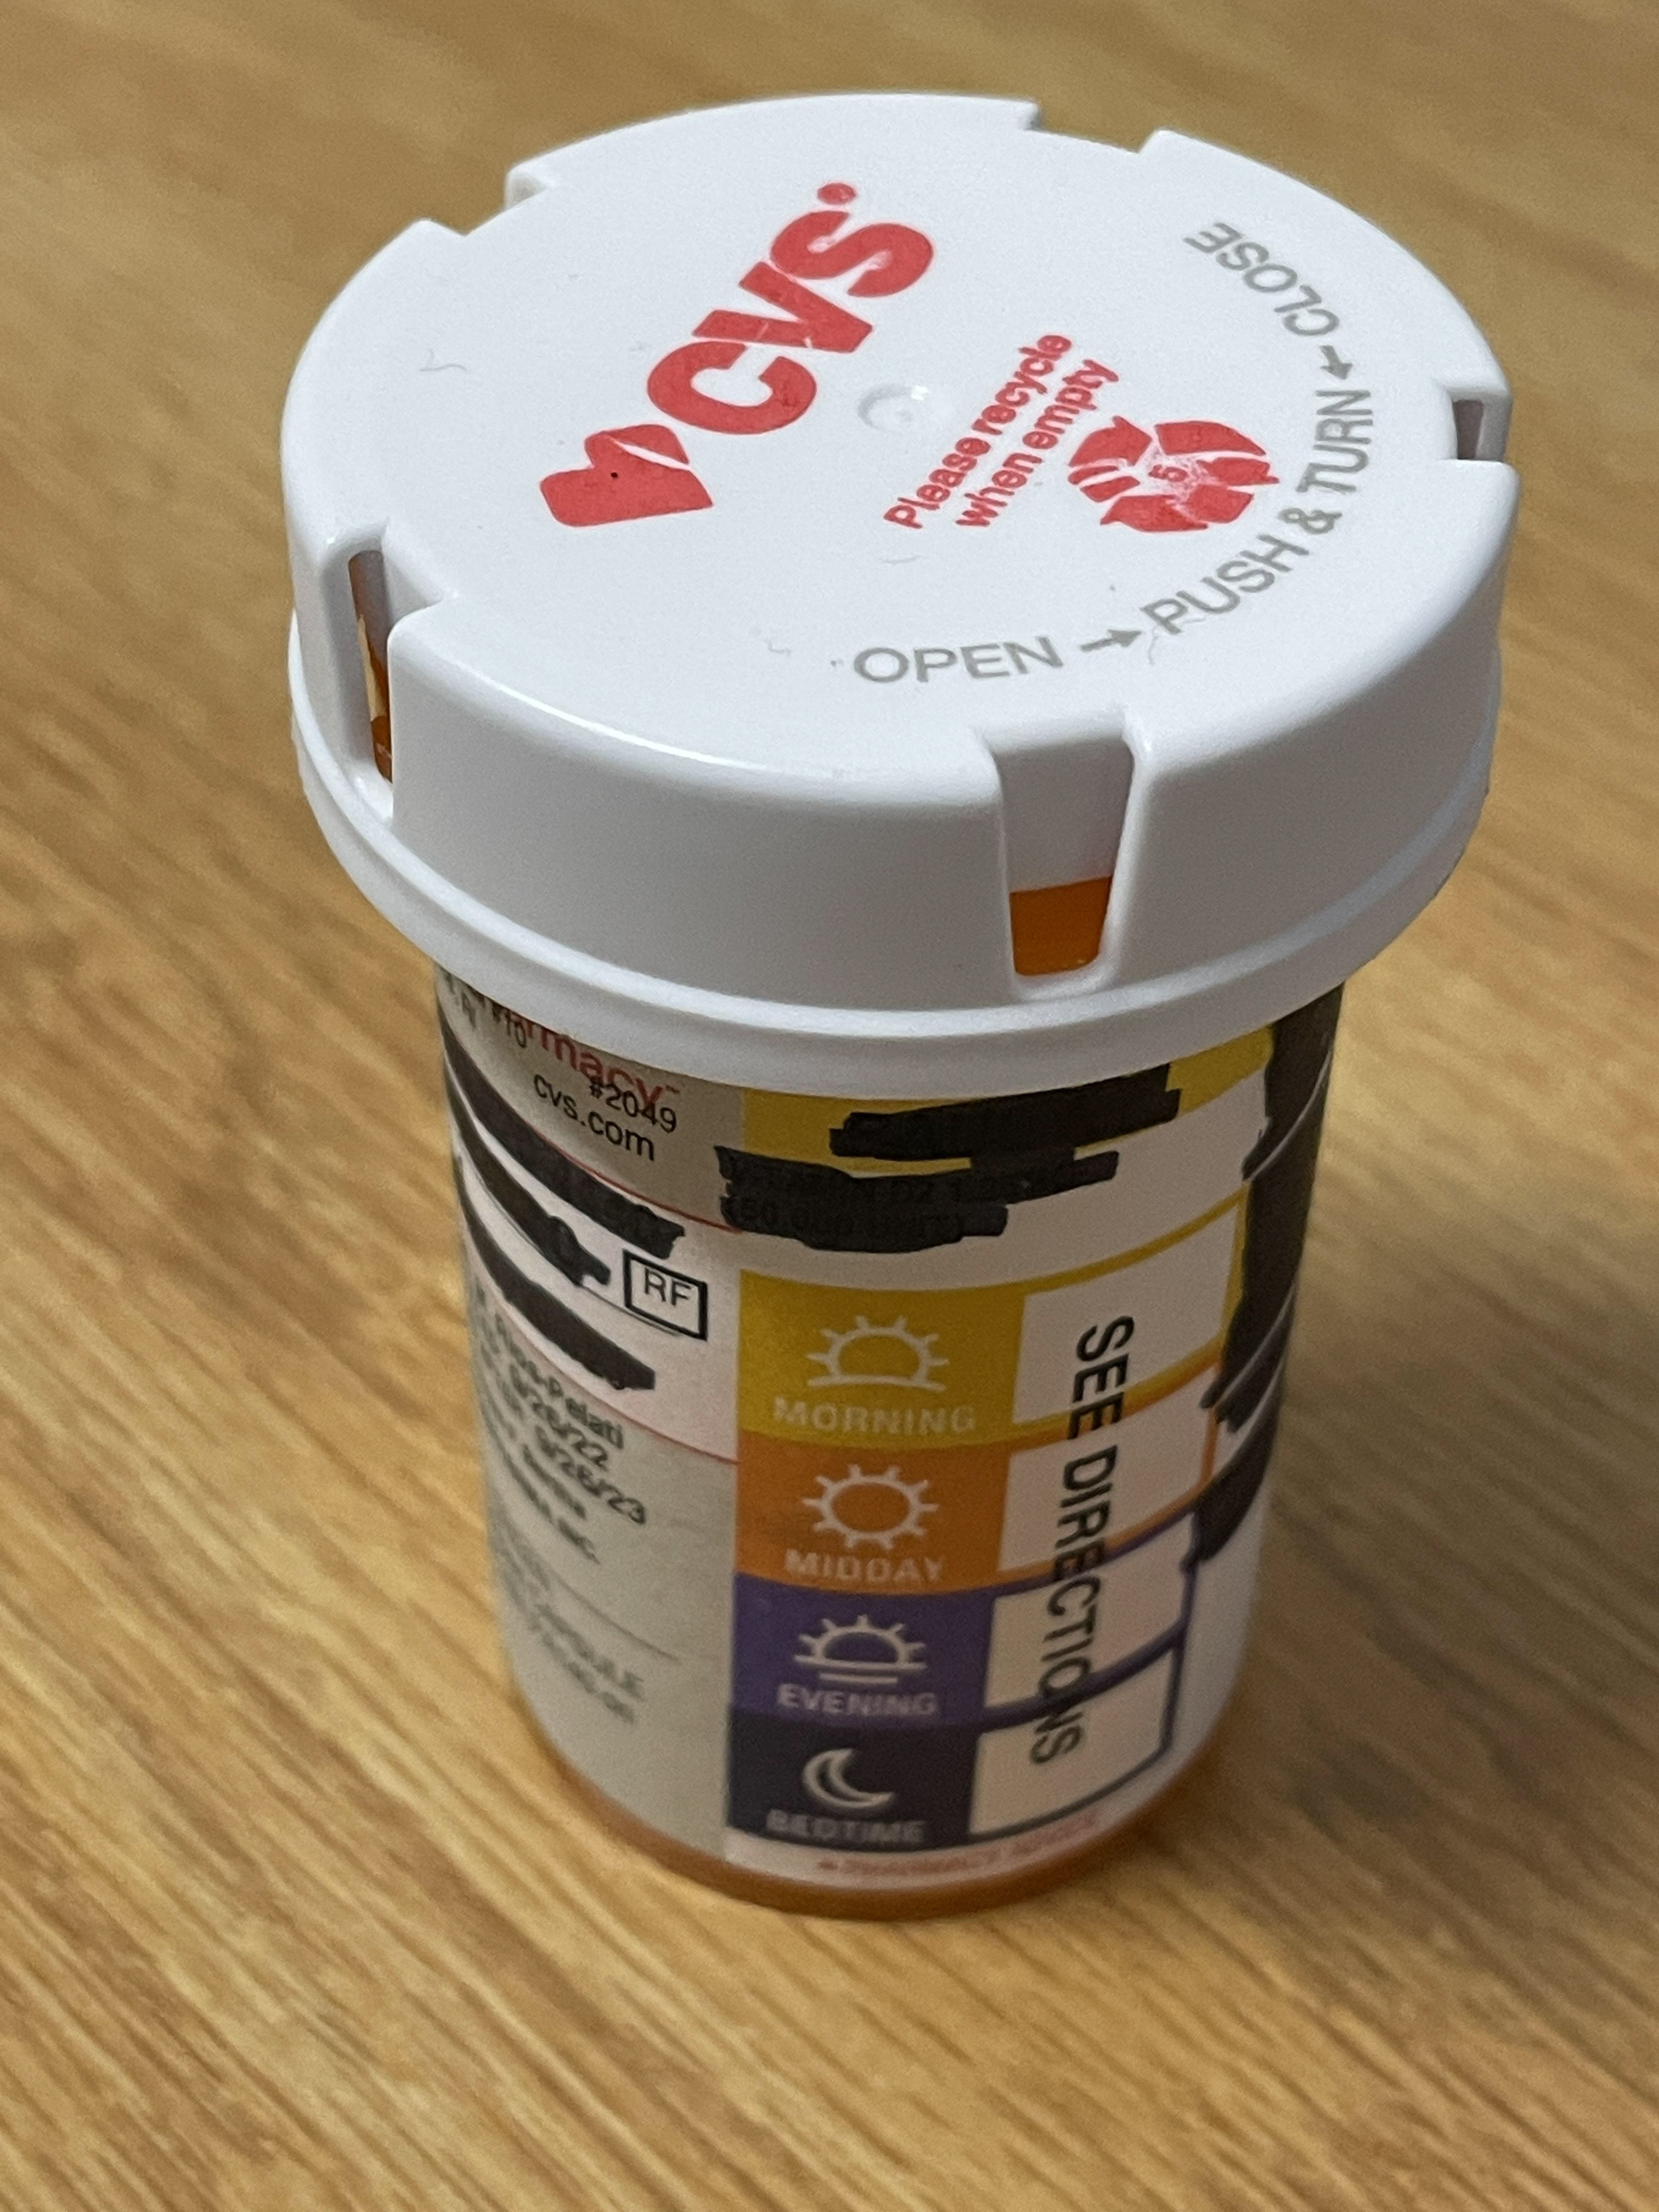
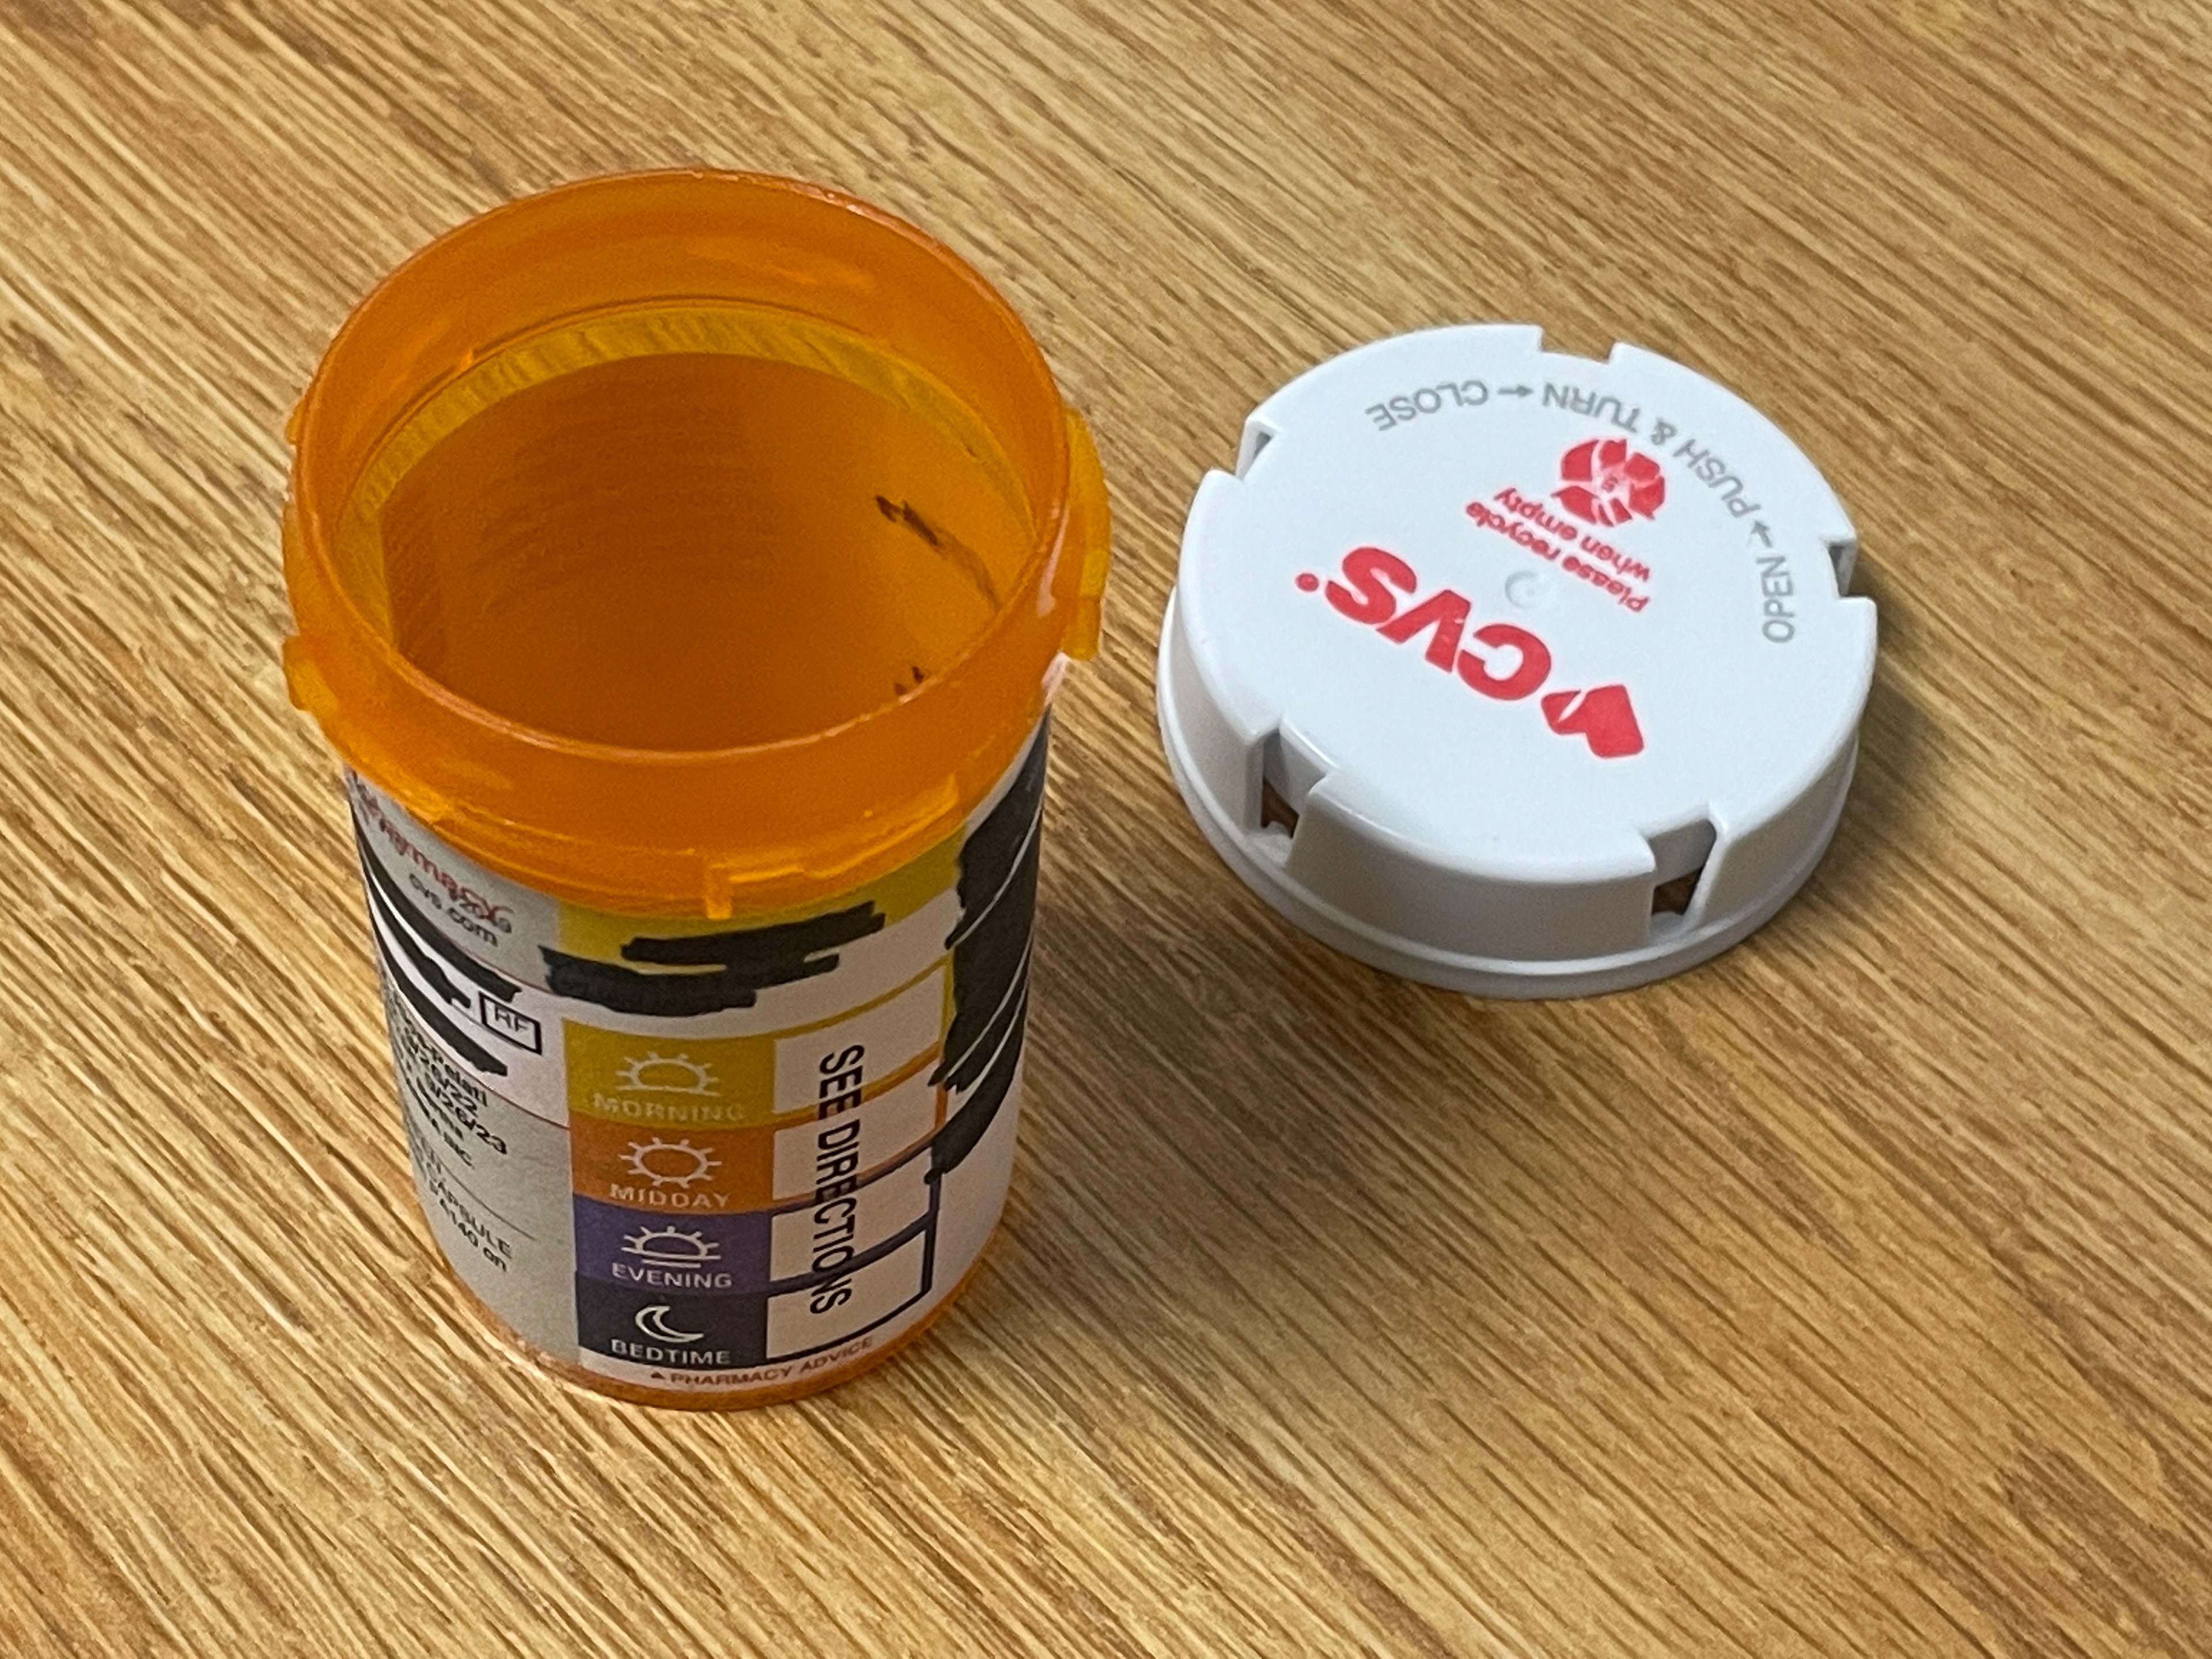
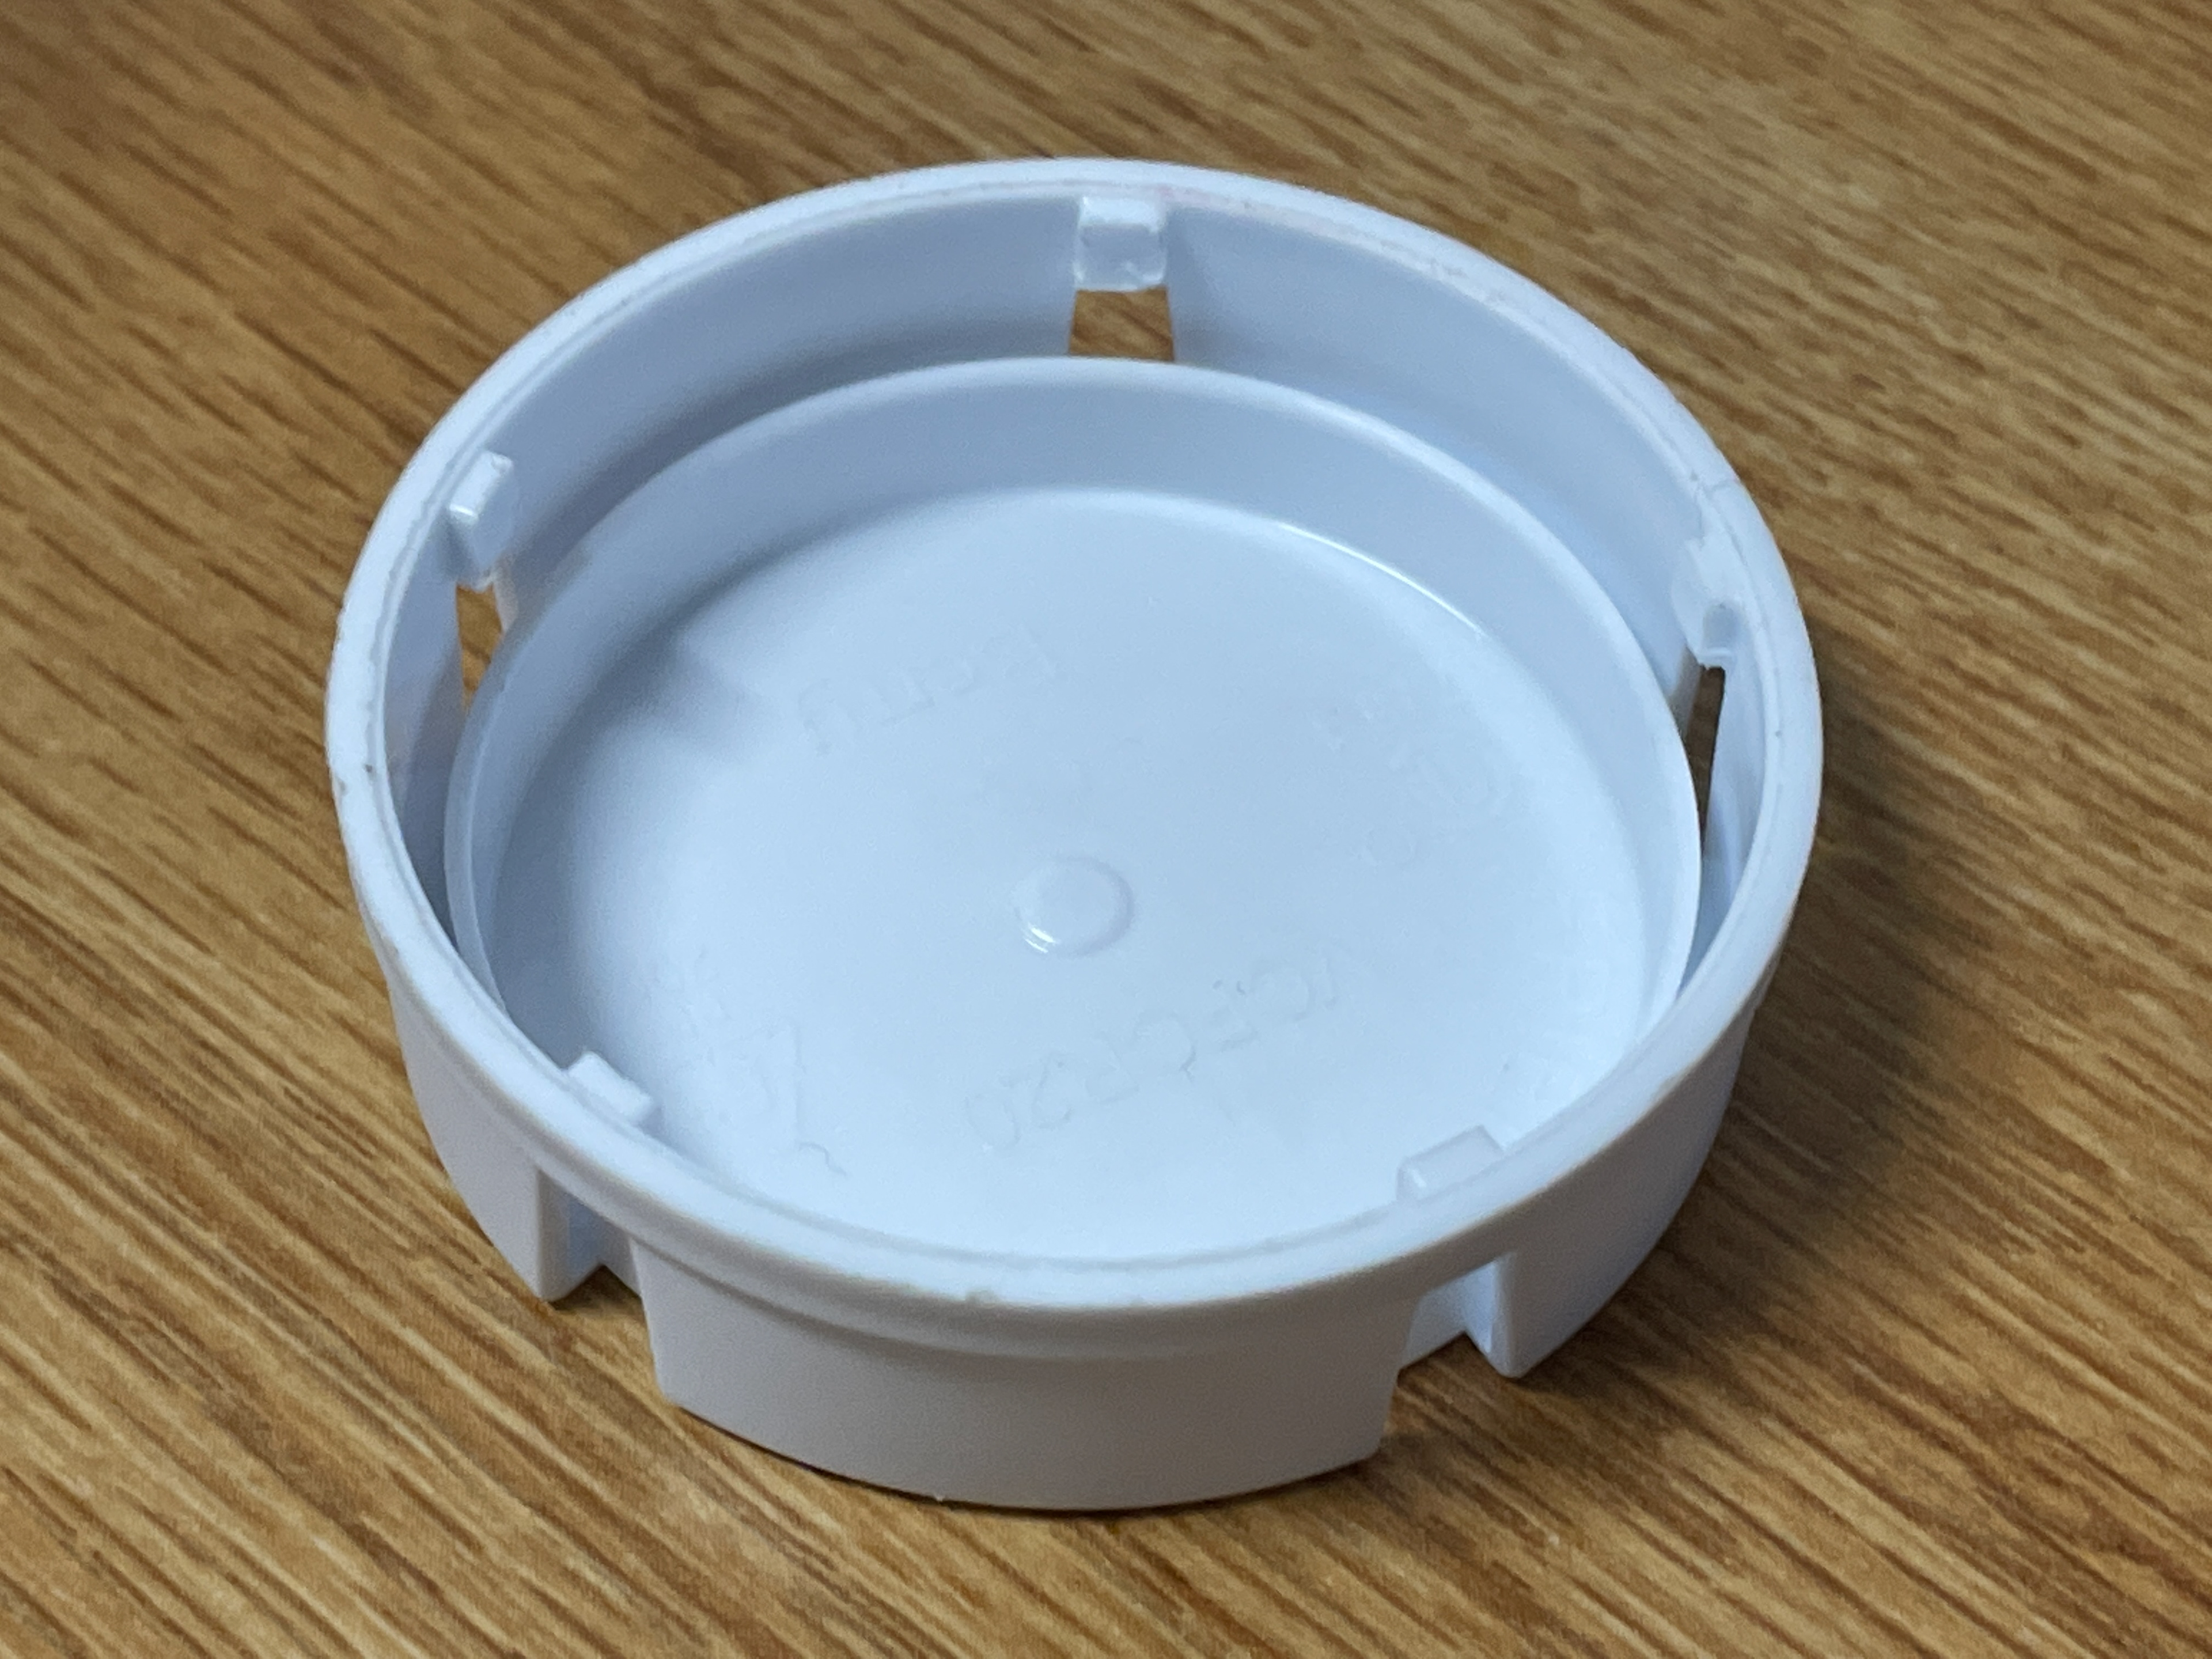
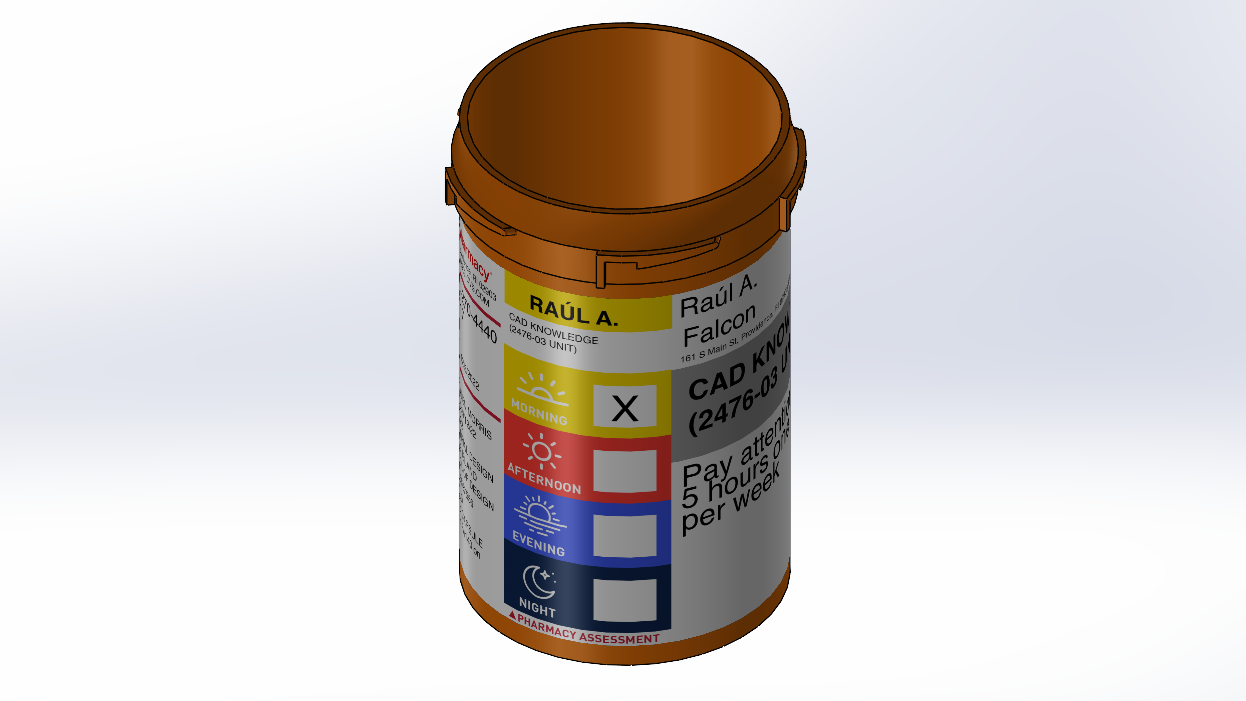
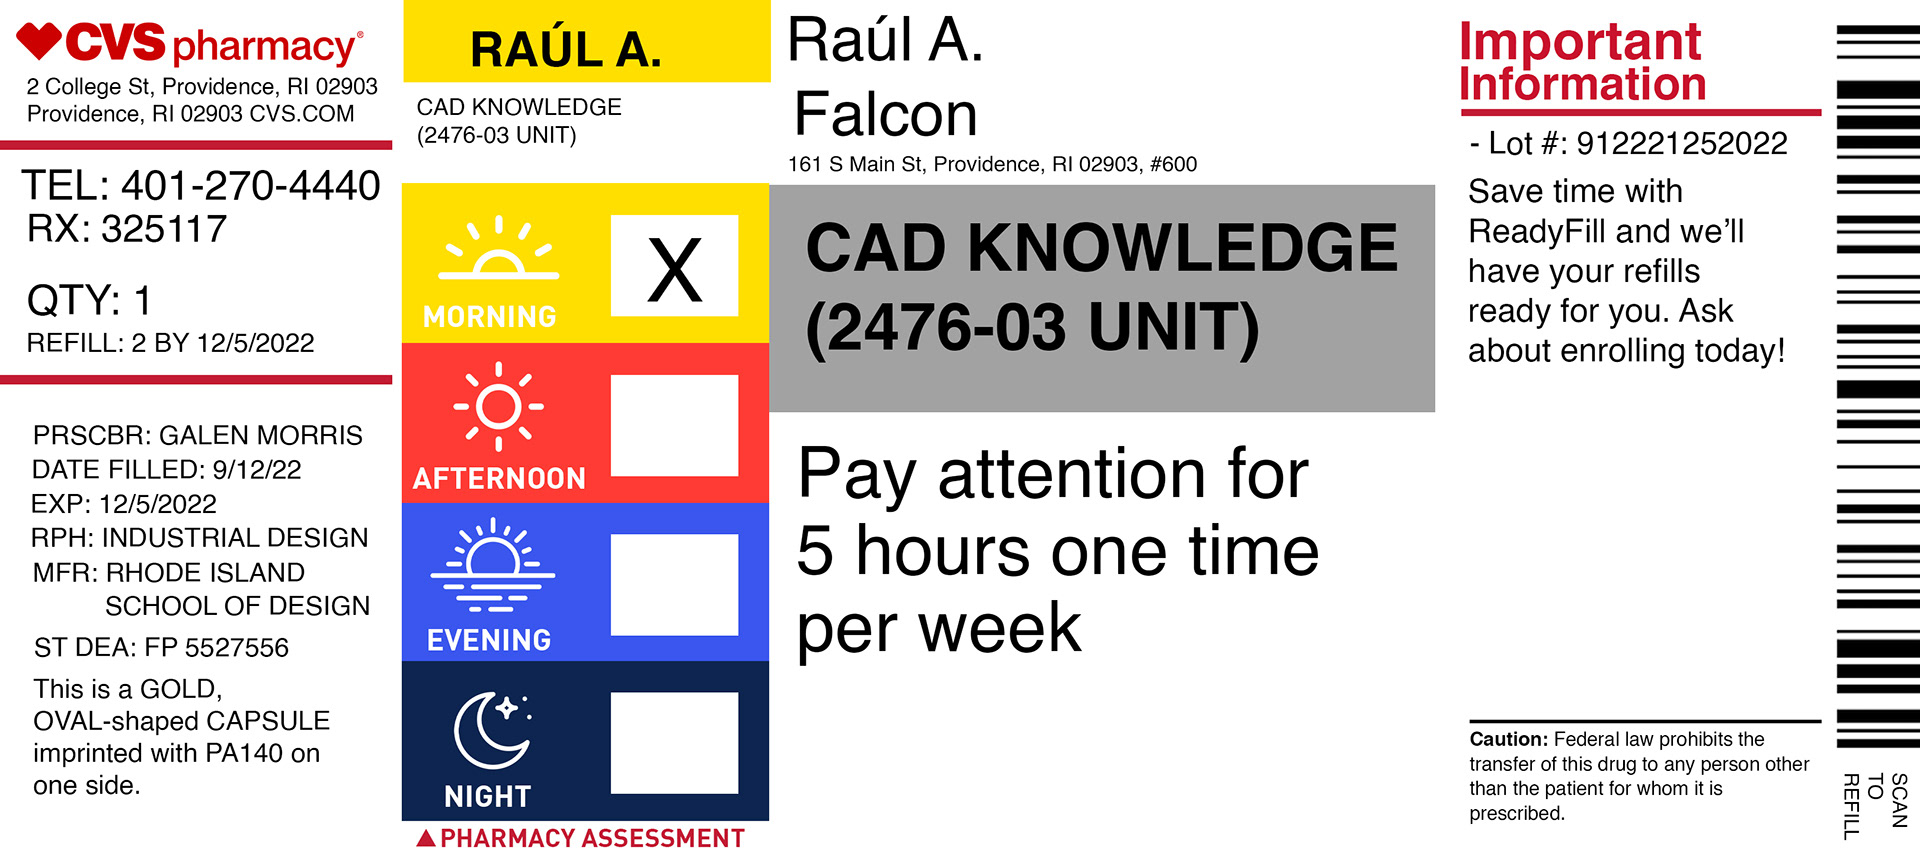
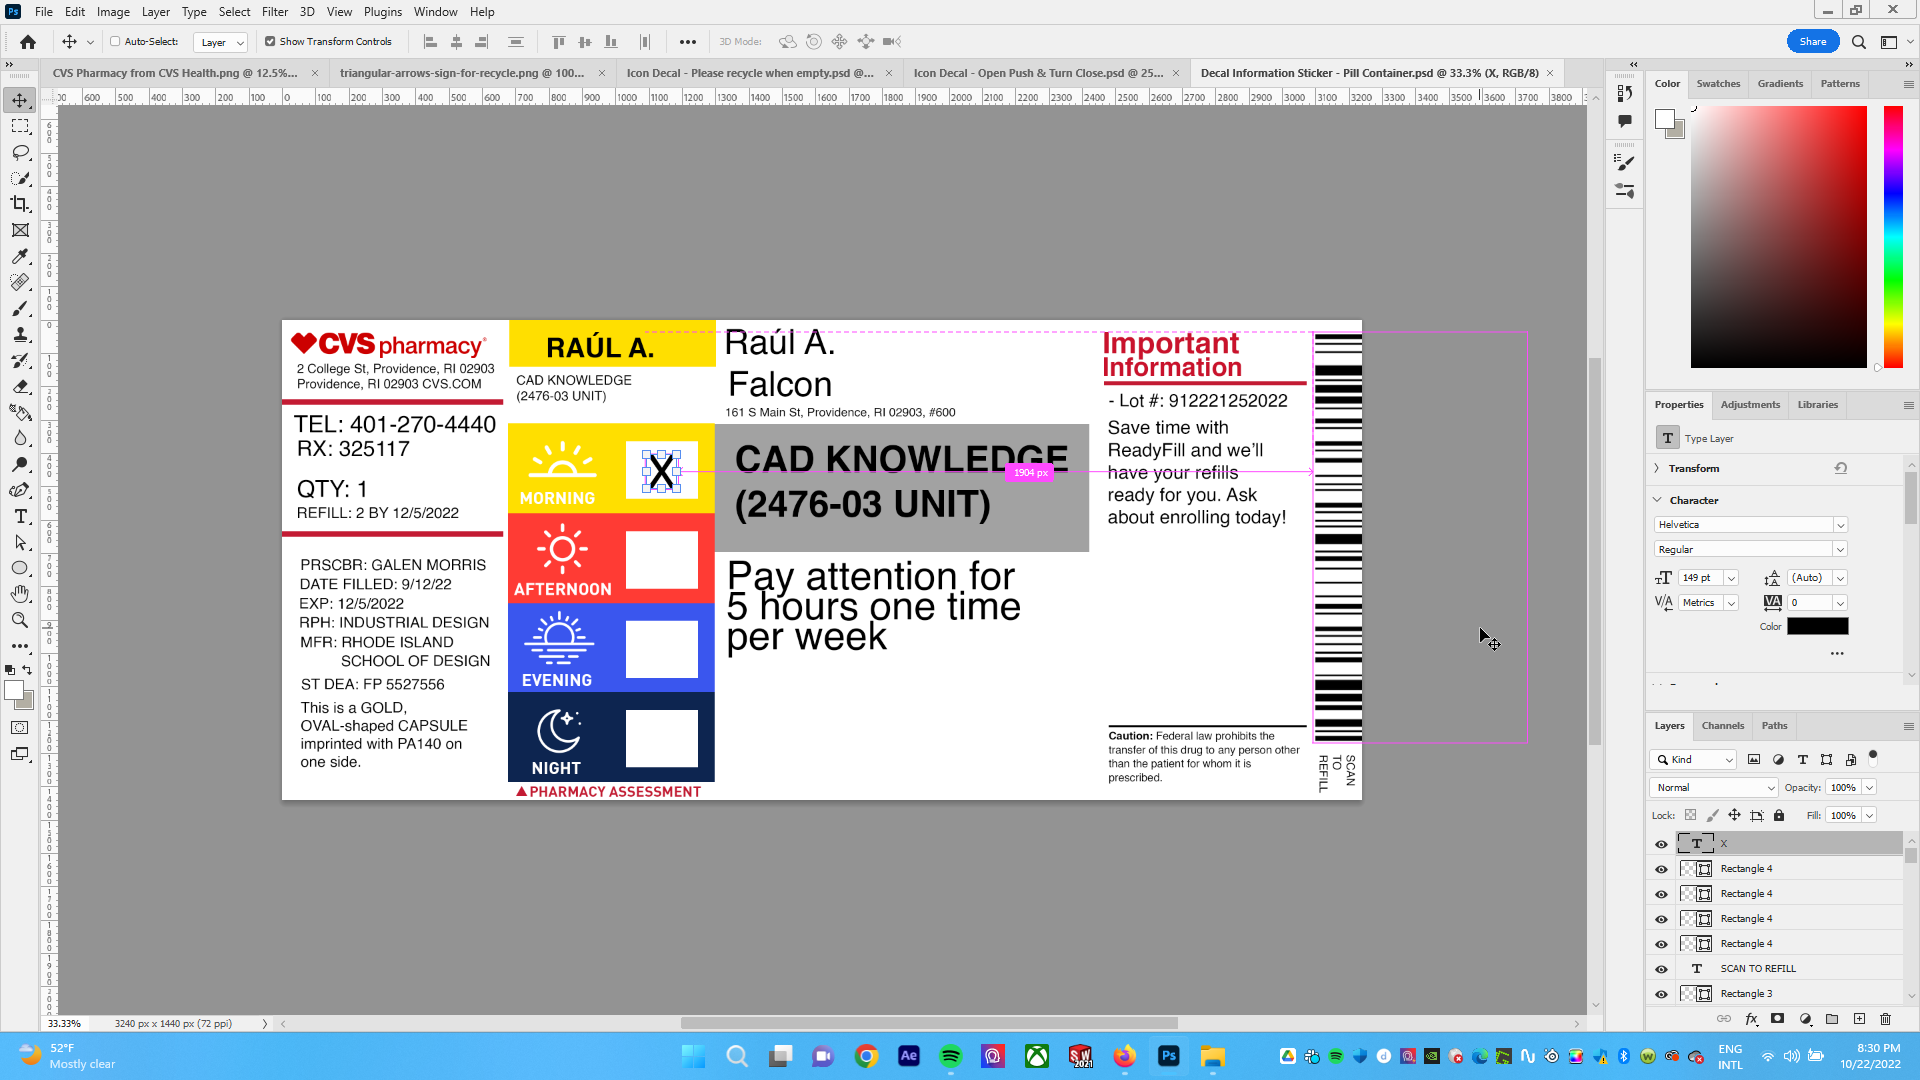
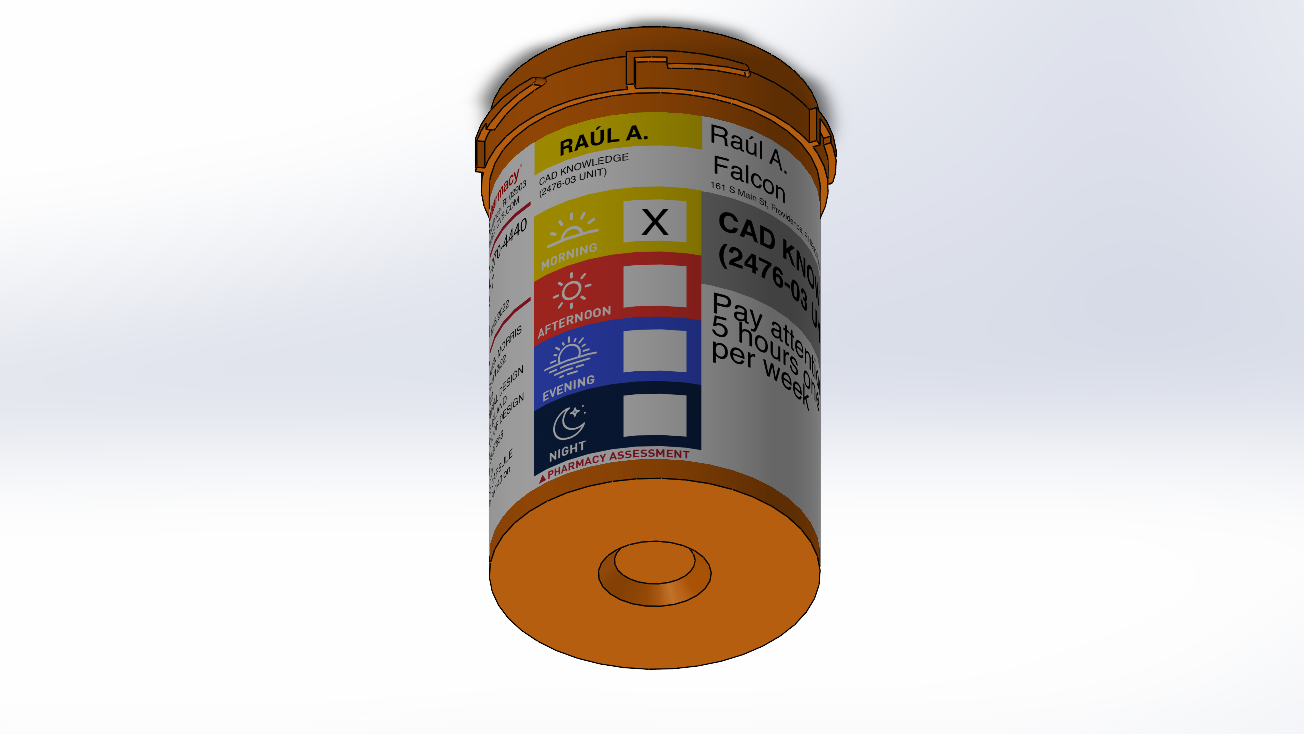
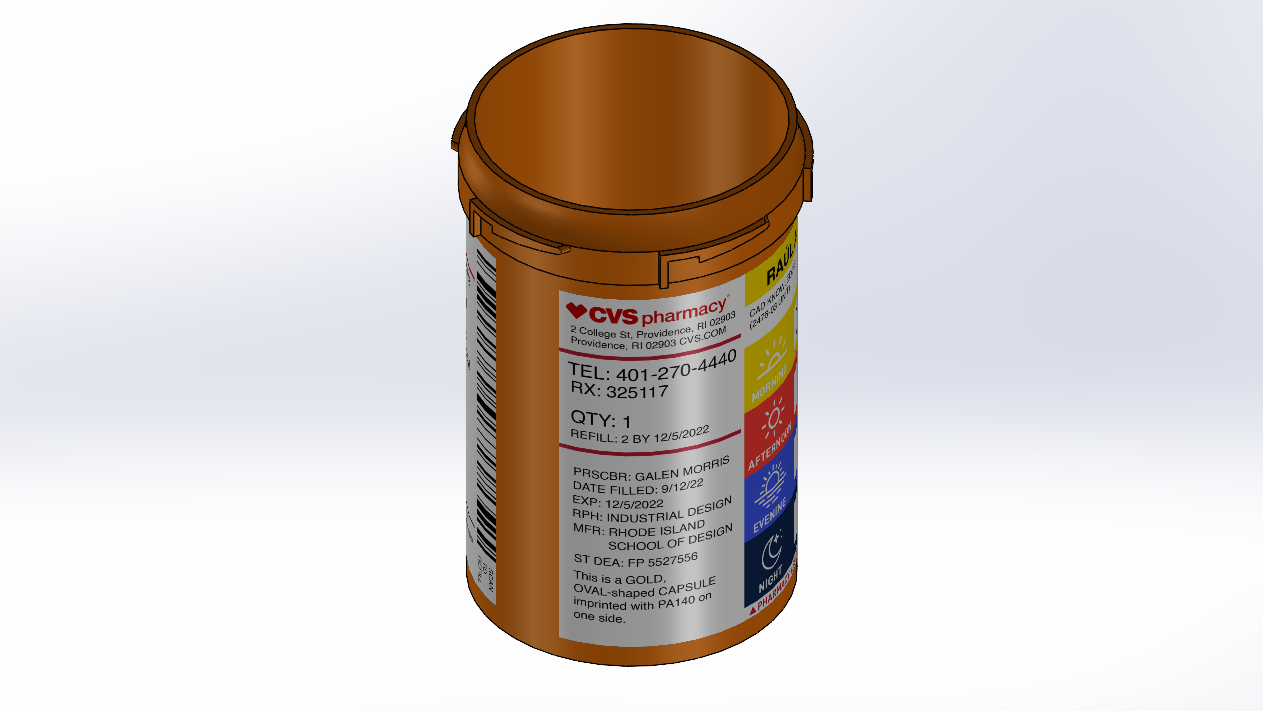
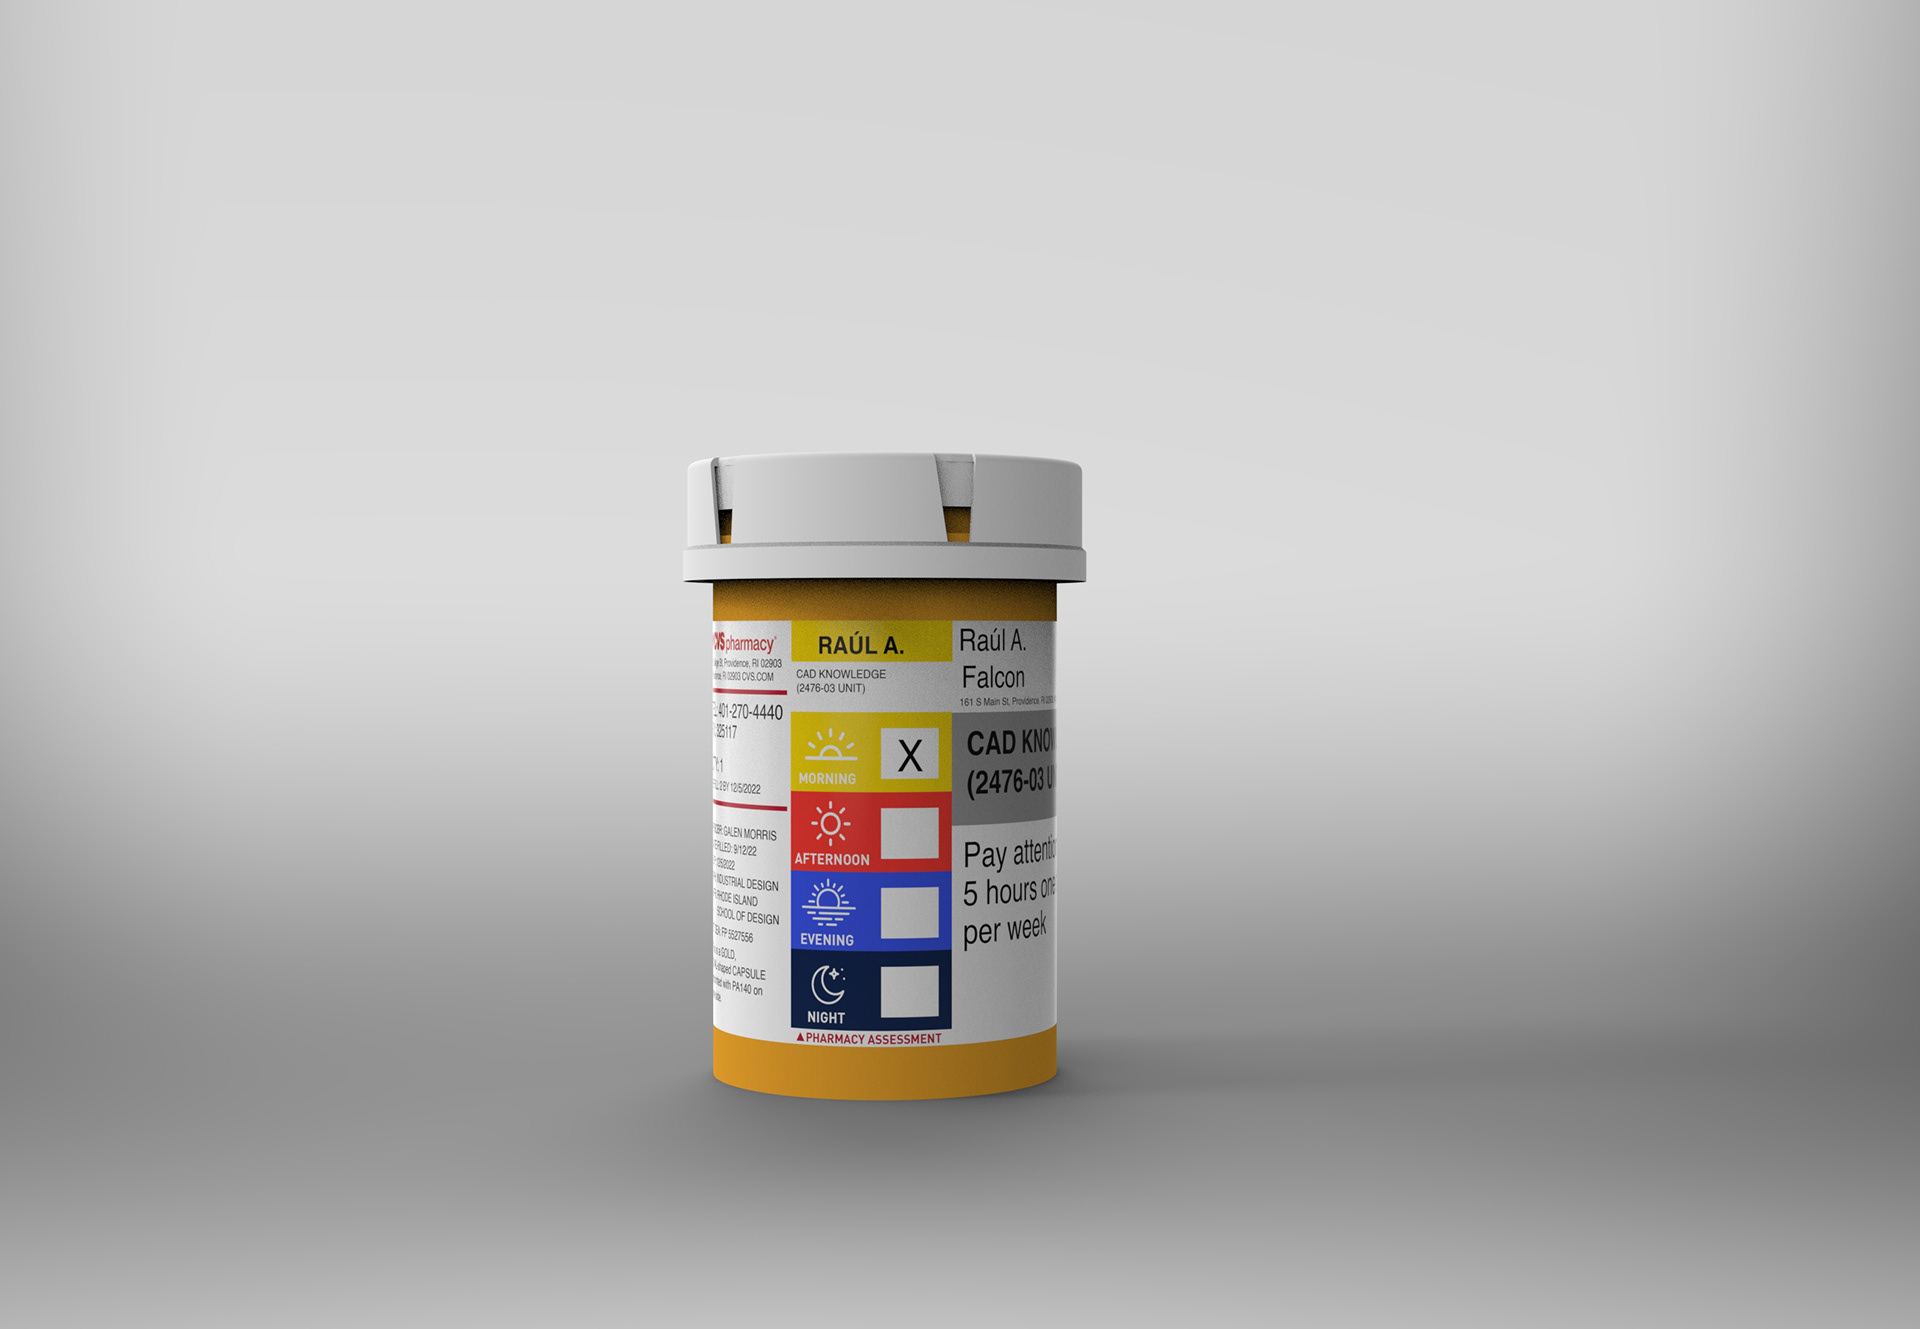
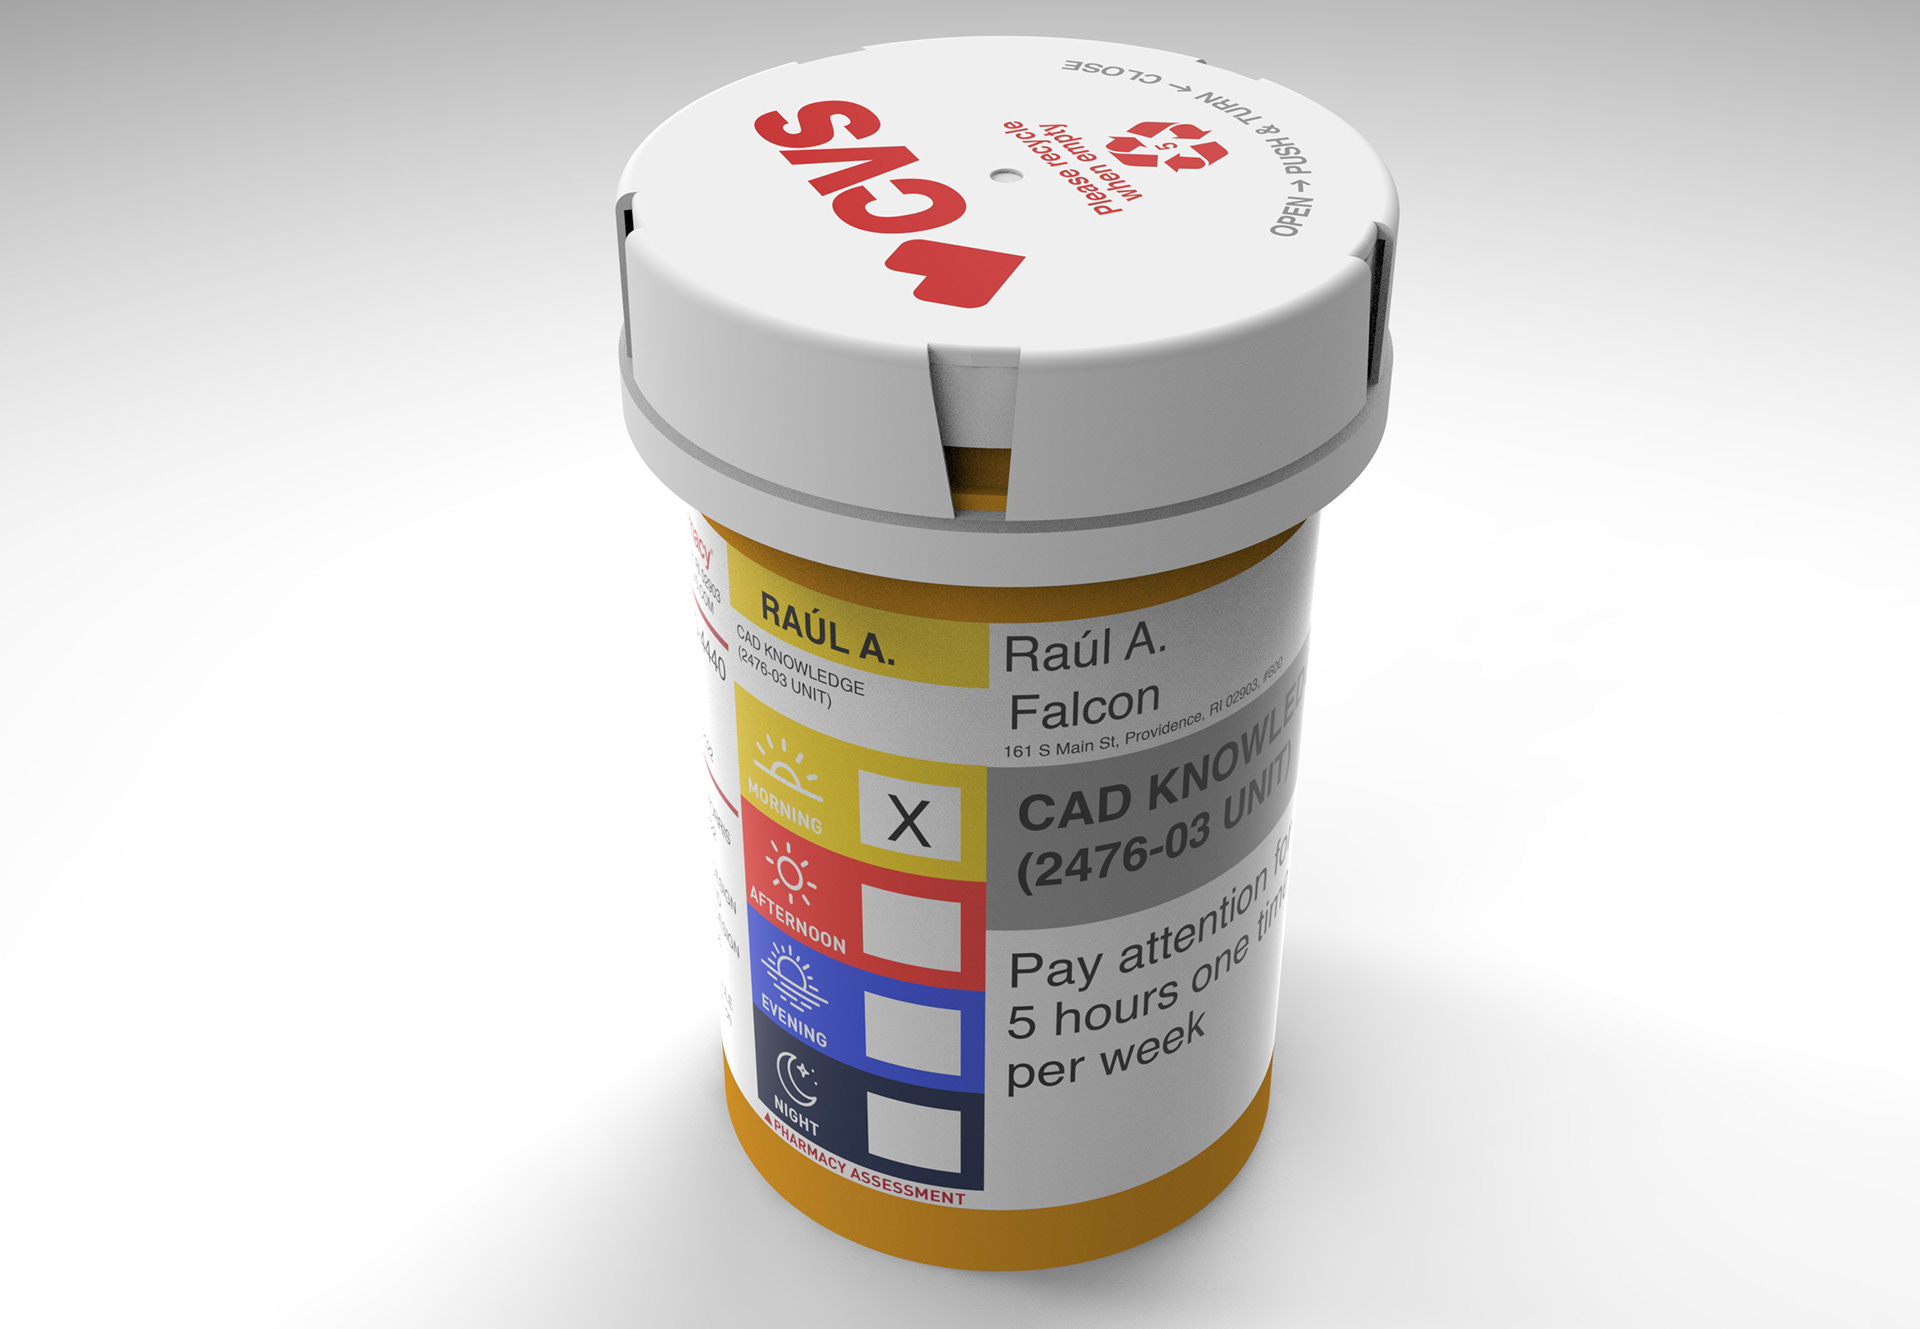
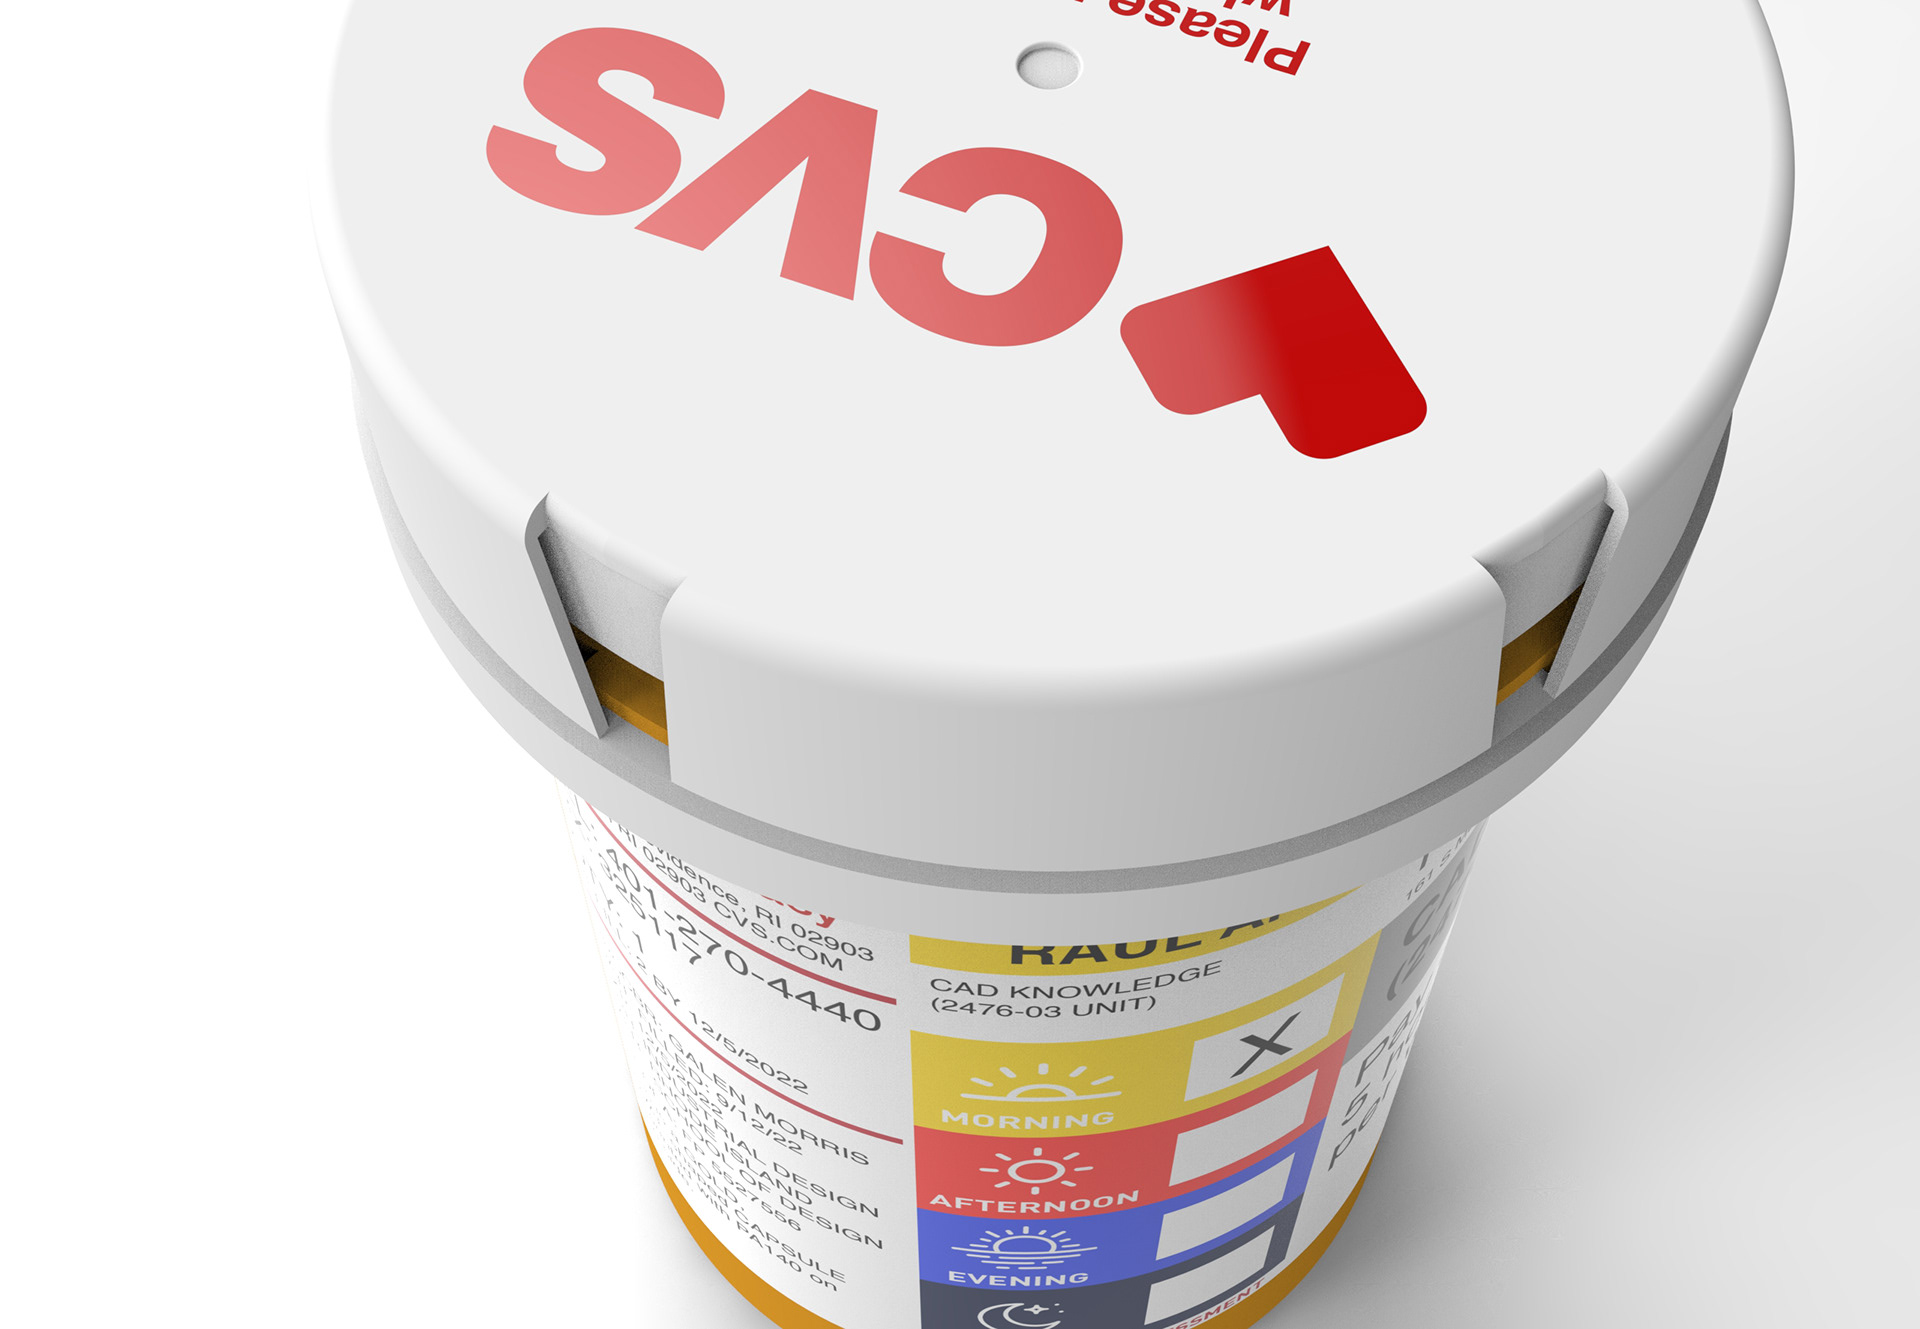
(5) I took apart the pill container and took observation photographs to grasp key details, shapes, and proportions.
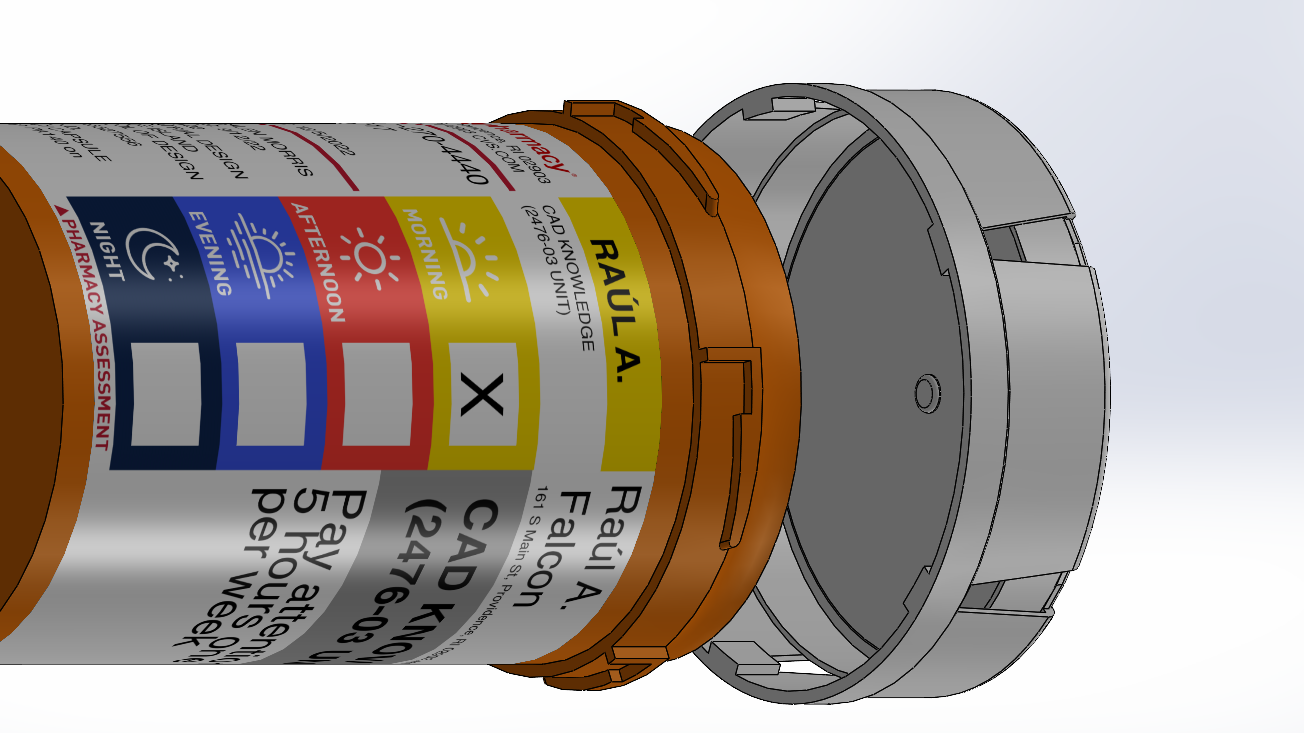
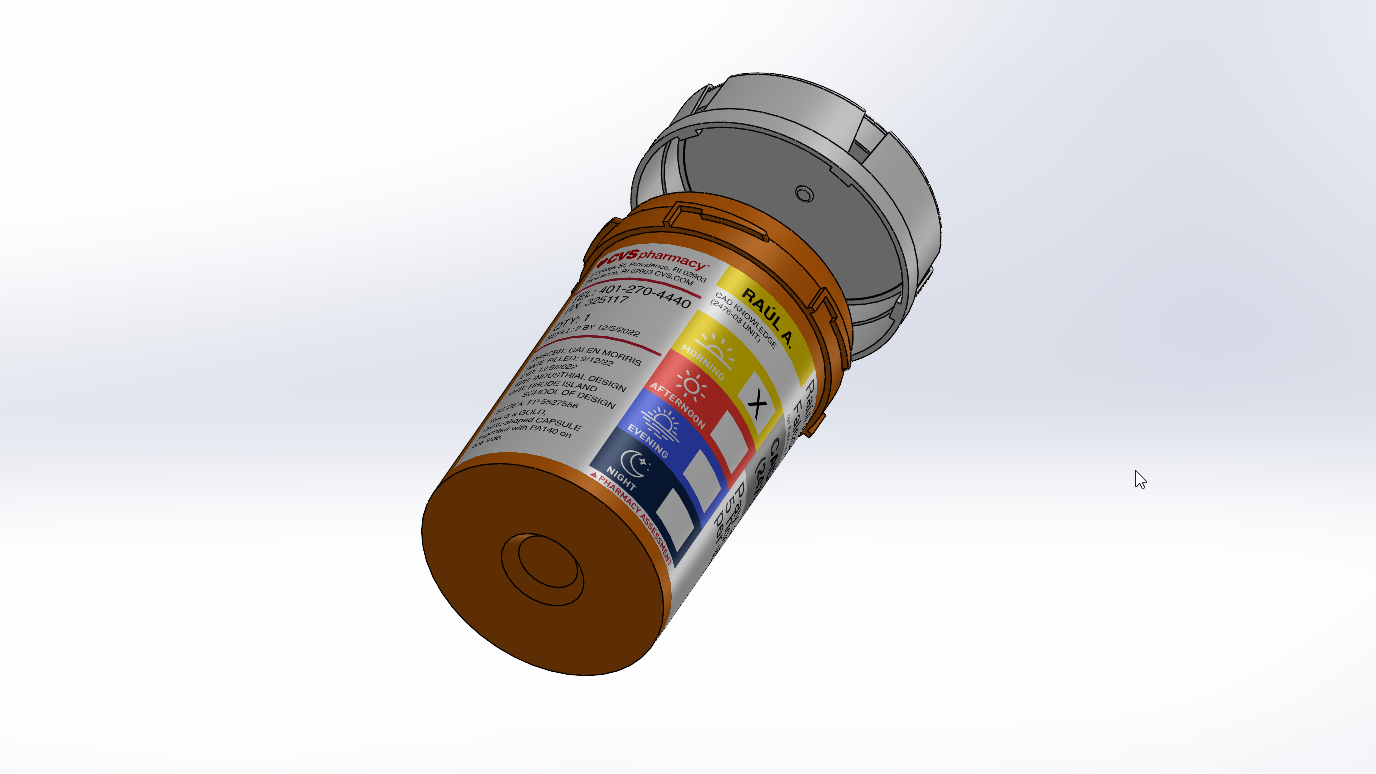
(6) I divided the project into two components:
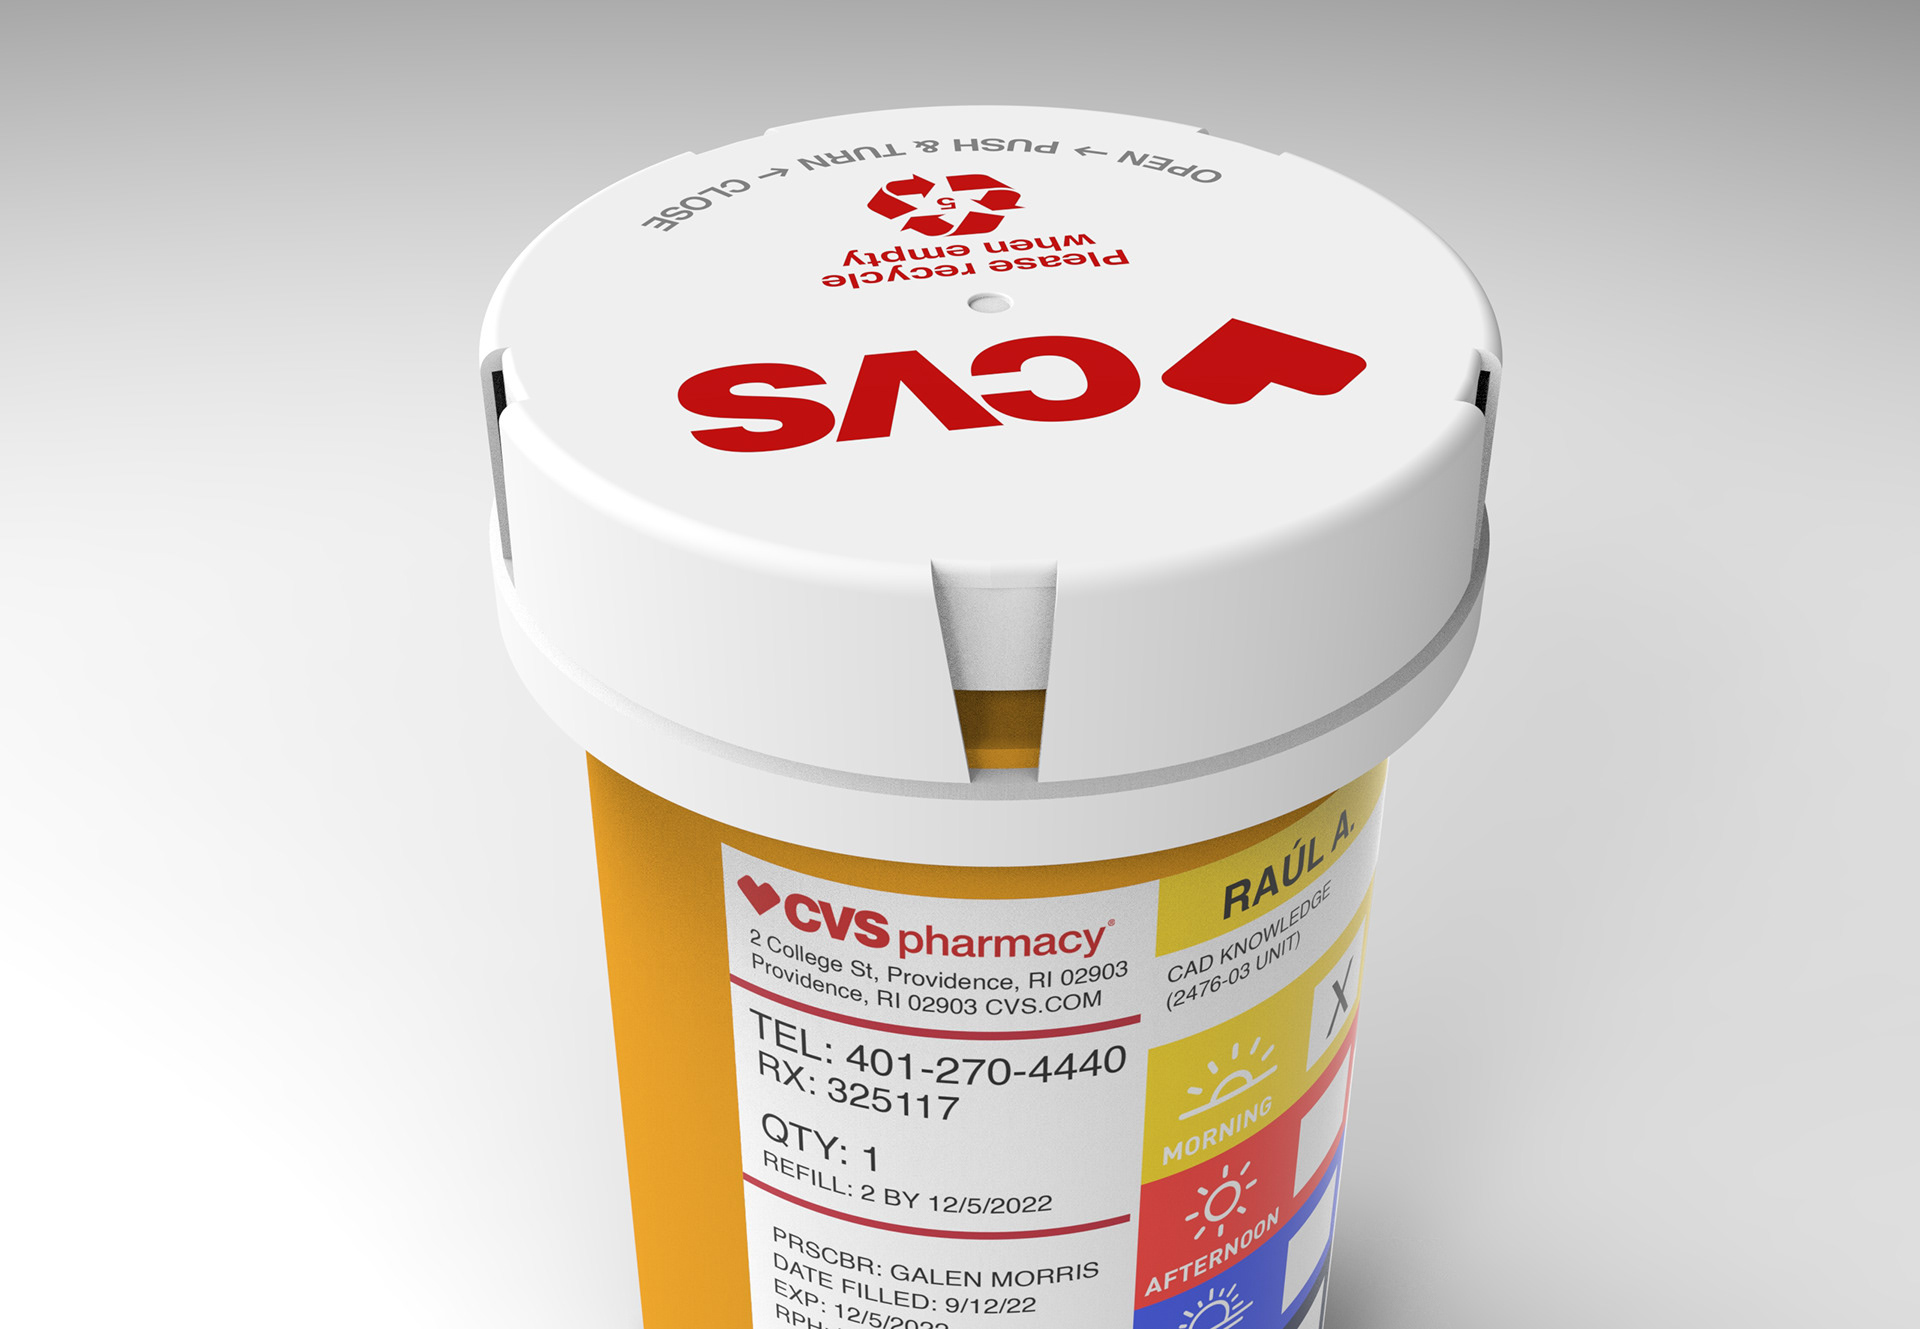
1. The Cylindrical Container
2. The Lid

Lid Process
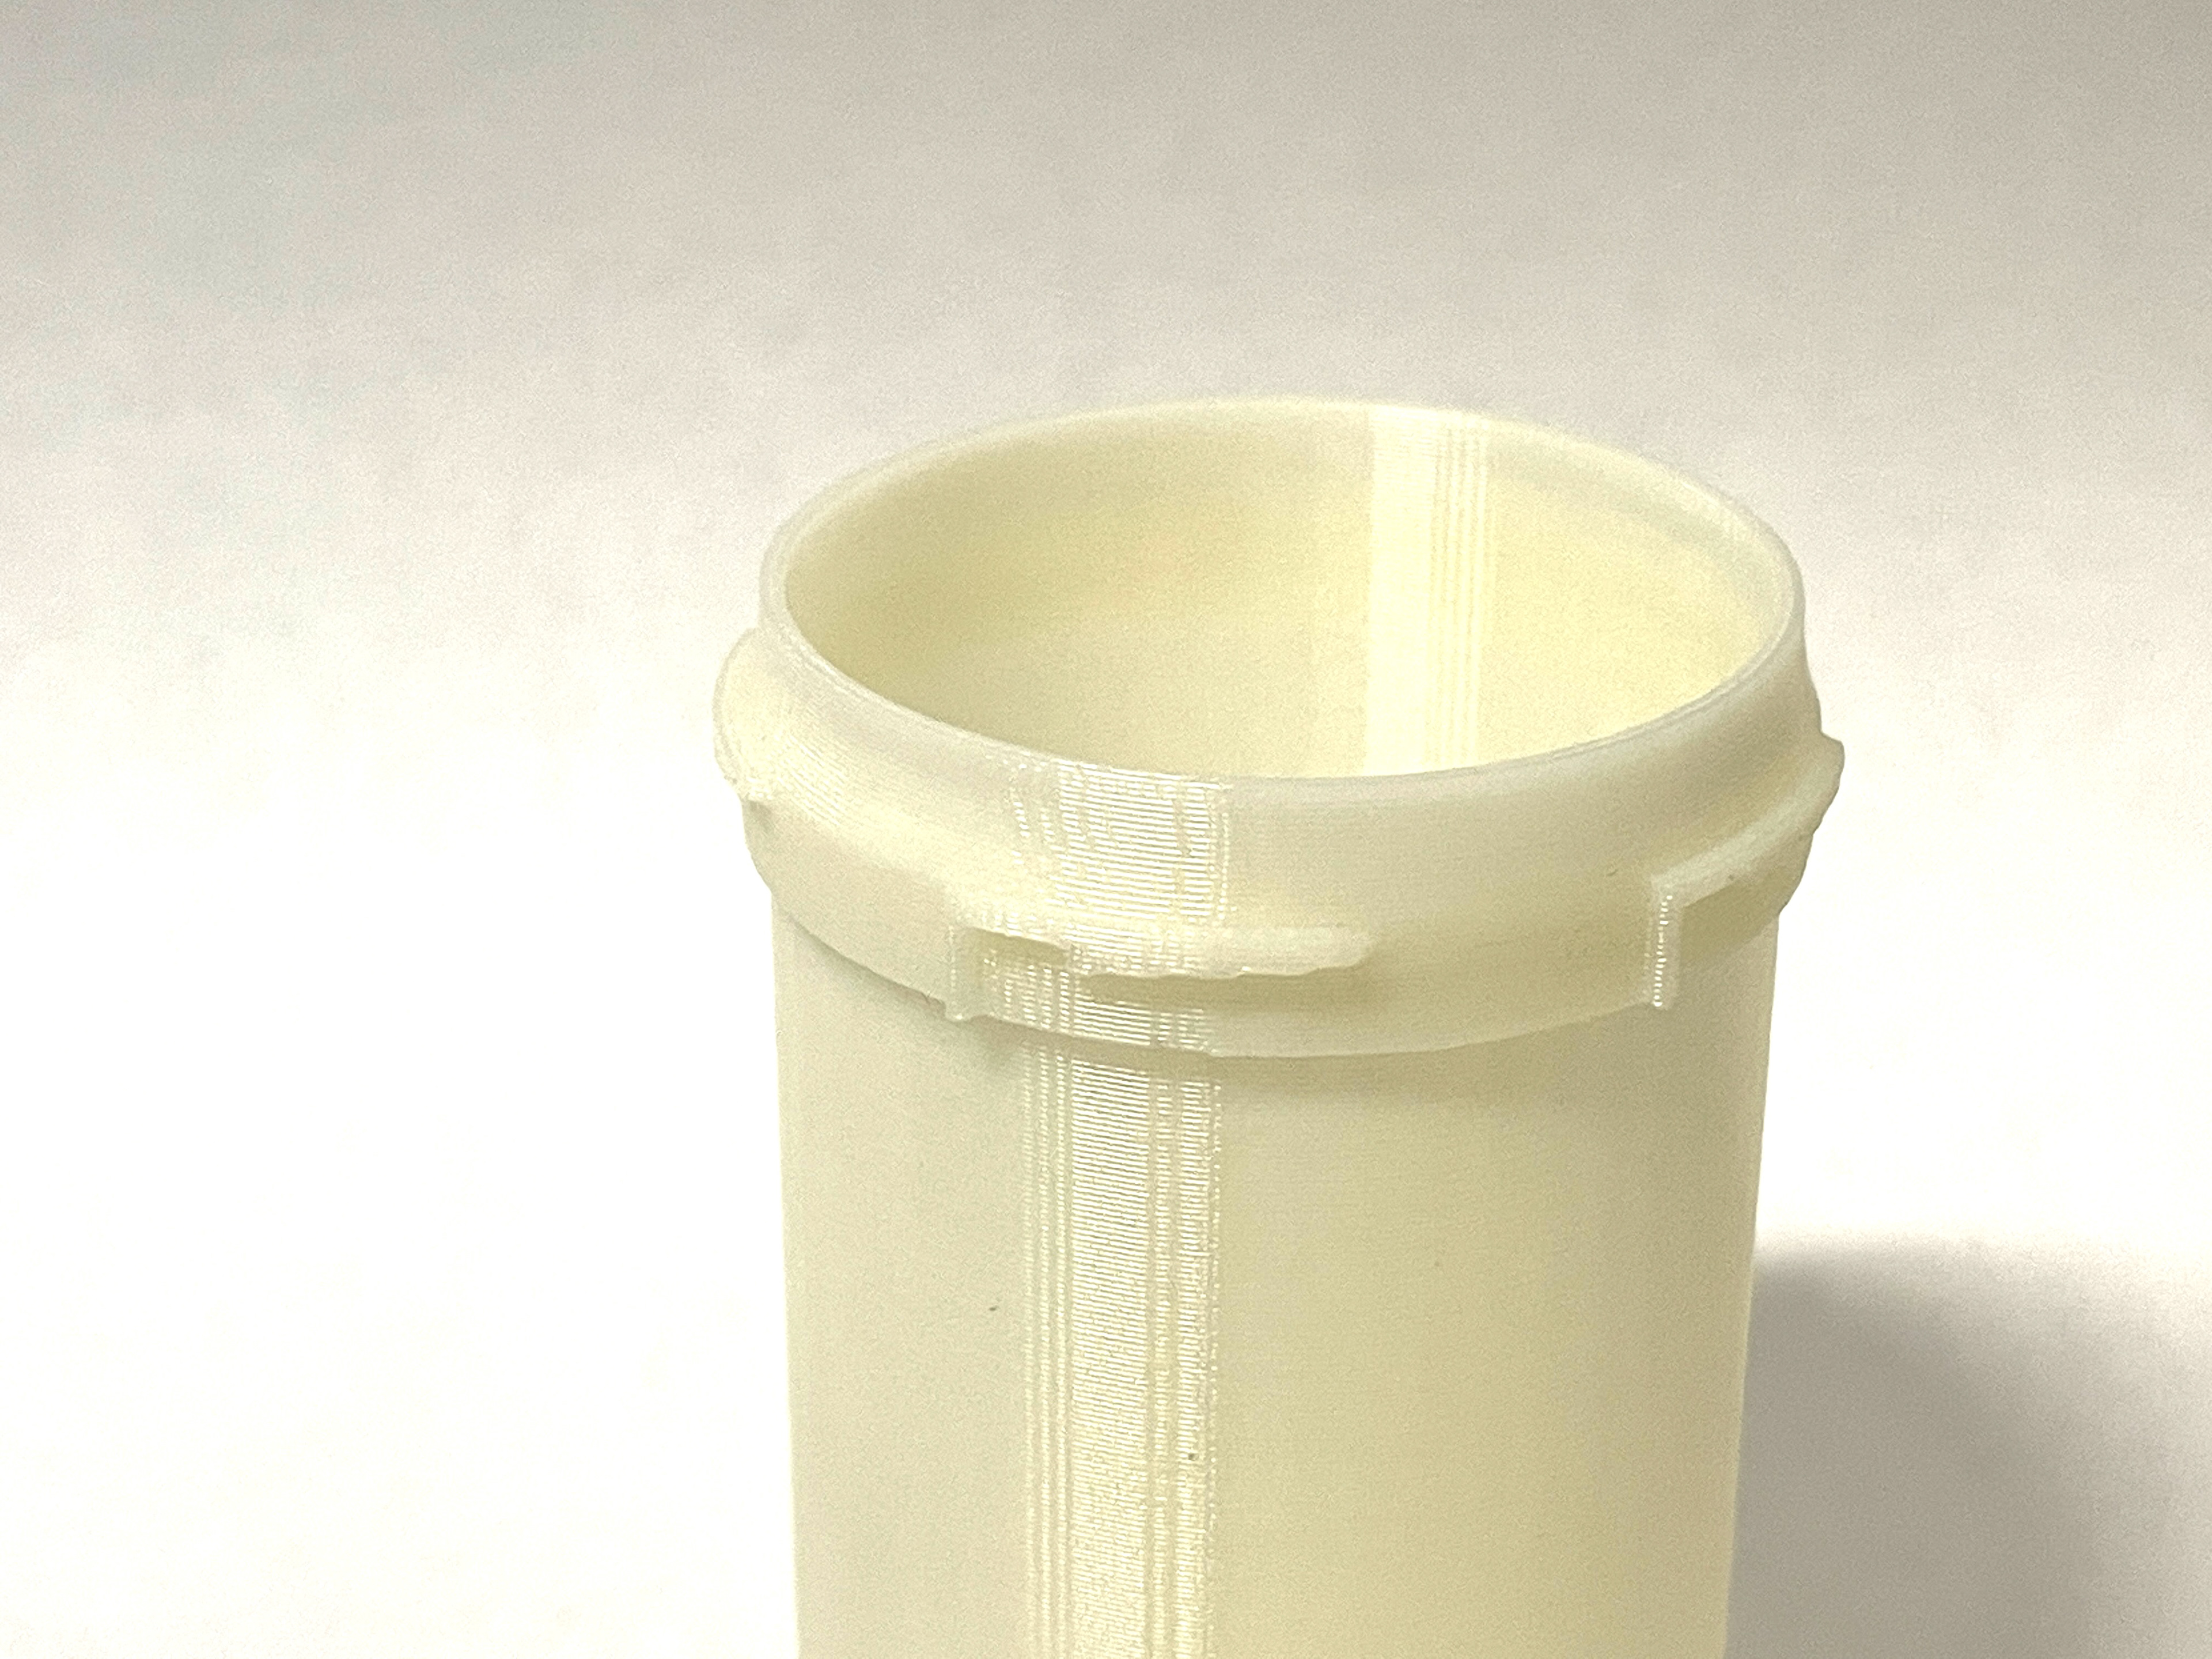
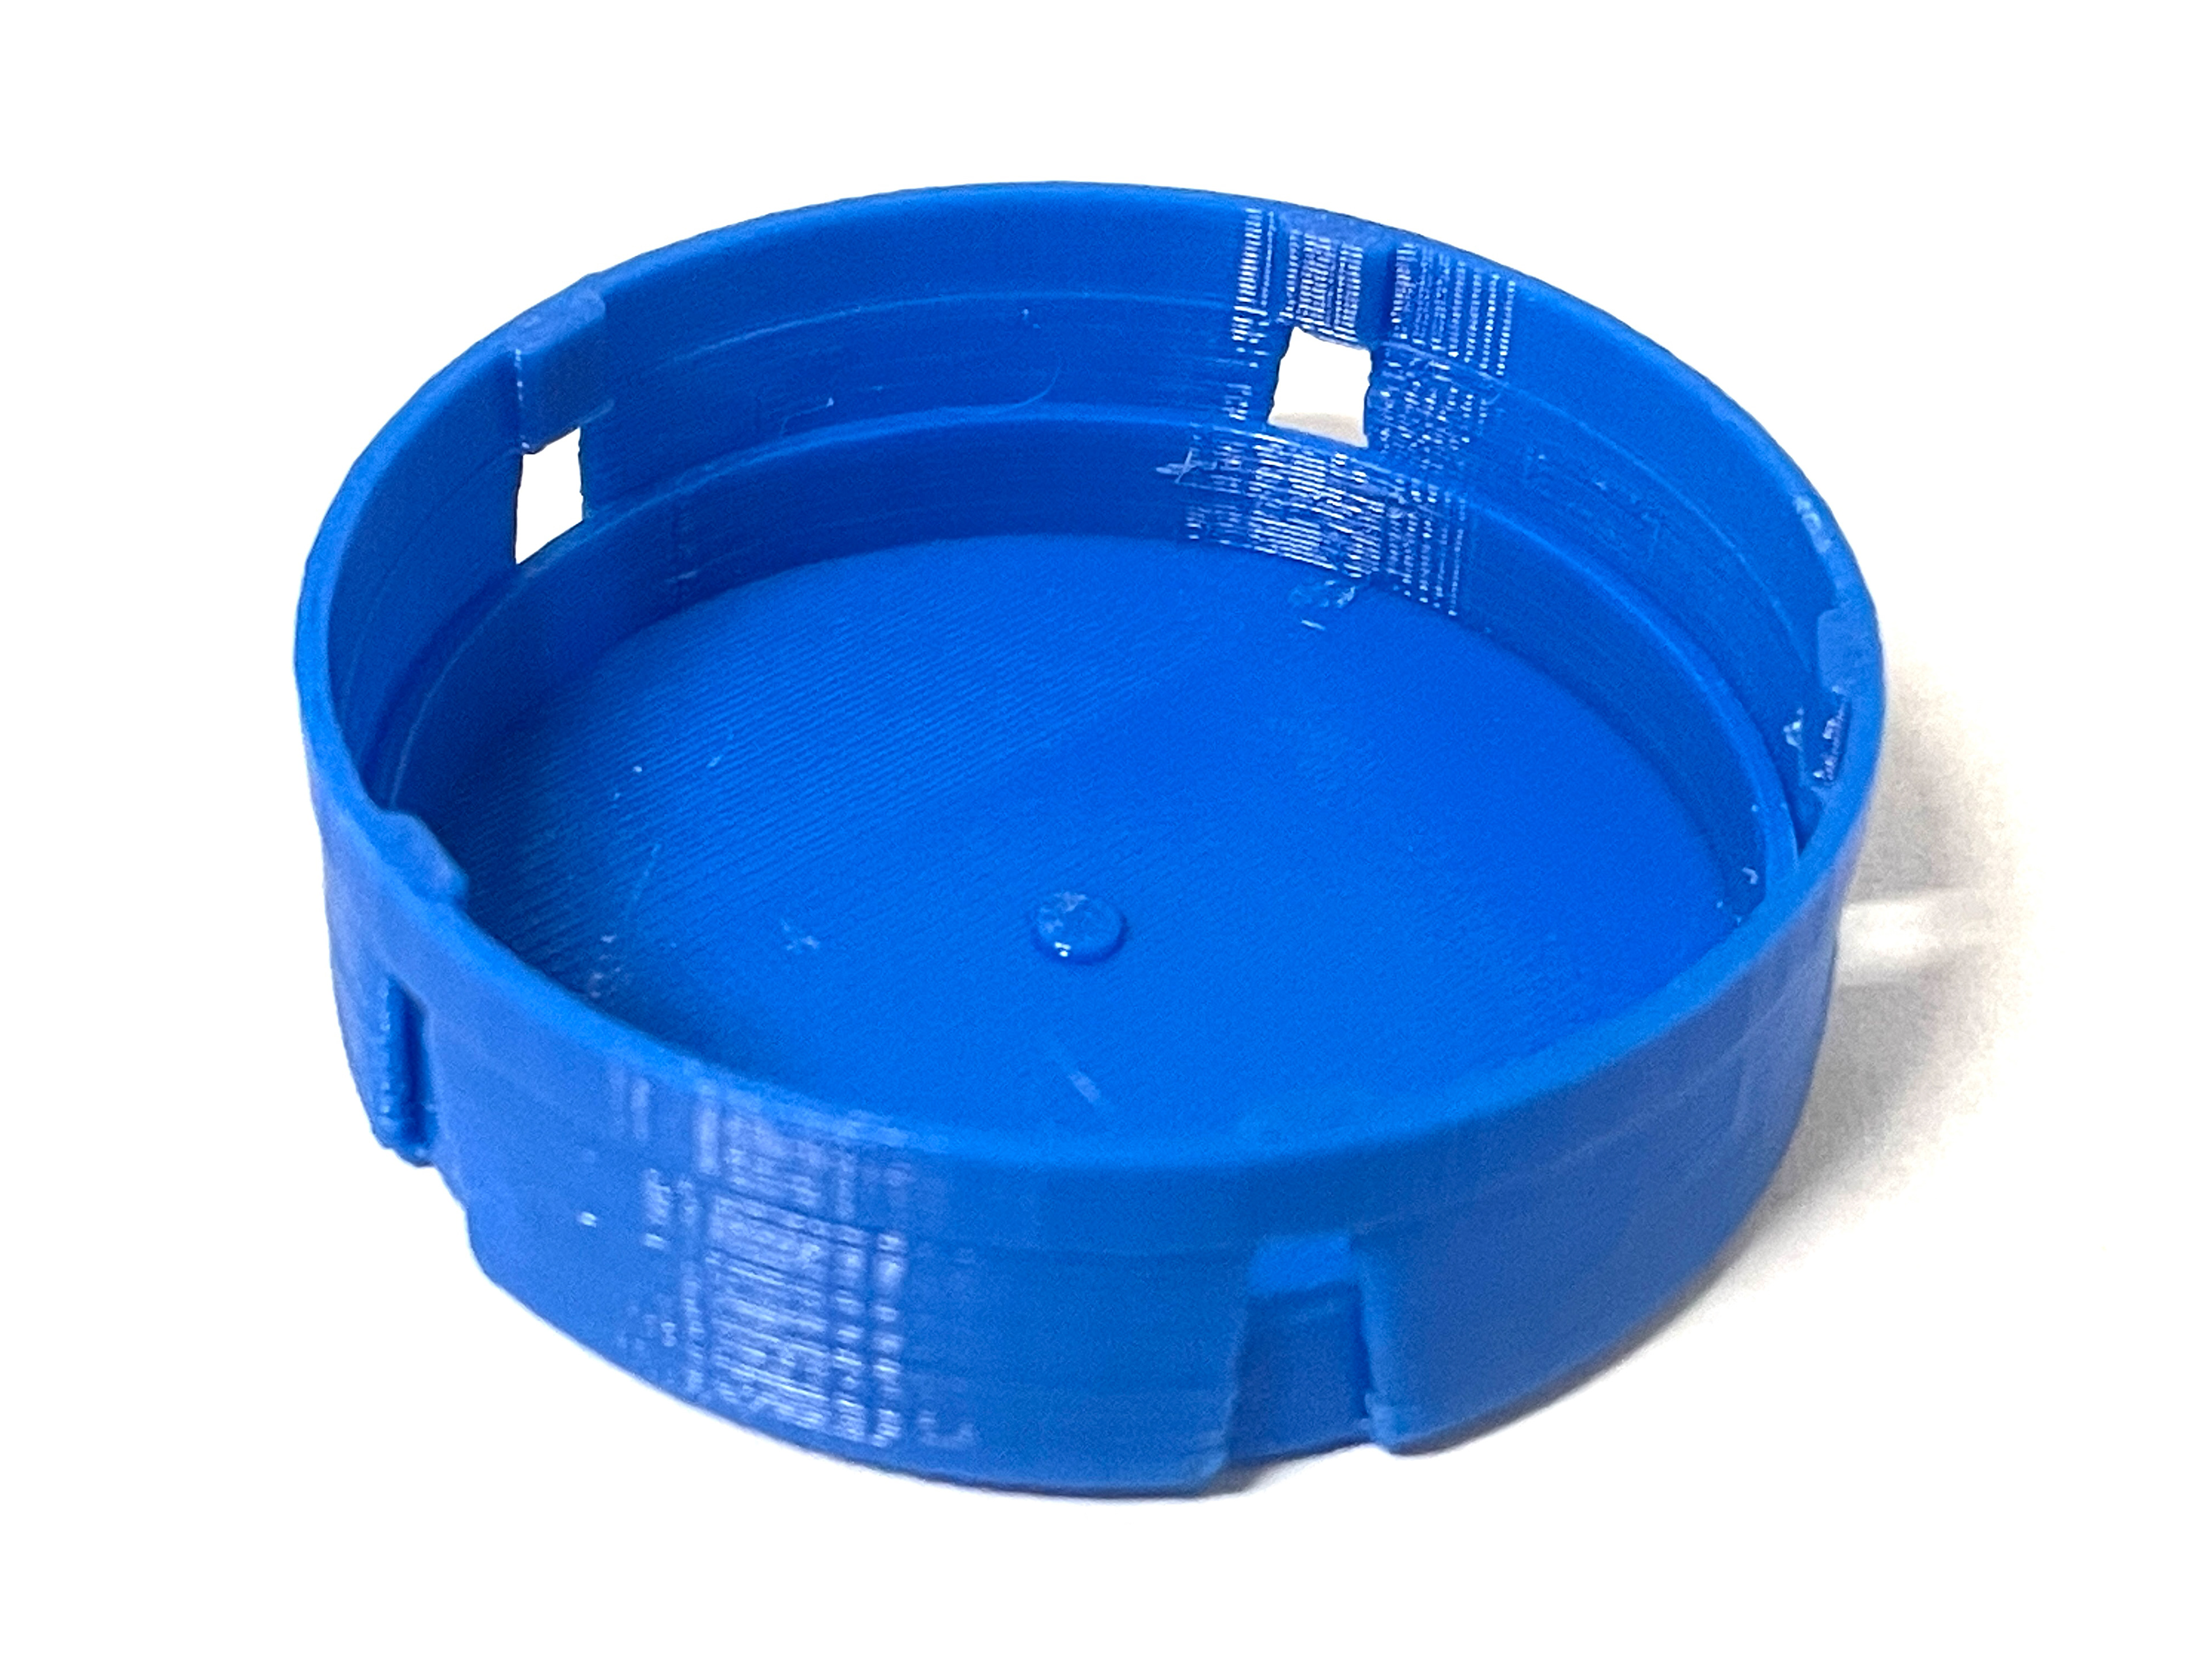
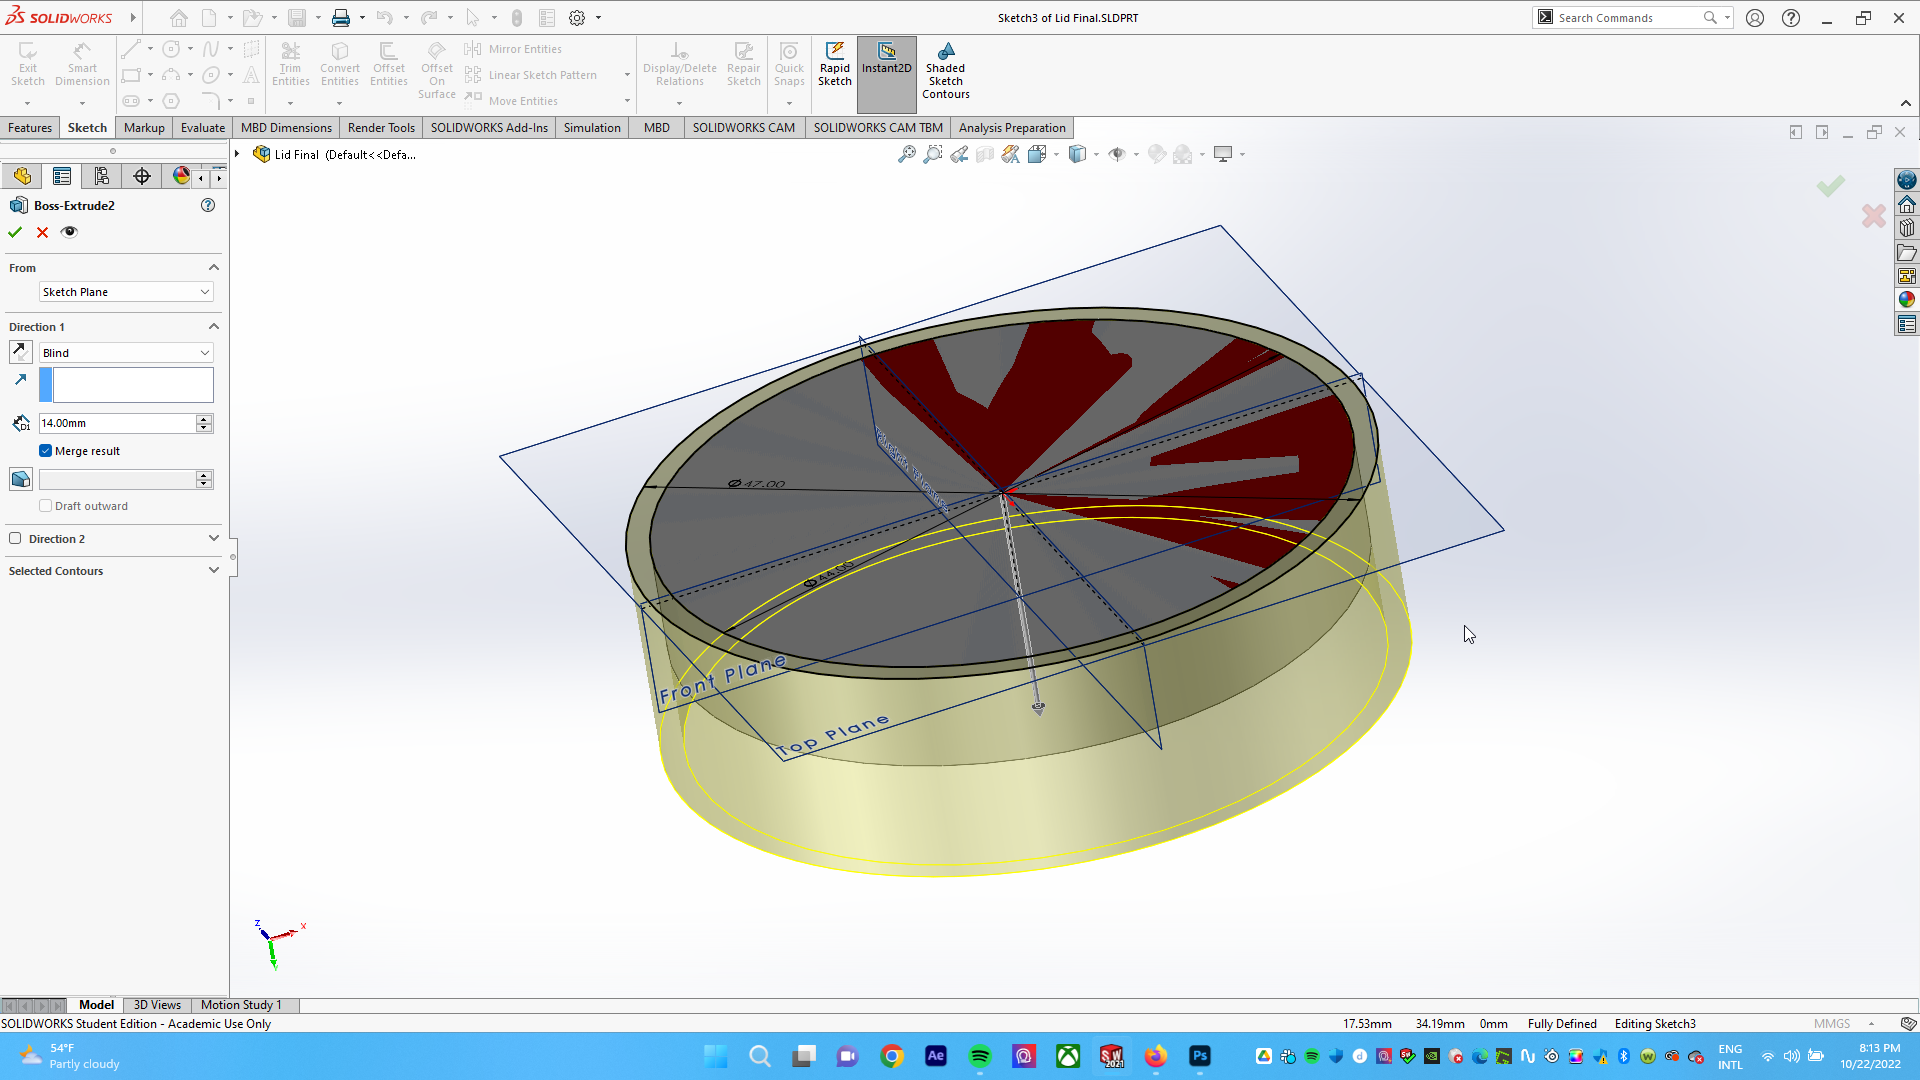
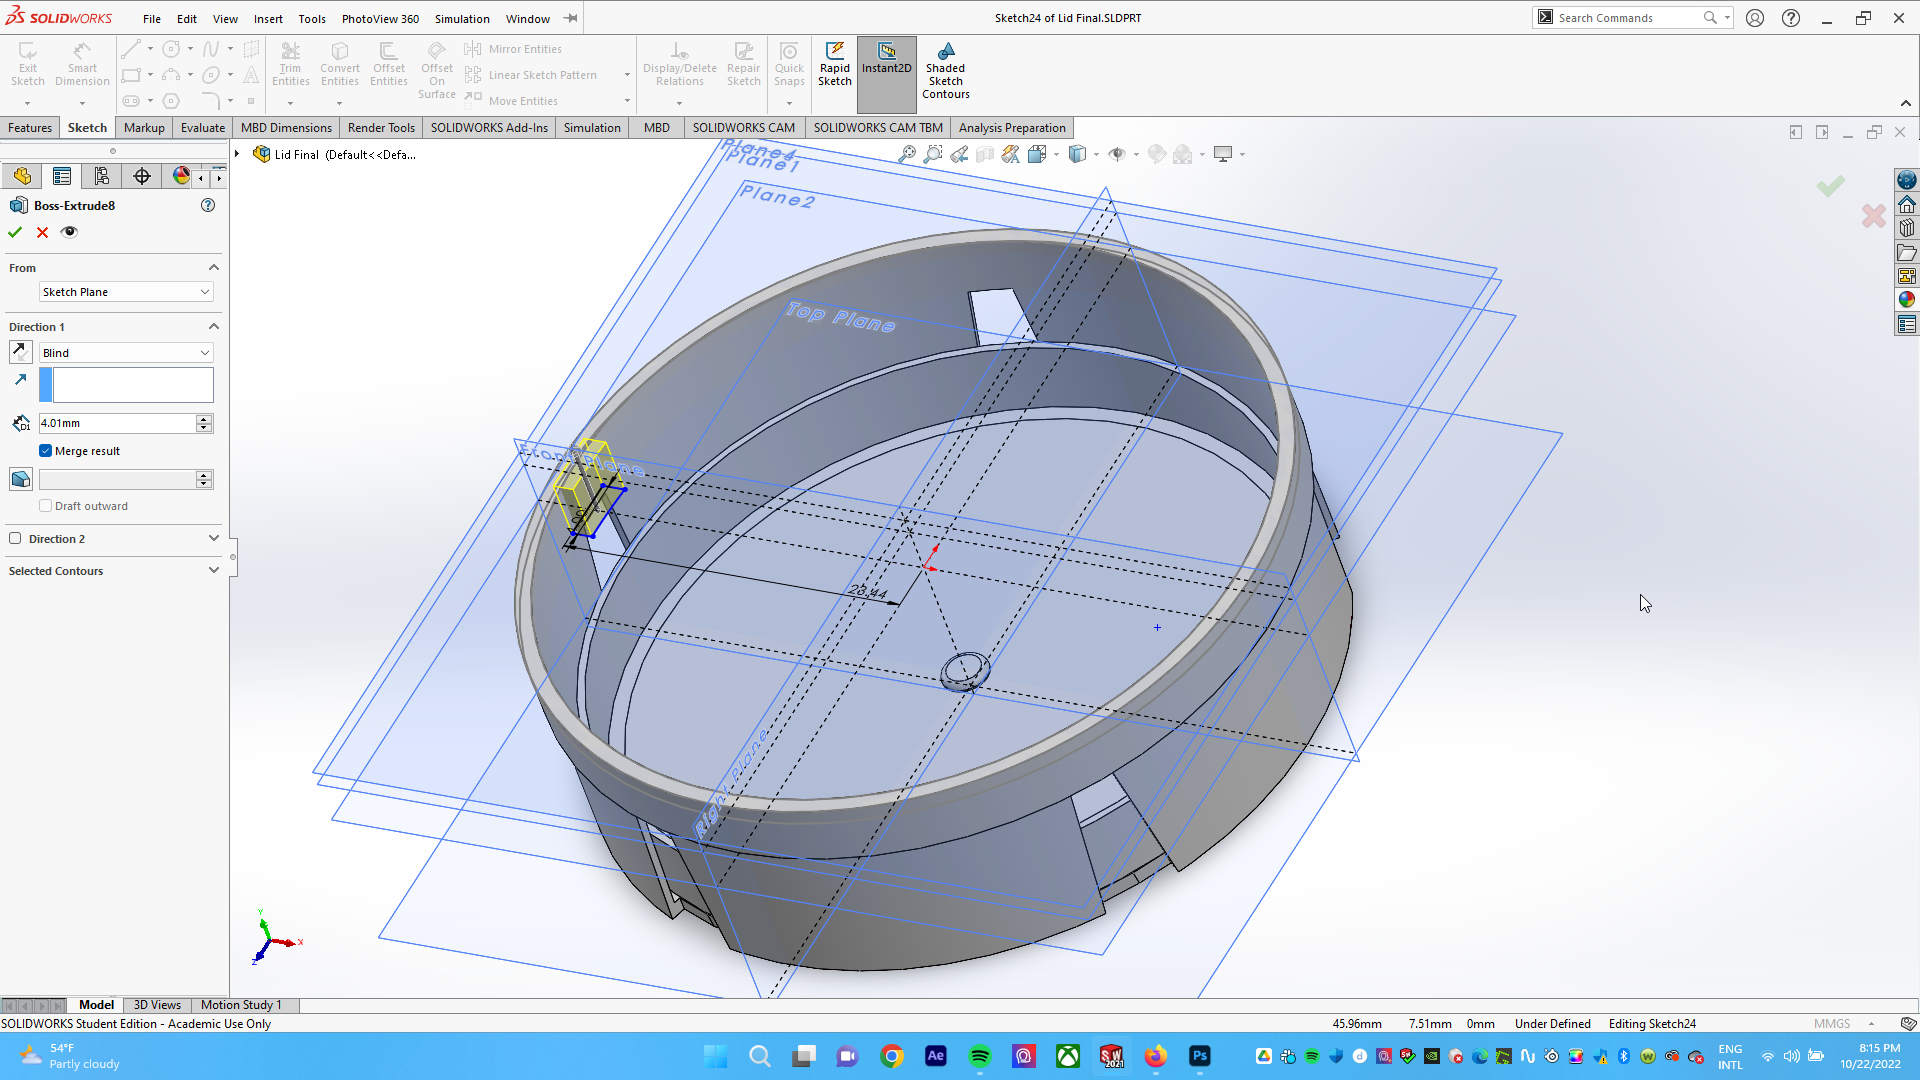
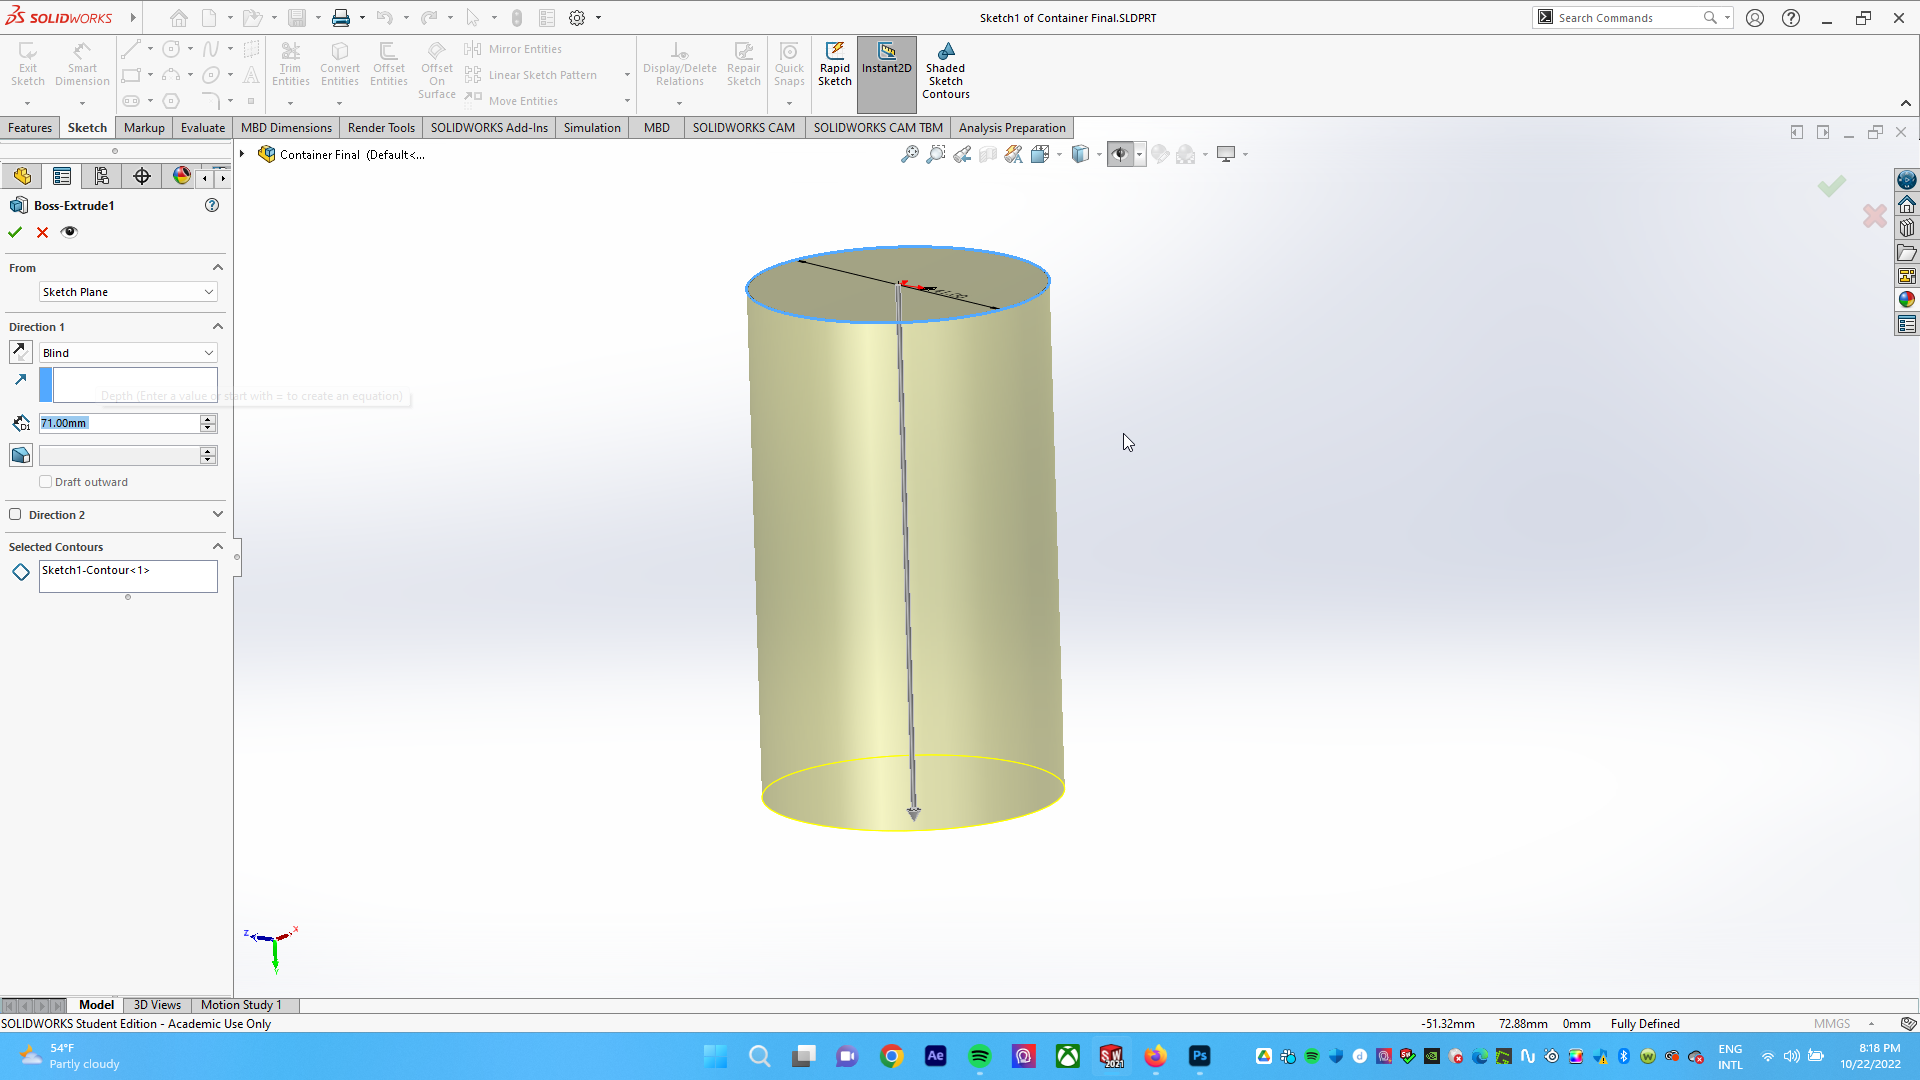
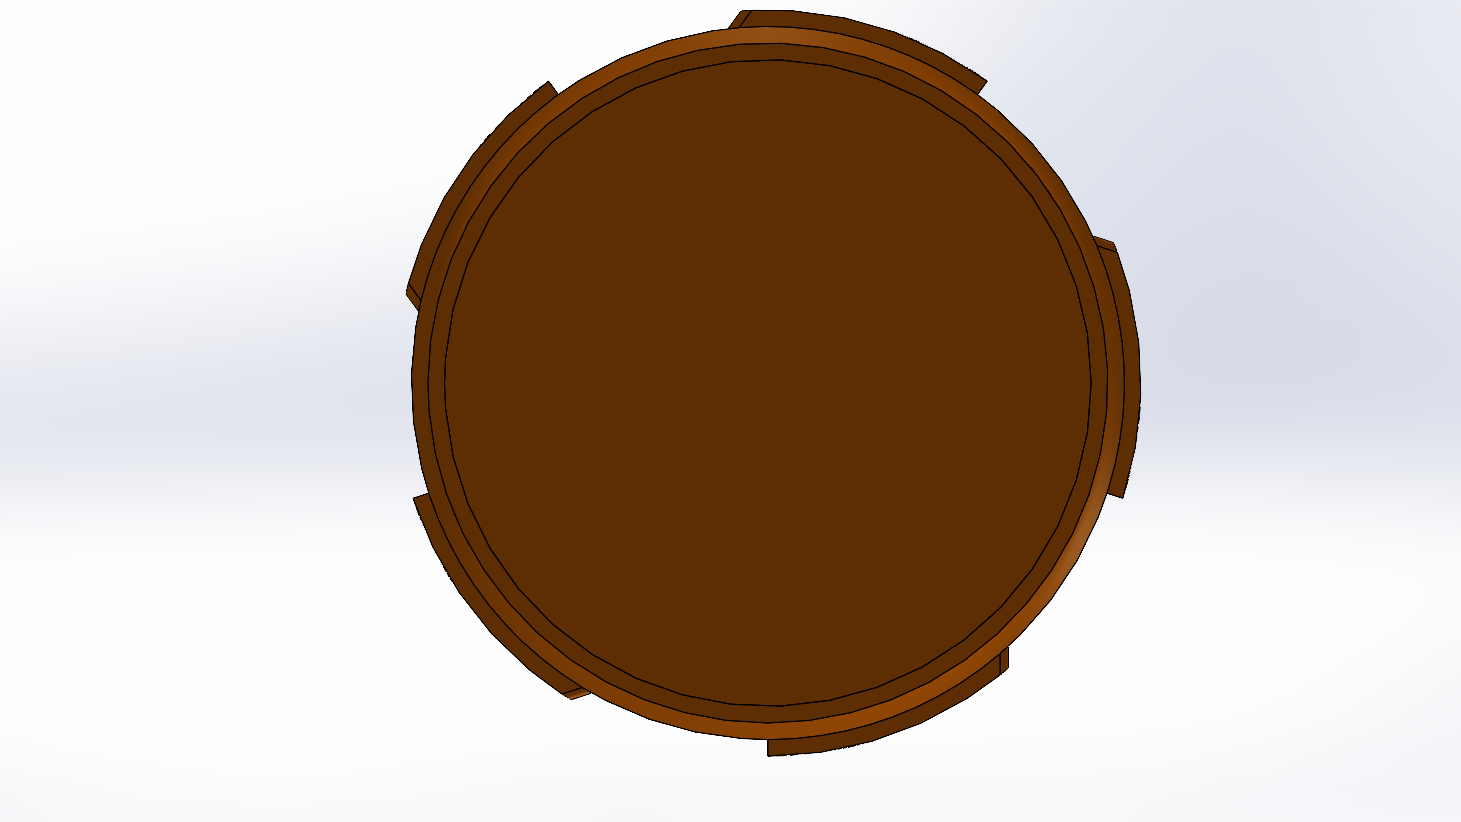
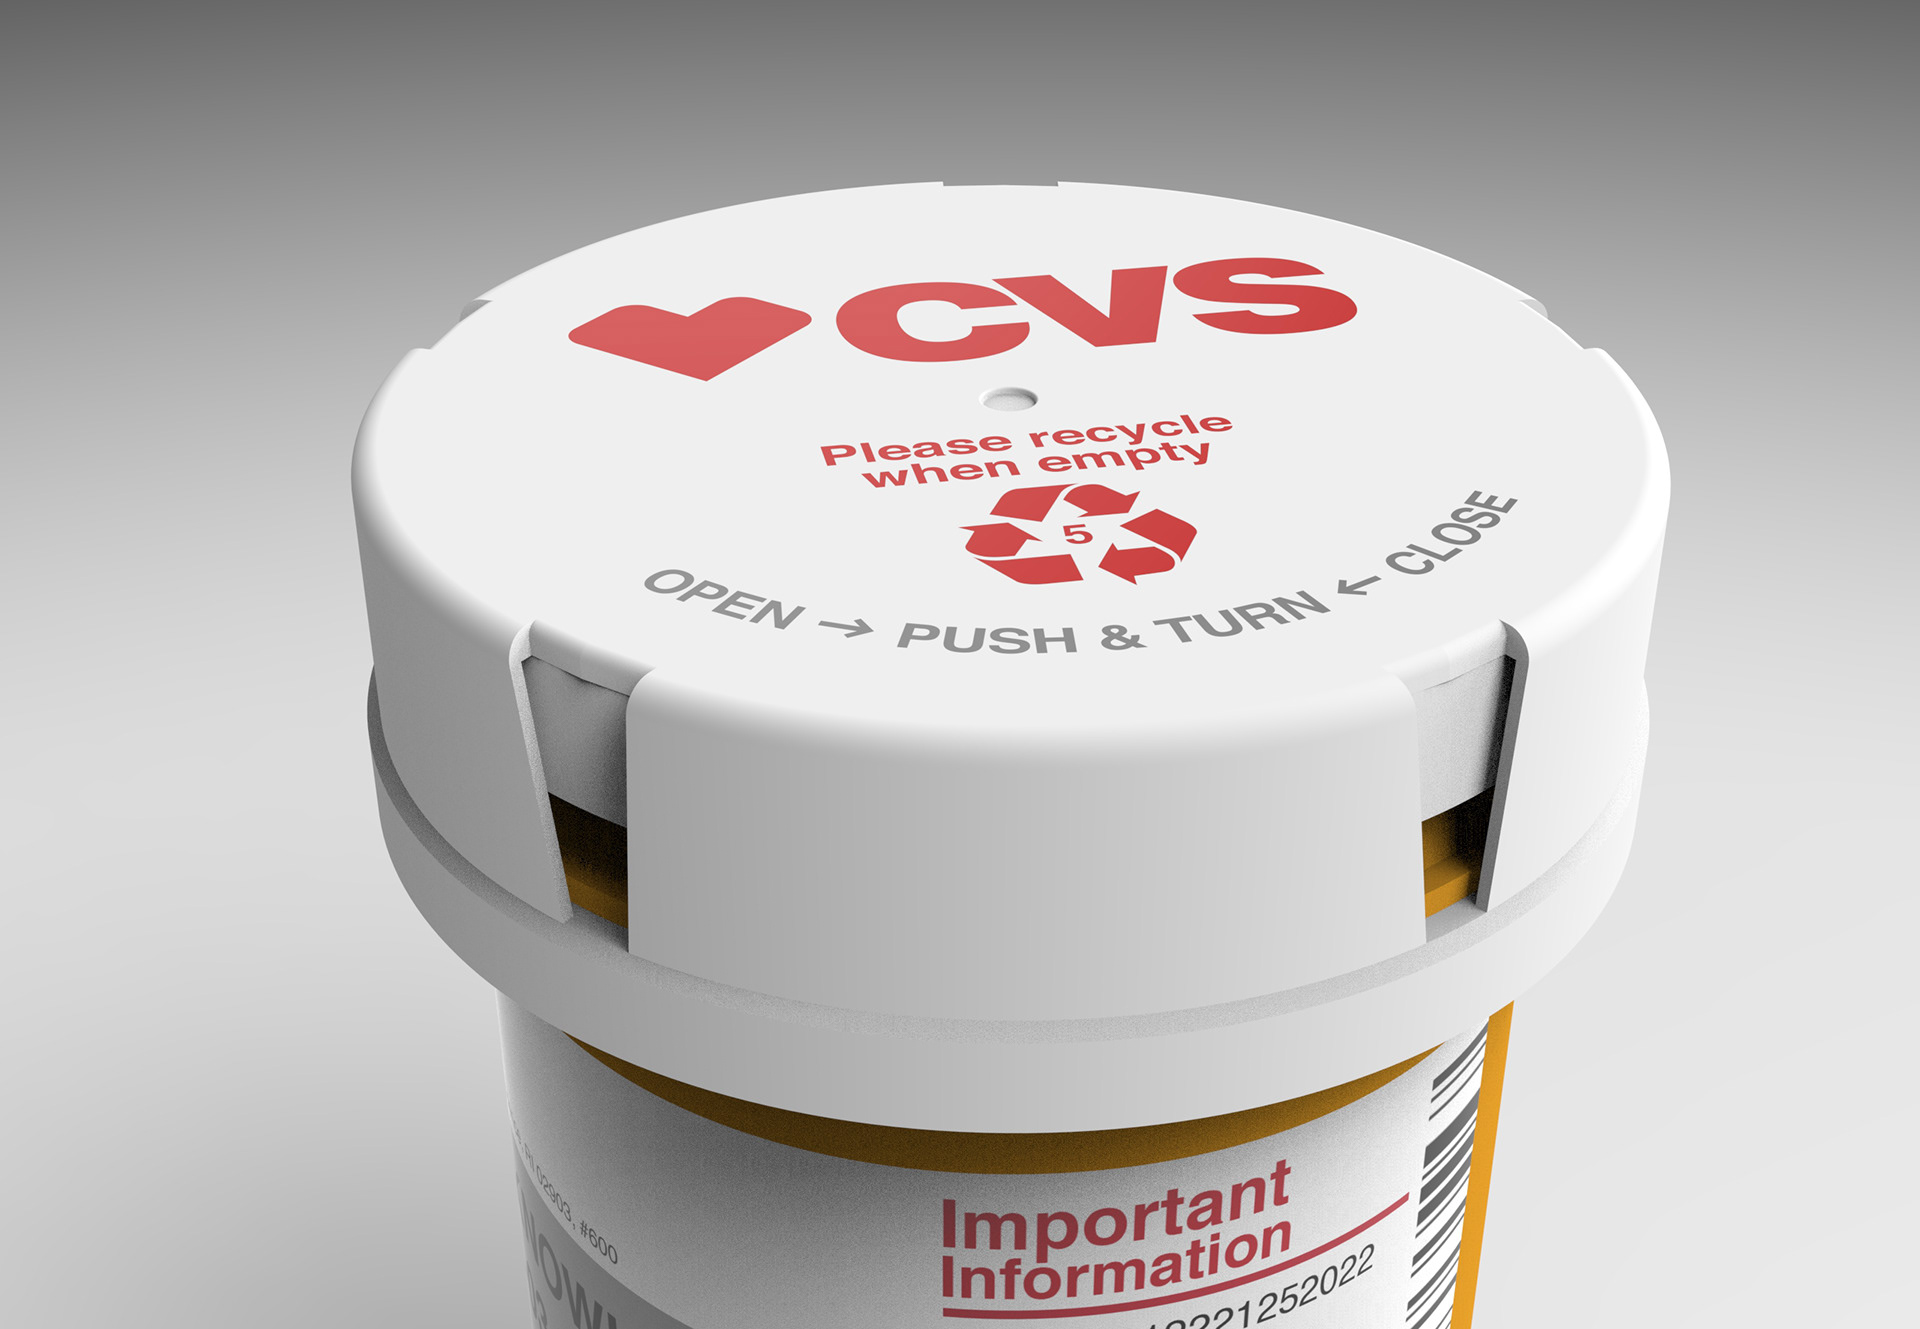
(7) Initial shape extrusion/boss and extrude cut to eliminate negative space and make a thin outline. Measured using a ruler from the real model.
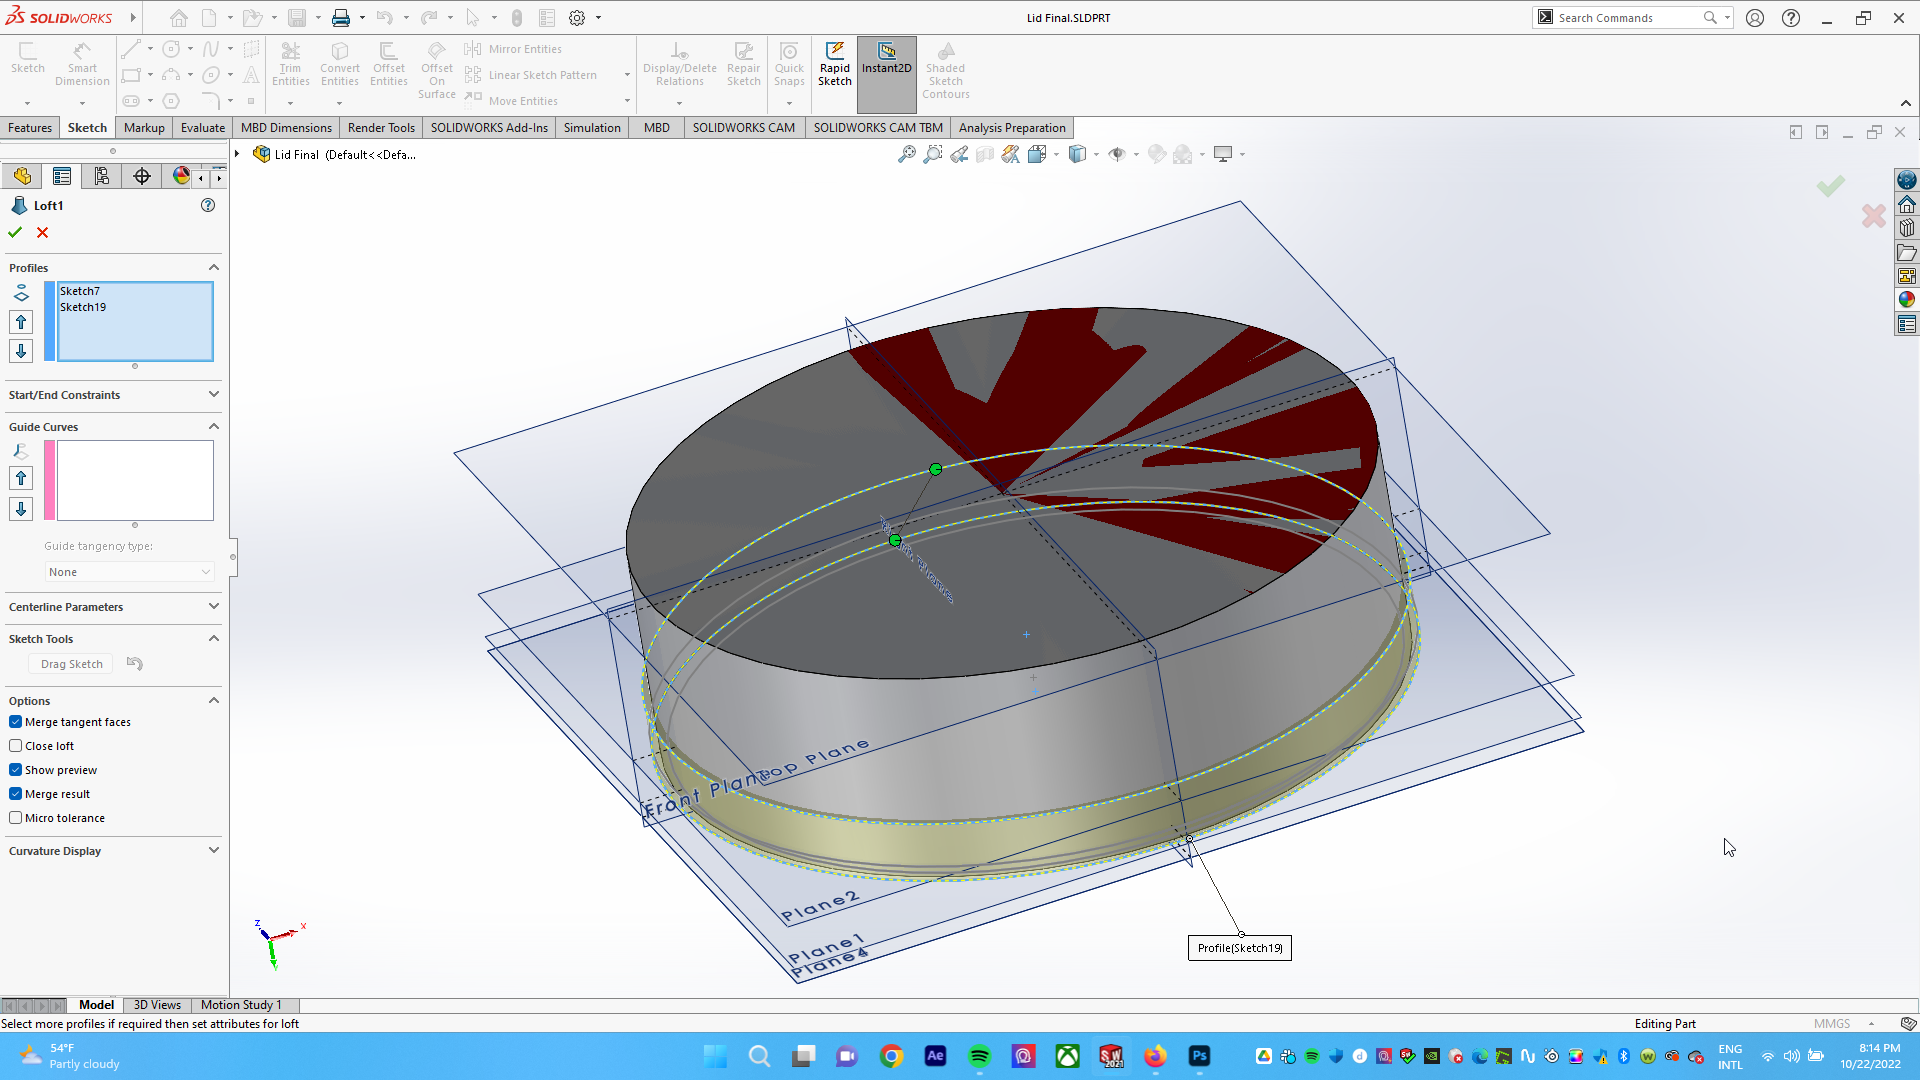

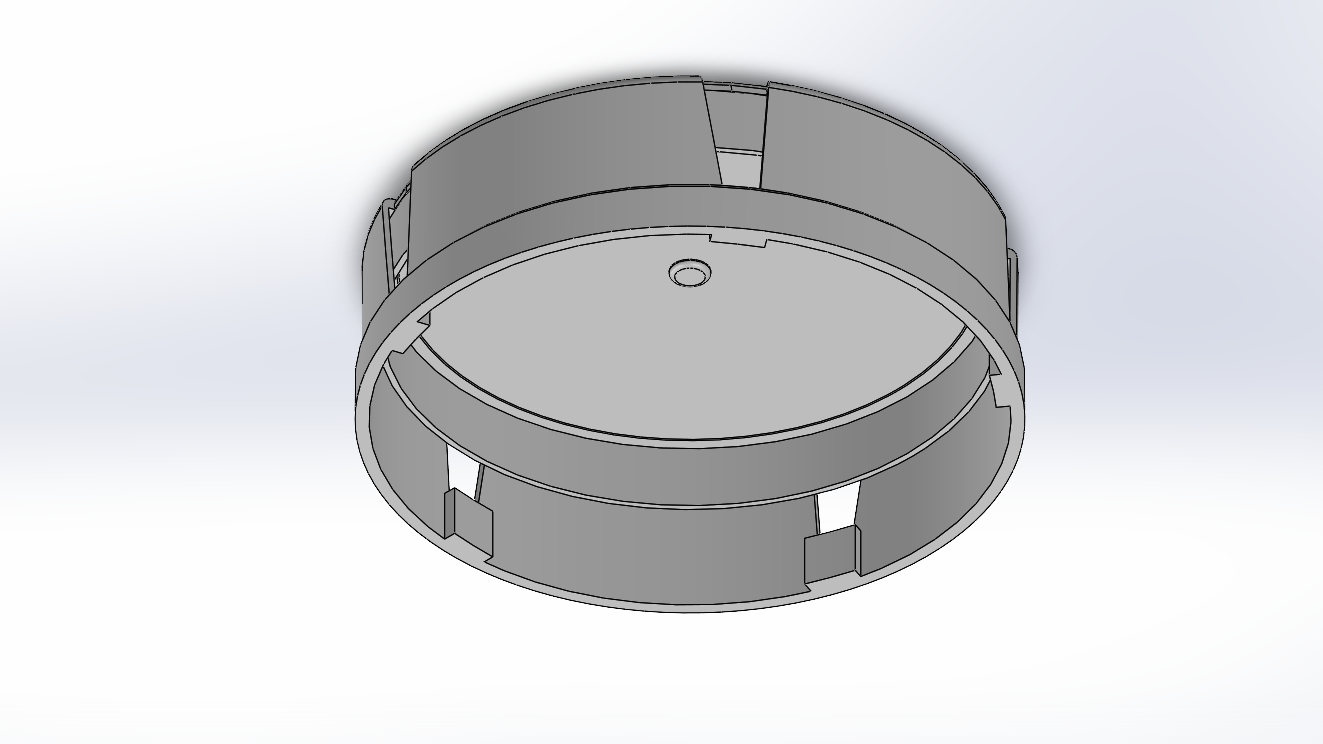
(8) Inner layer extrusion that is in contact with container and “pops” in place.
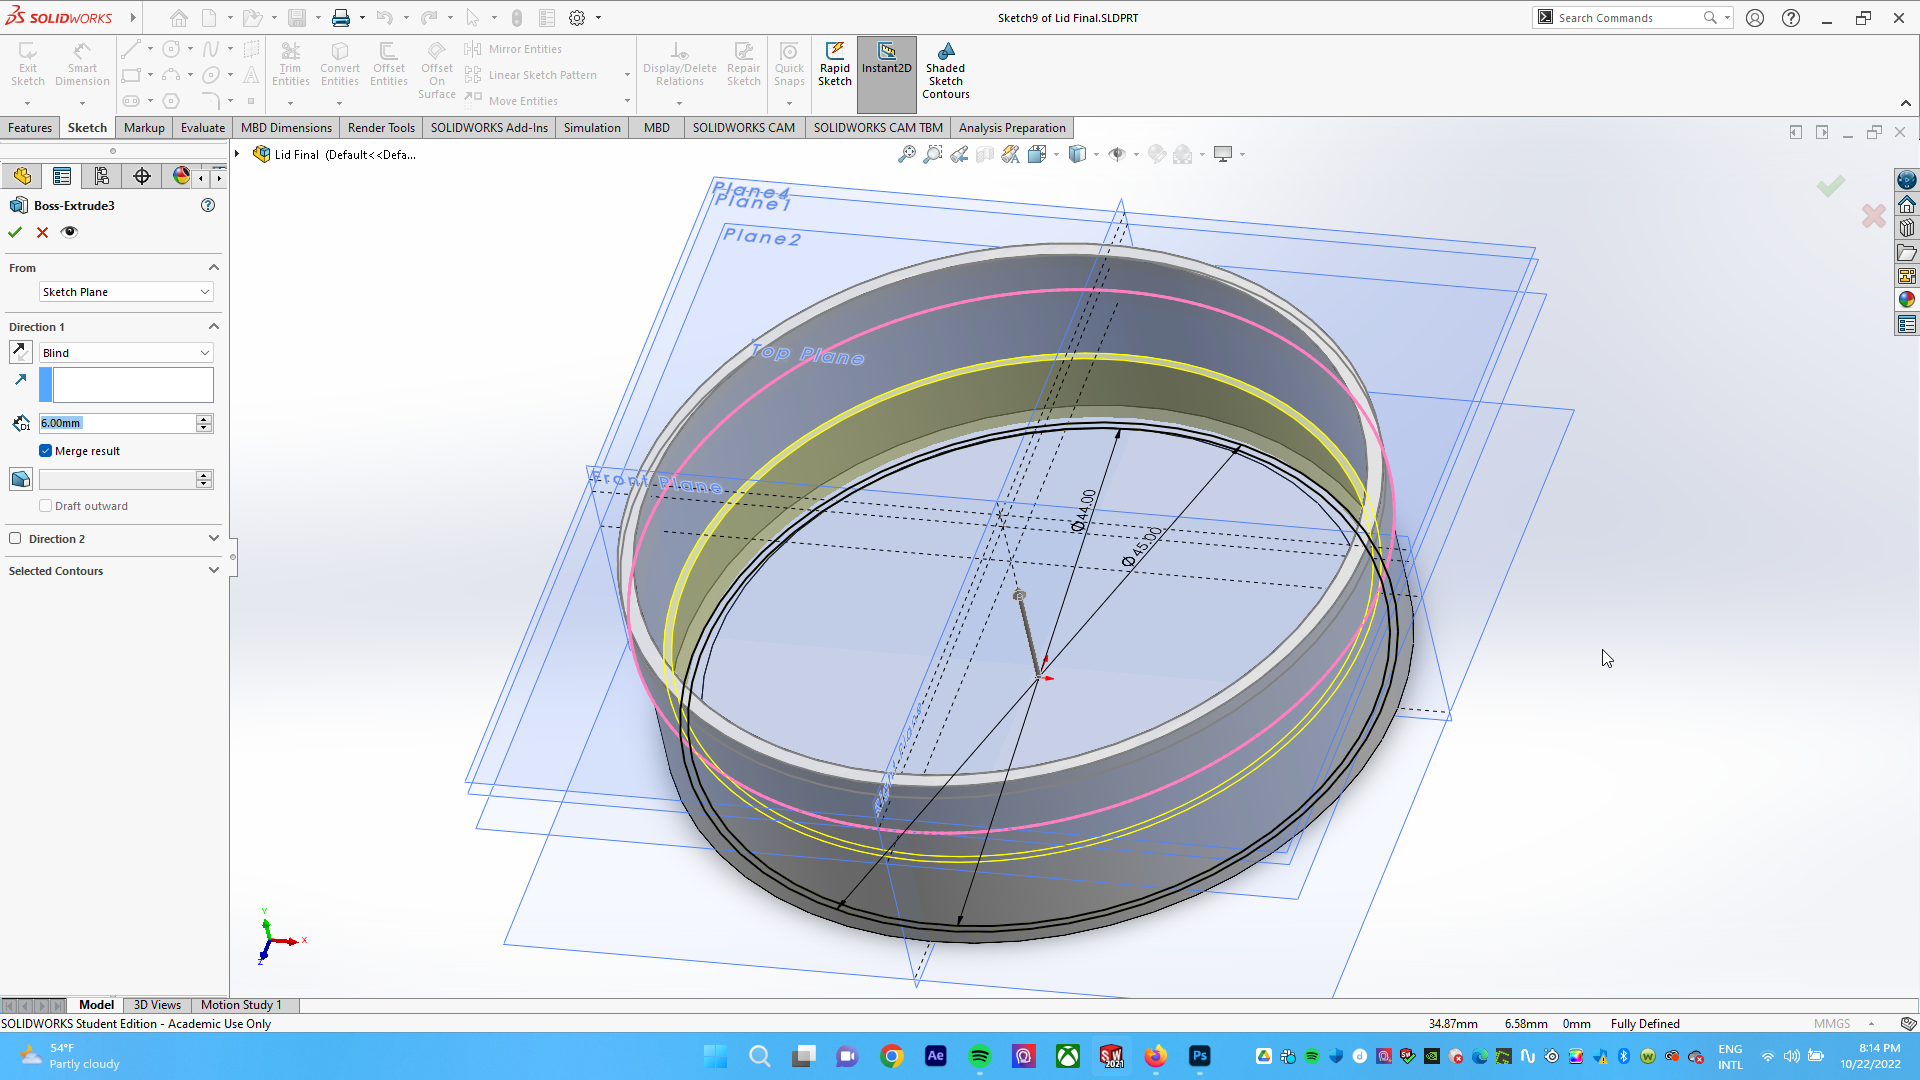
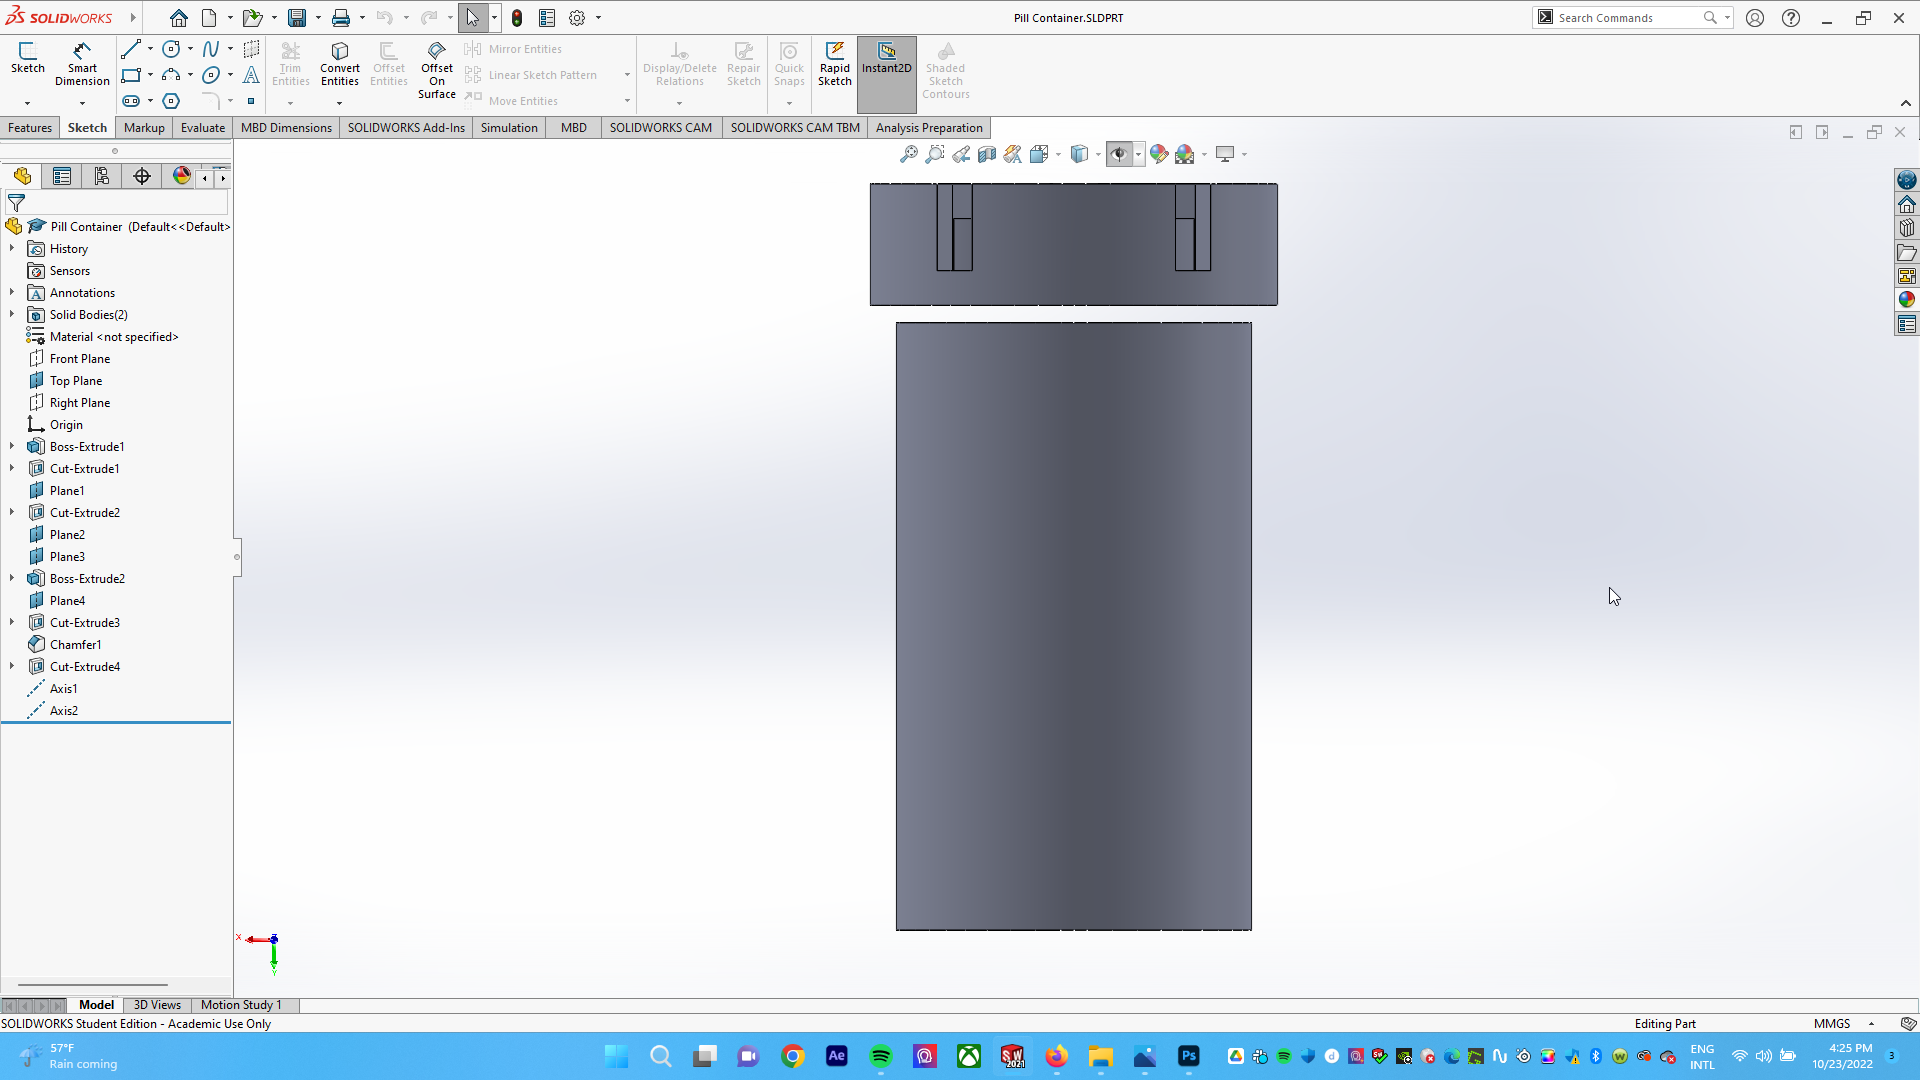
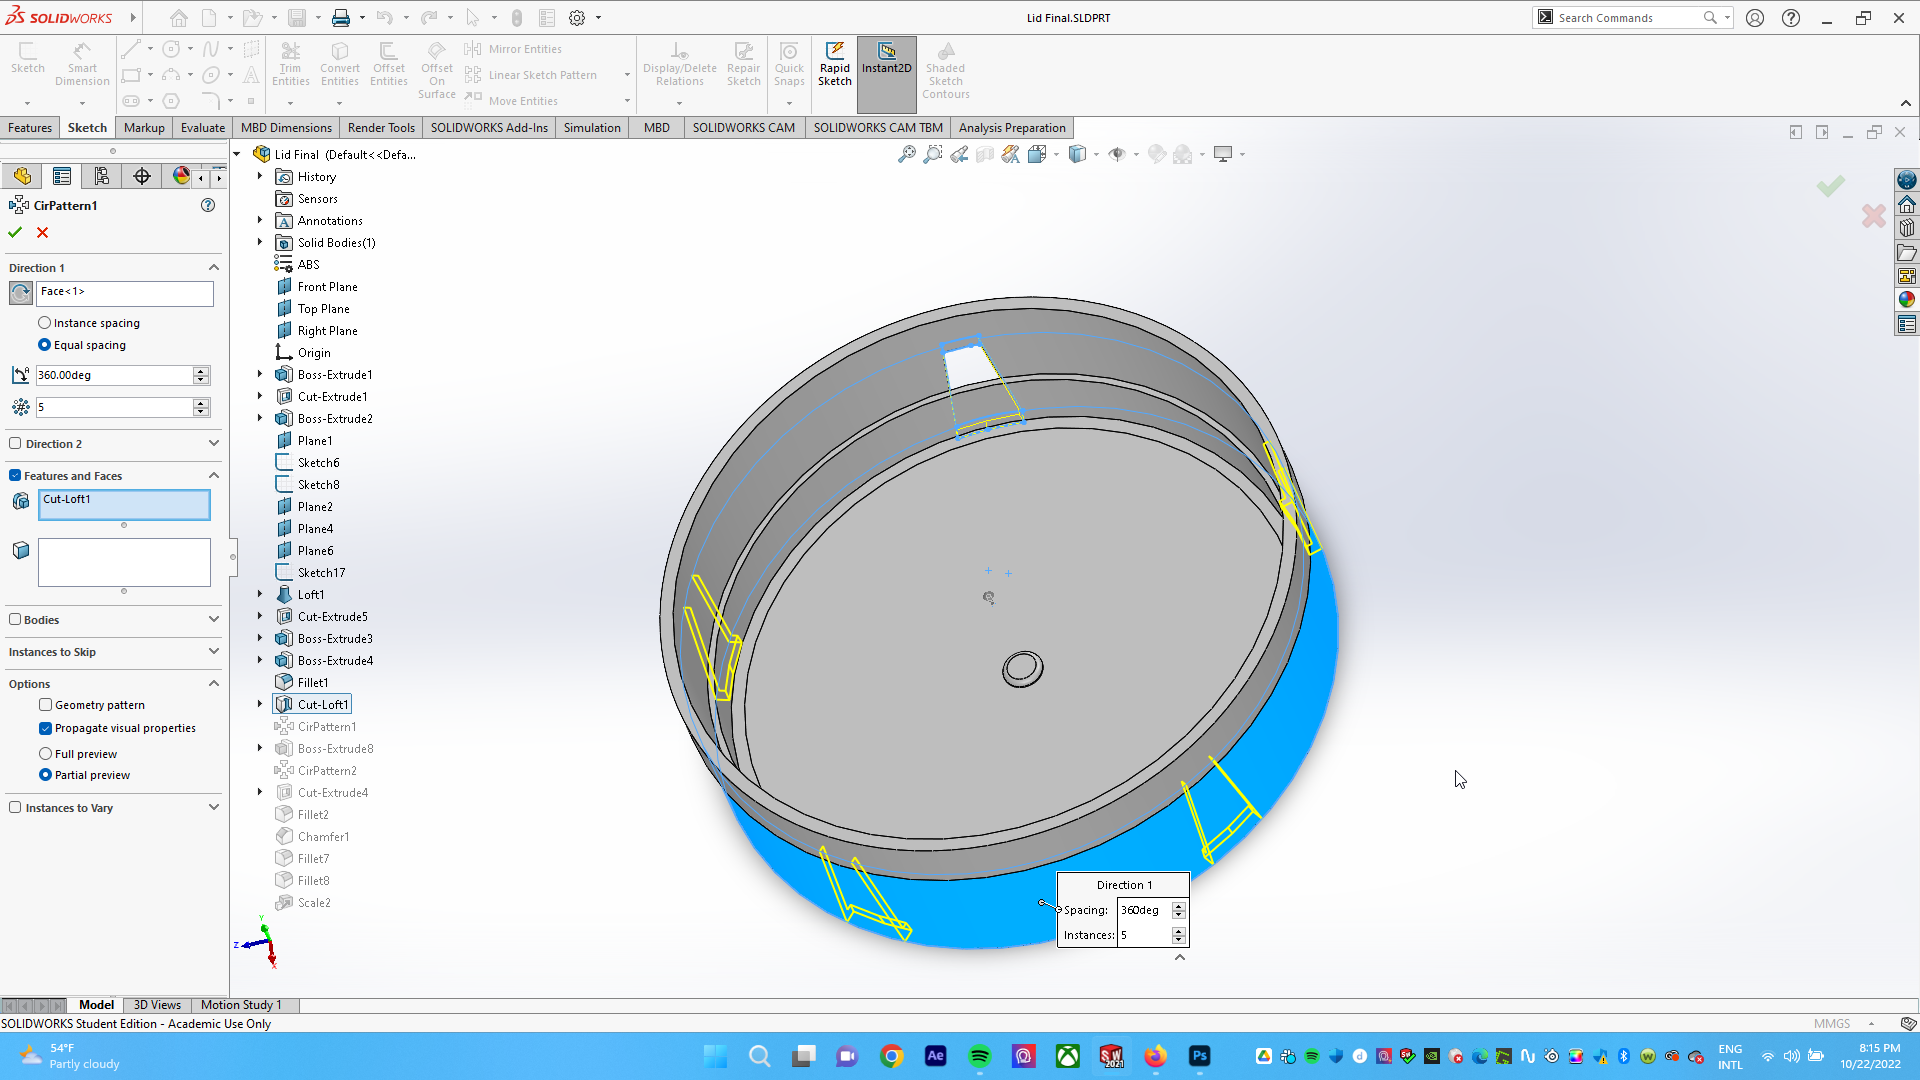
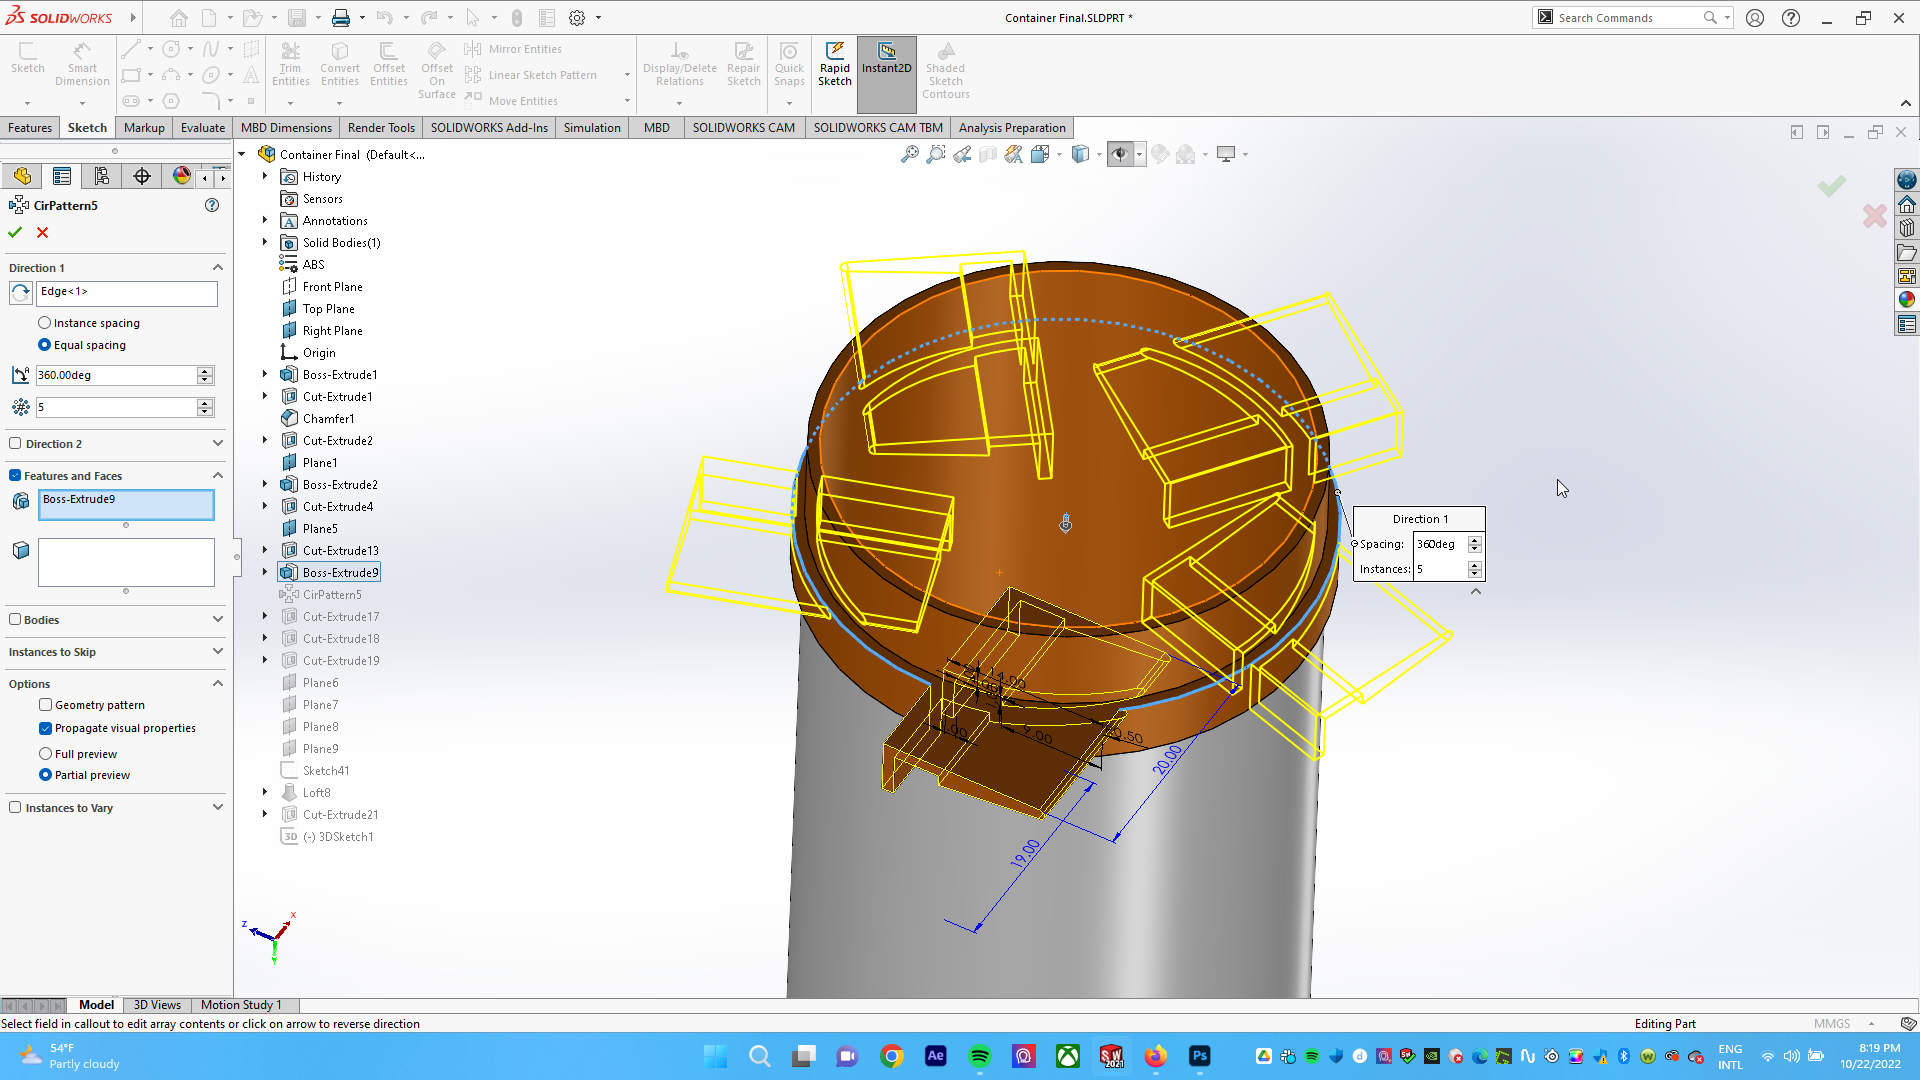
(9) Extrude cut a measured indentation that serves as a slot. Used circular pattern for a quick proliferation of the cut and the notch.
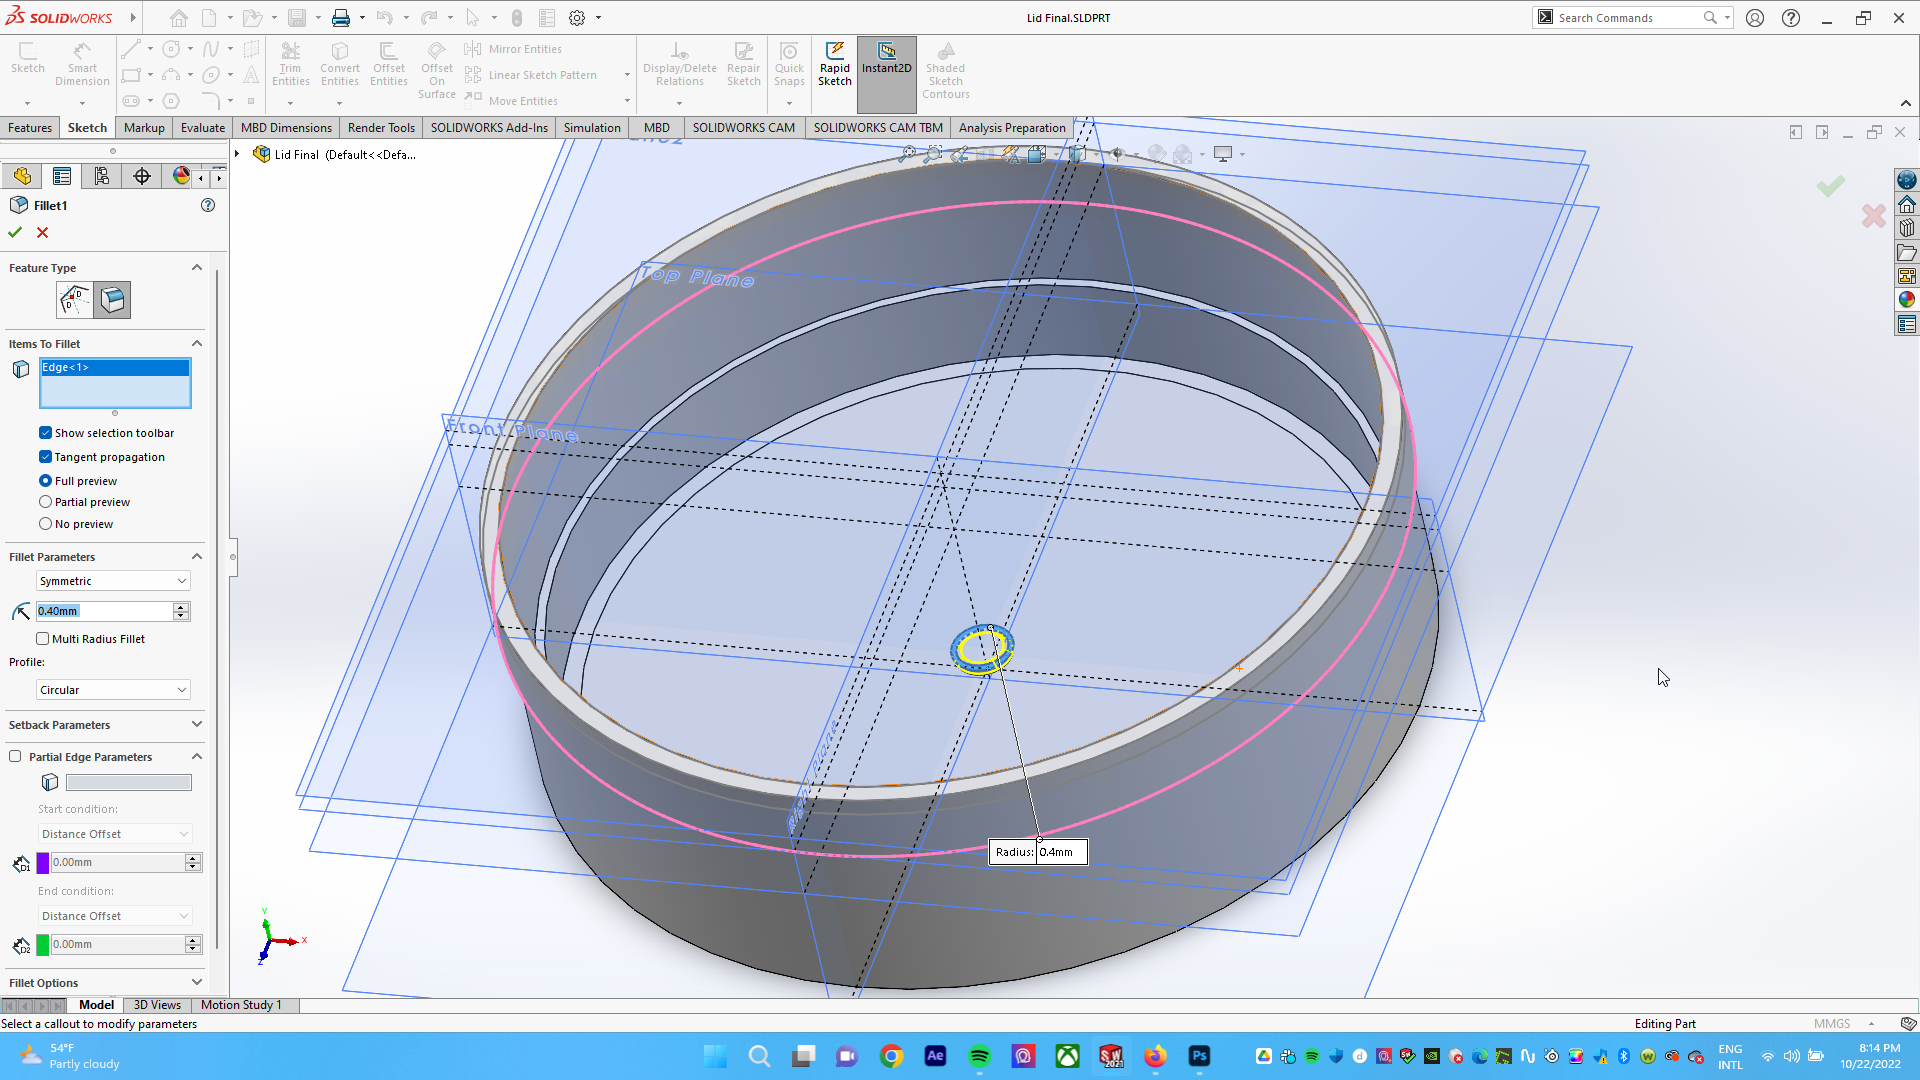
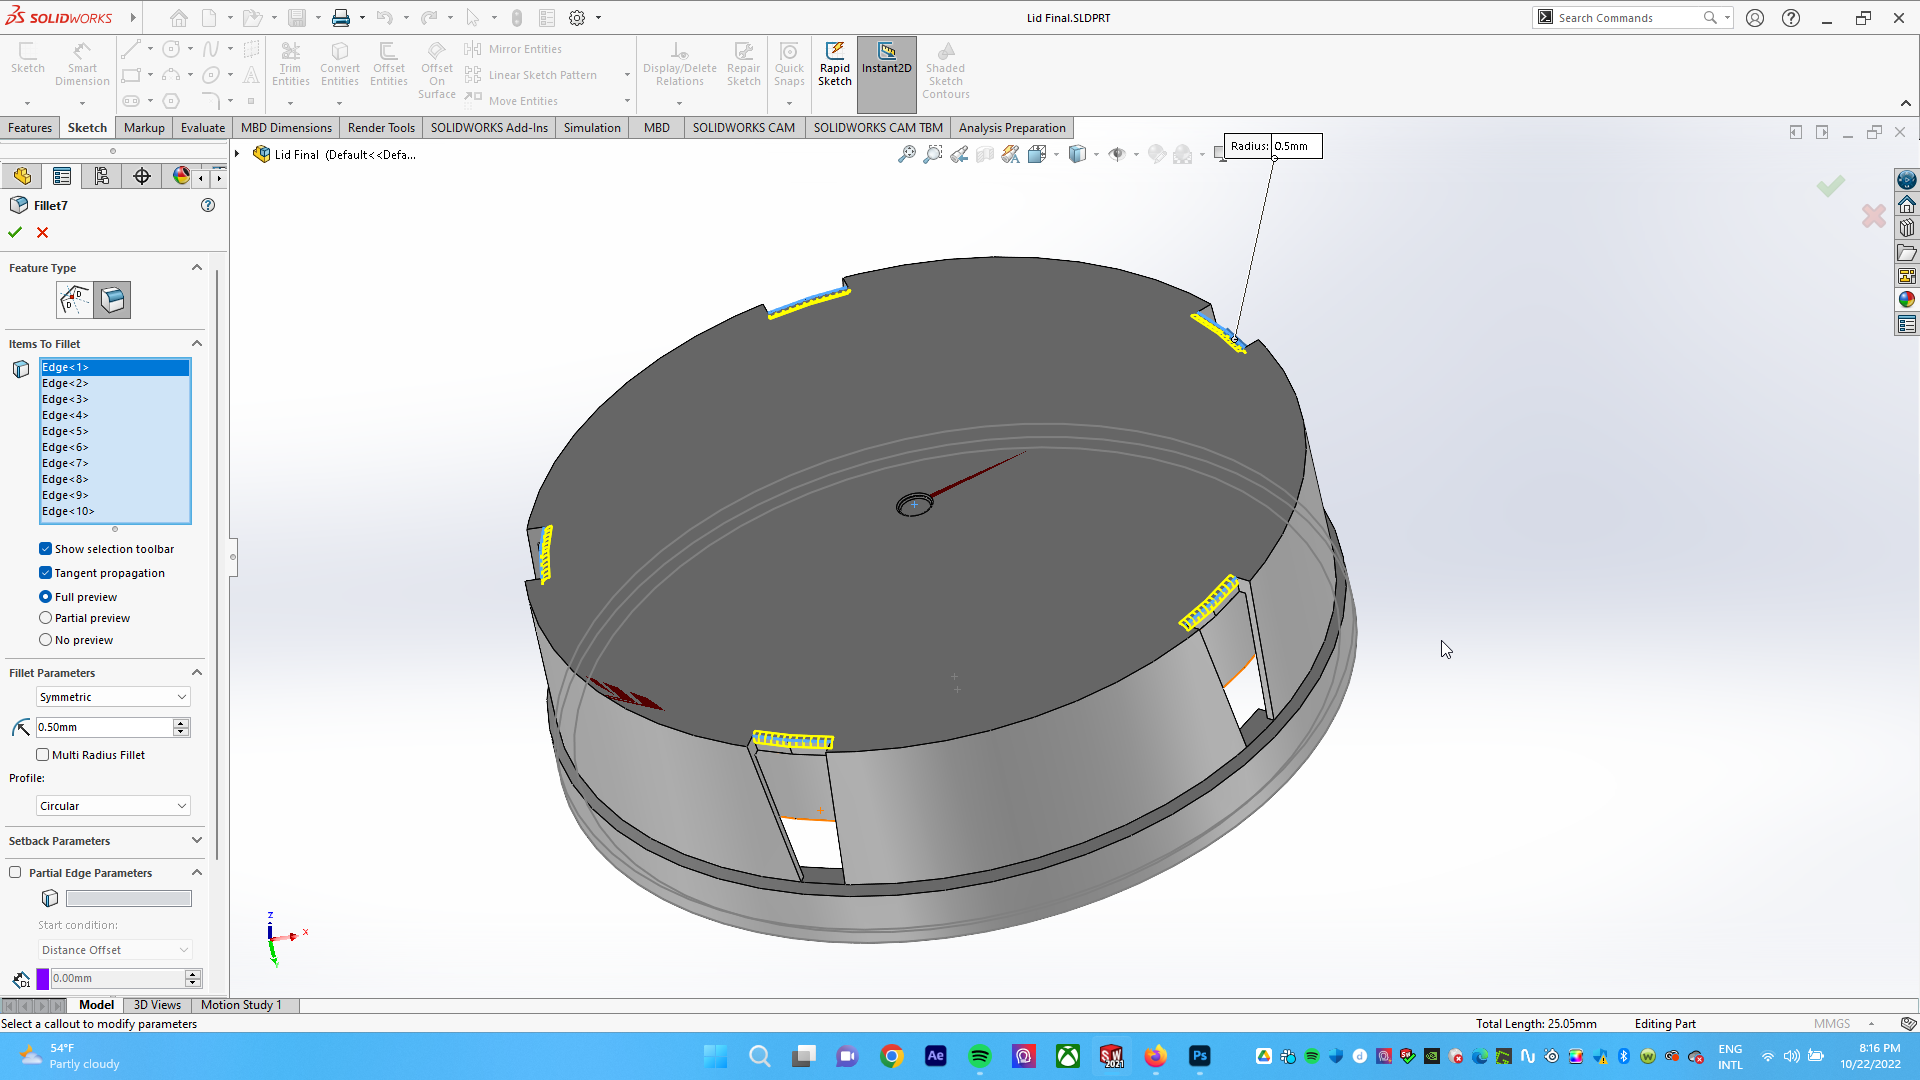
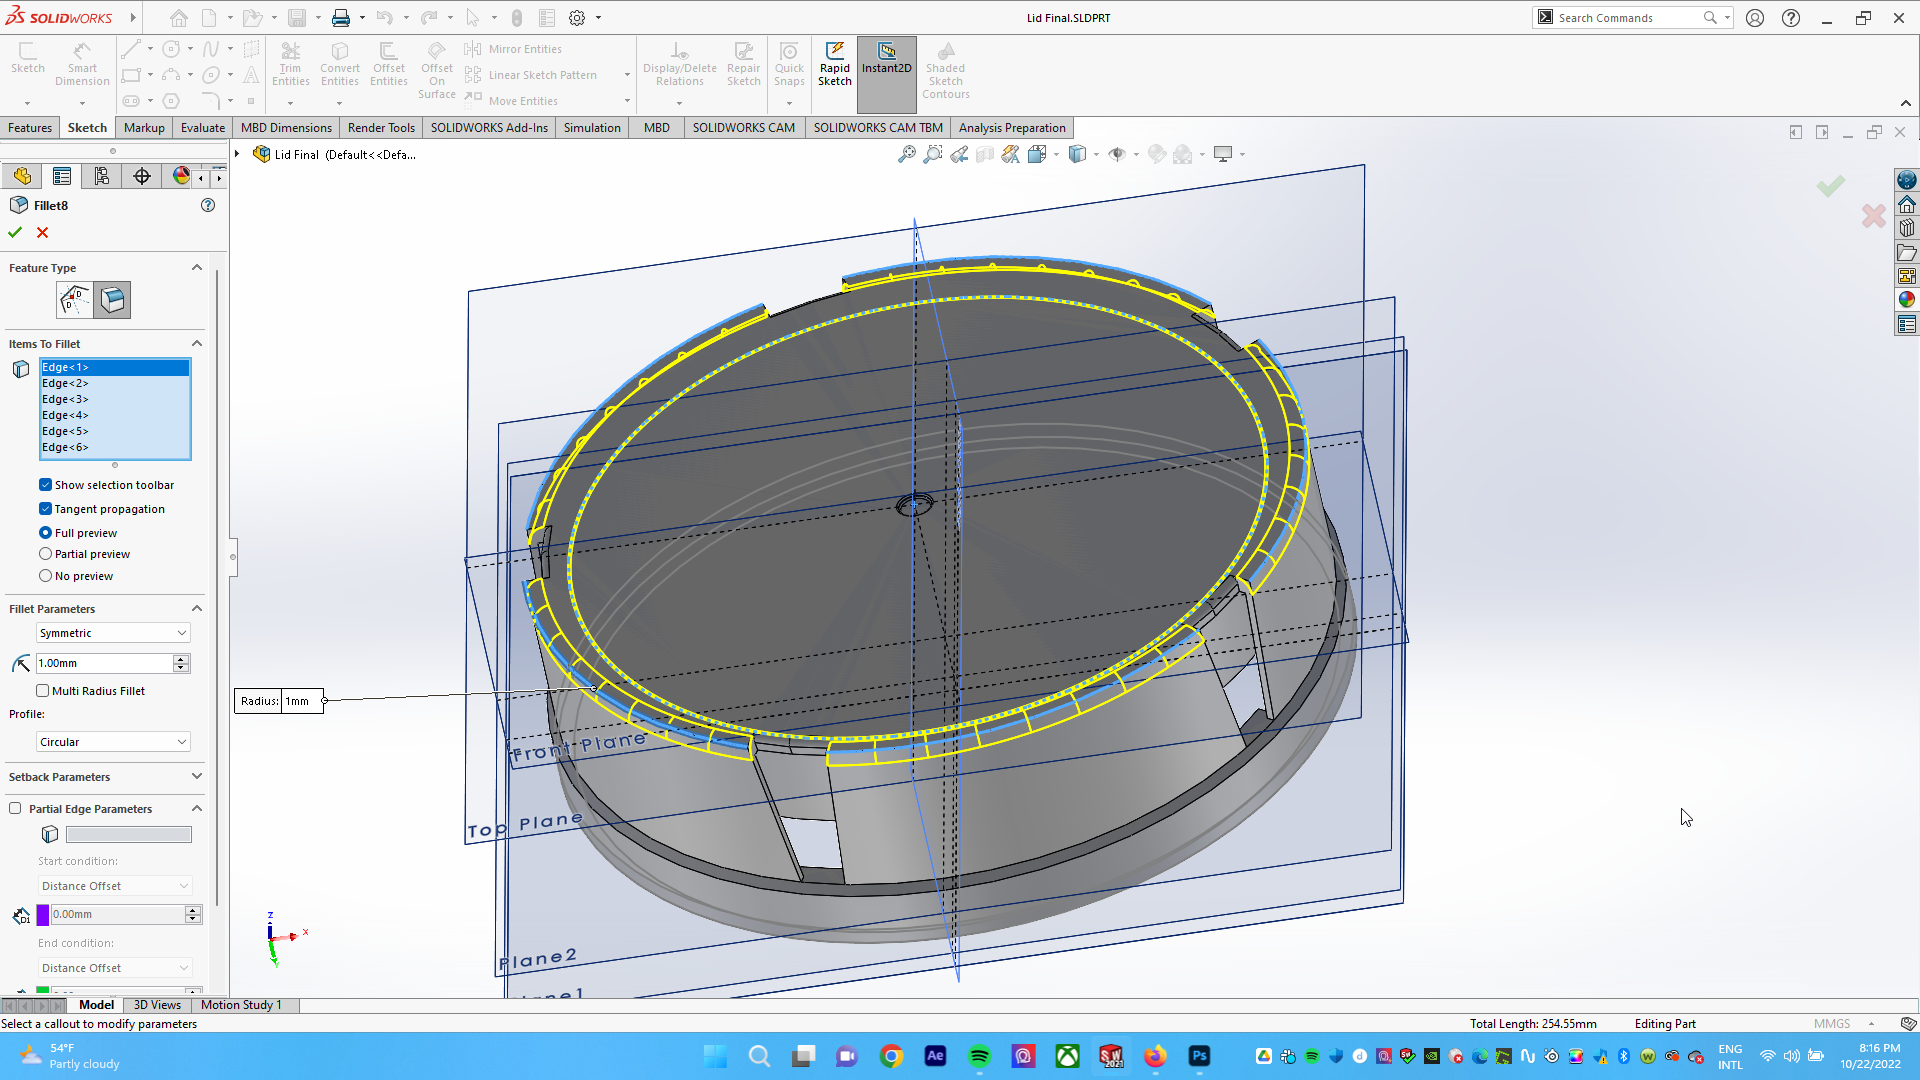
(10) Fillets for notches. Note: The order of operations here is important, as making fillets for the circular pattern prevents a glitch if the rim is done first.
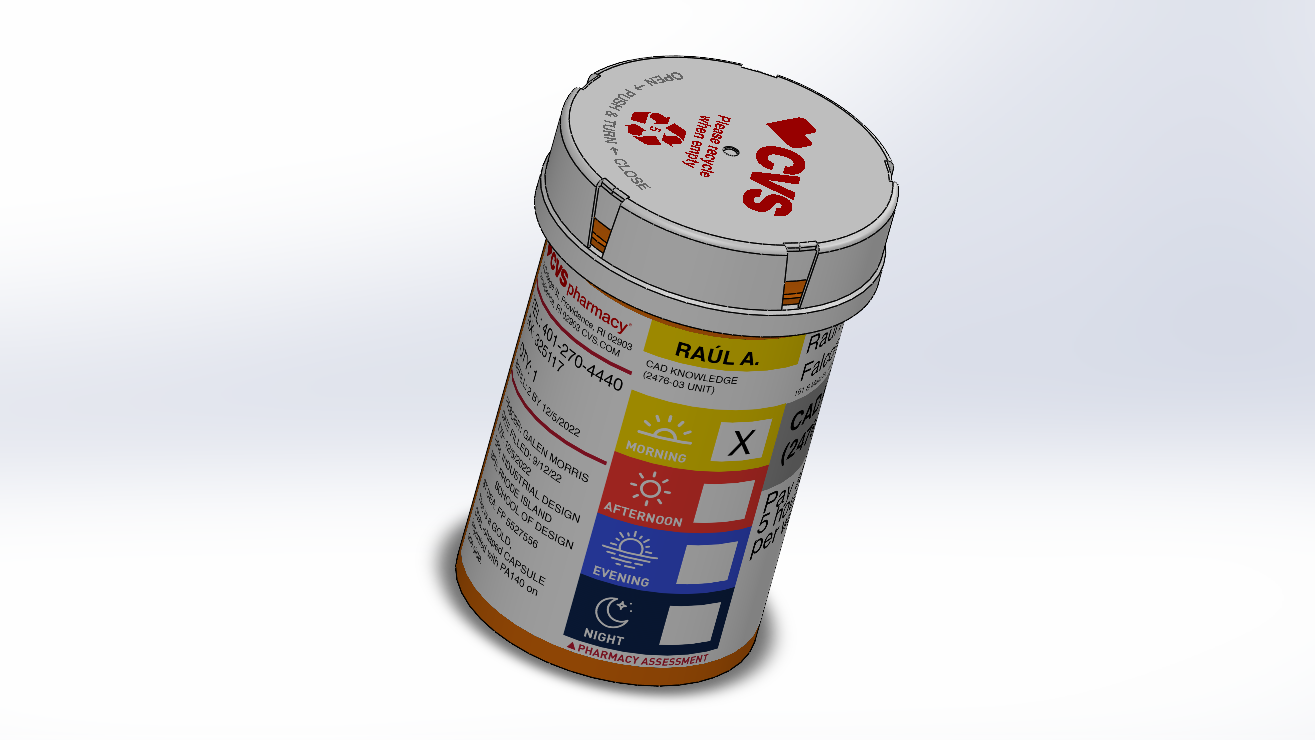
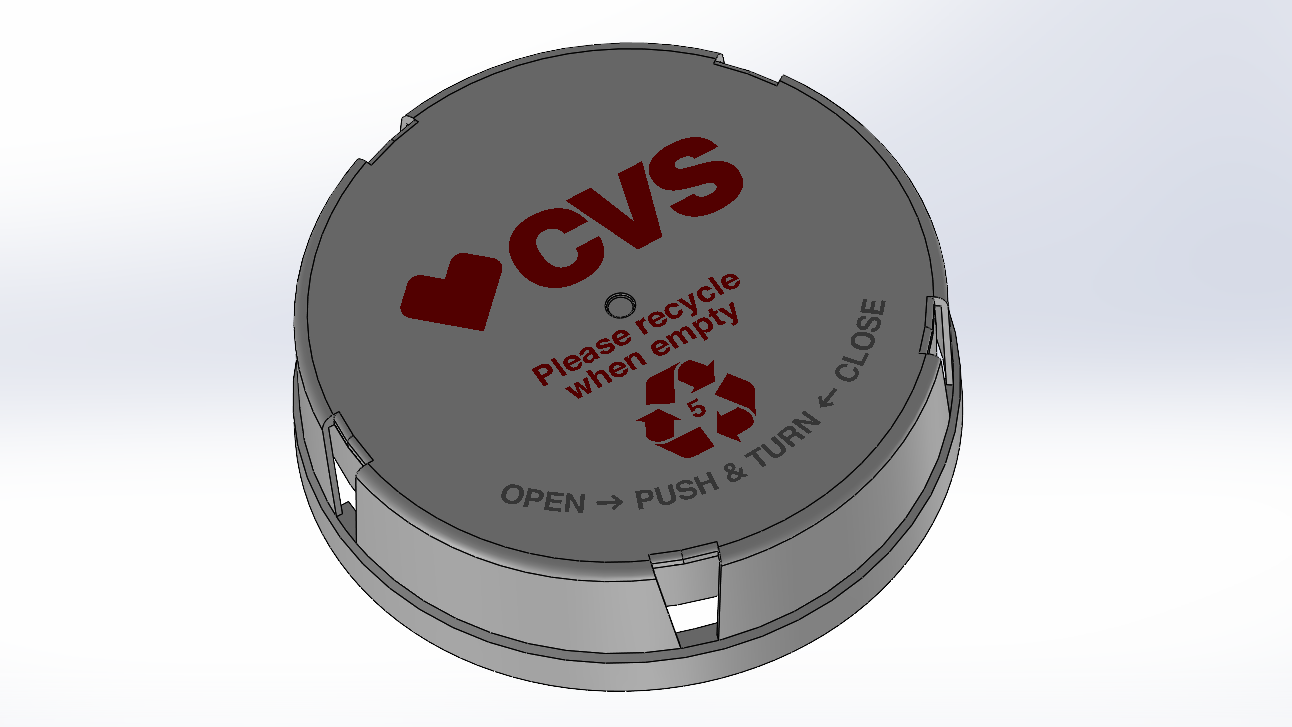
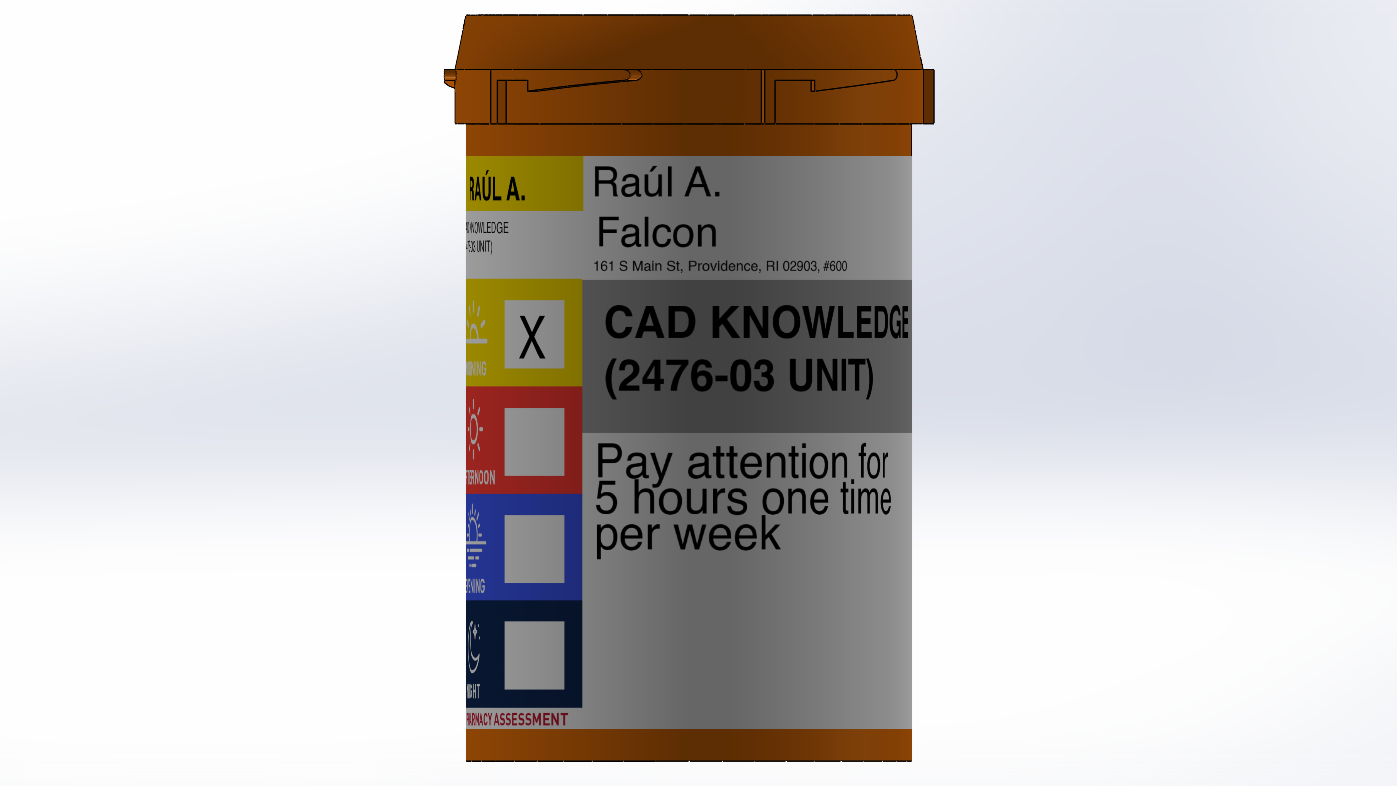
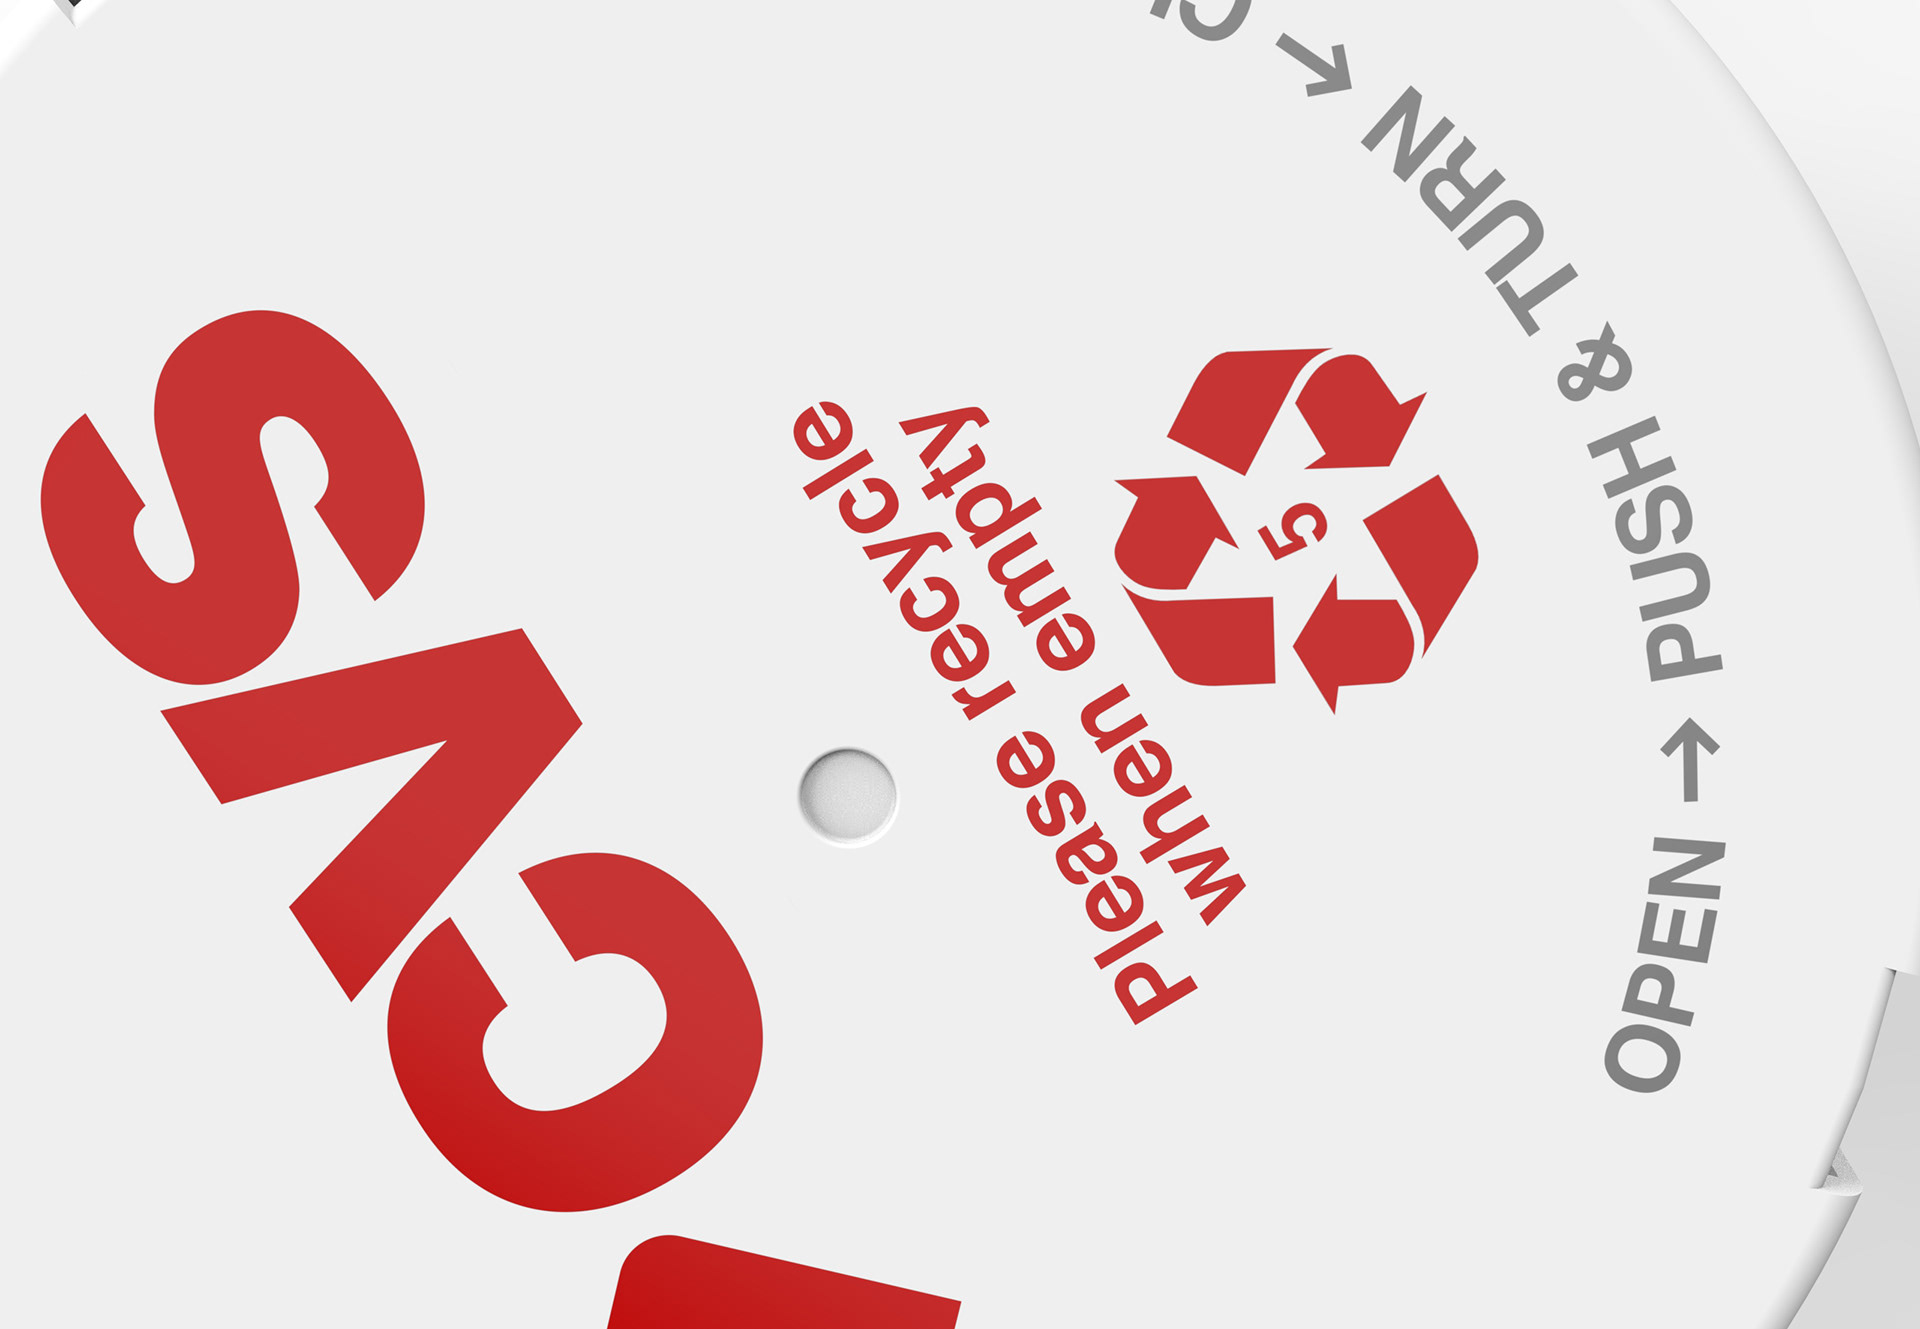
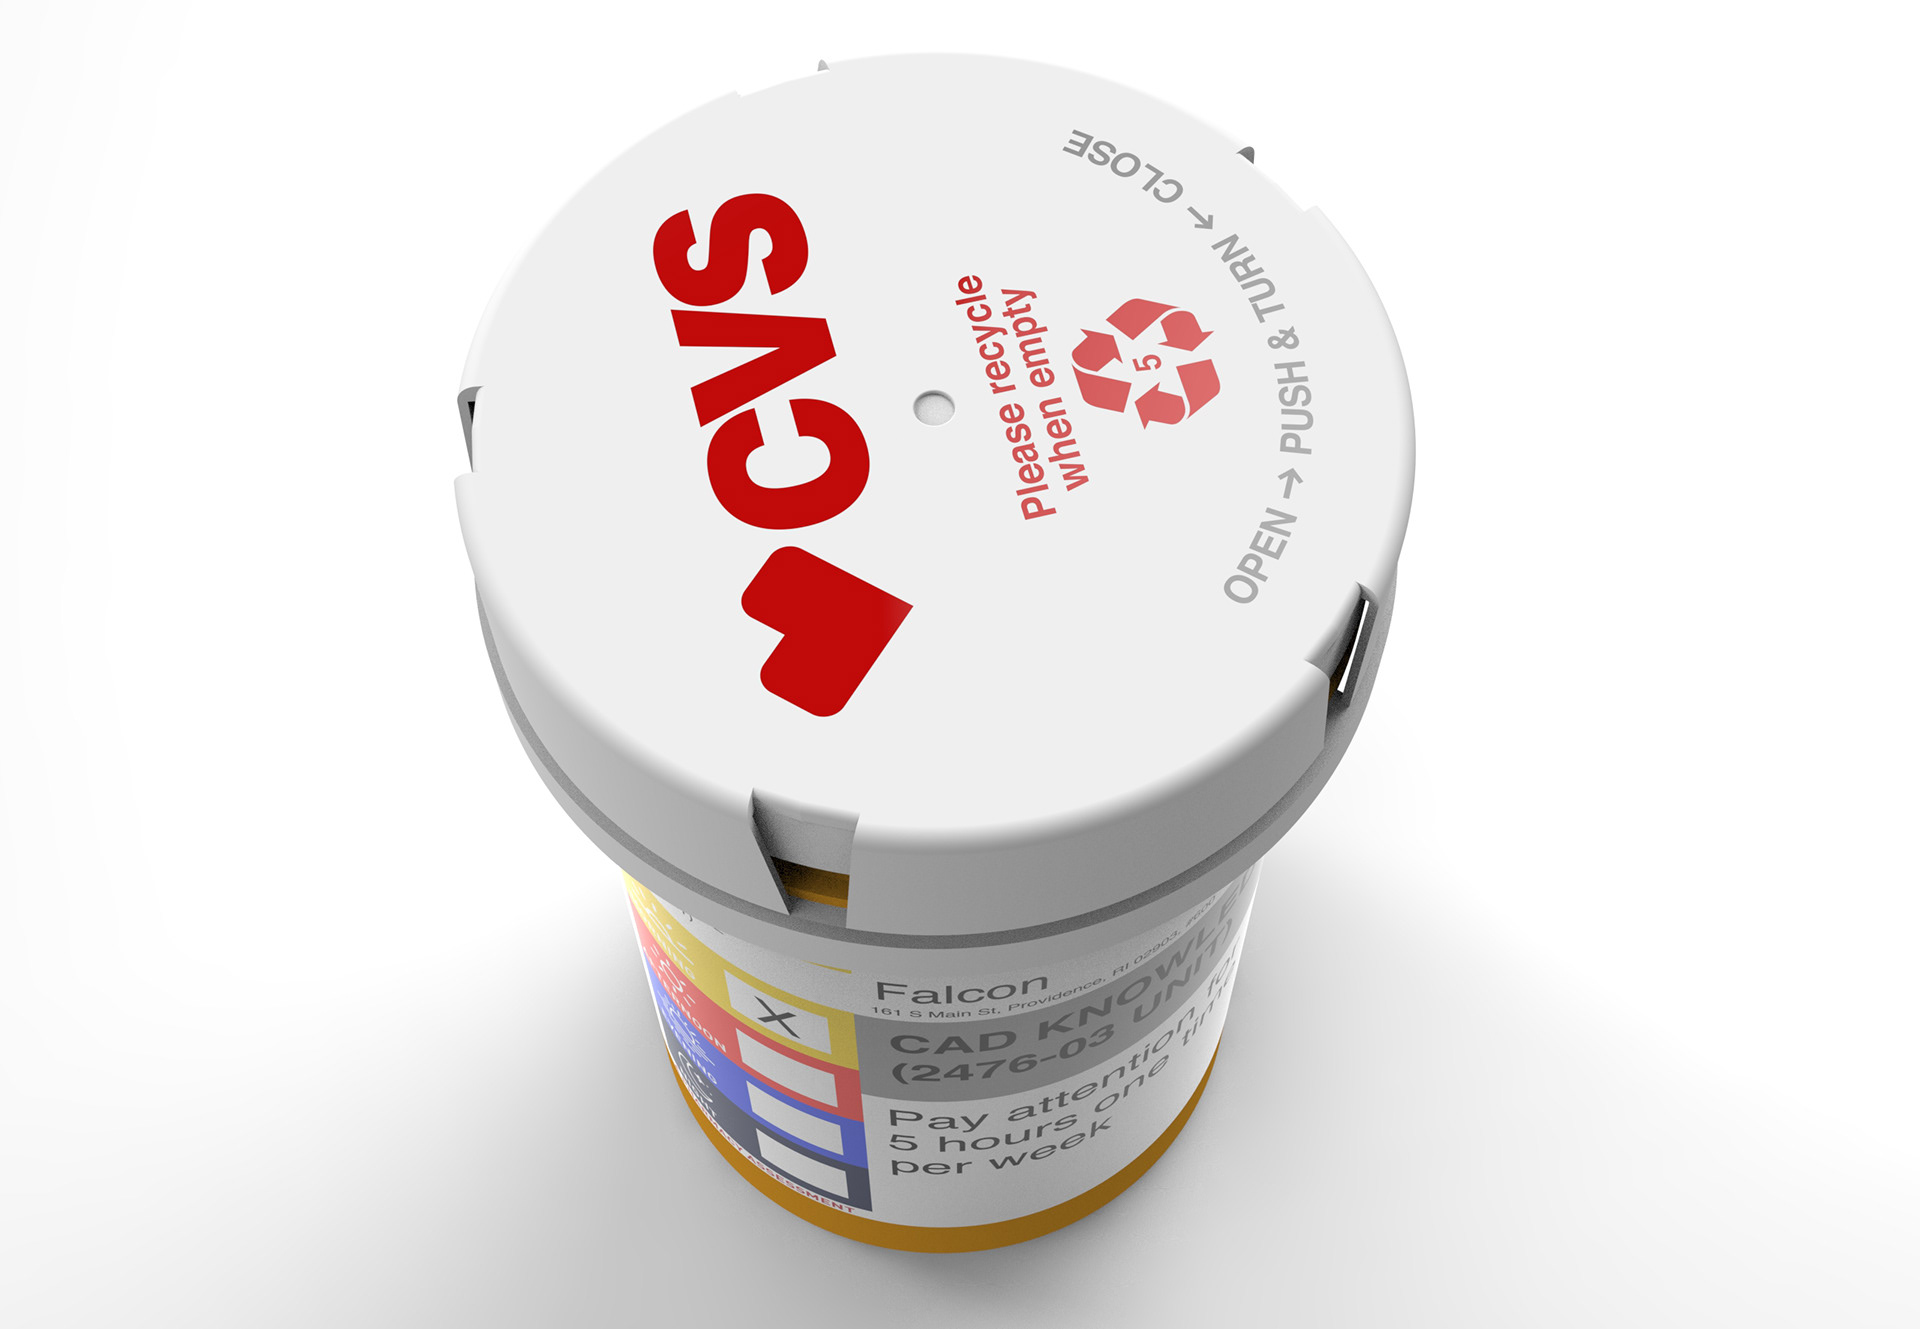
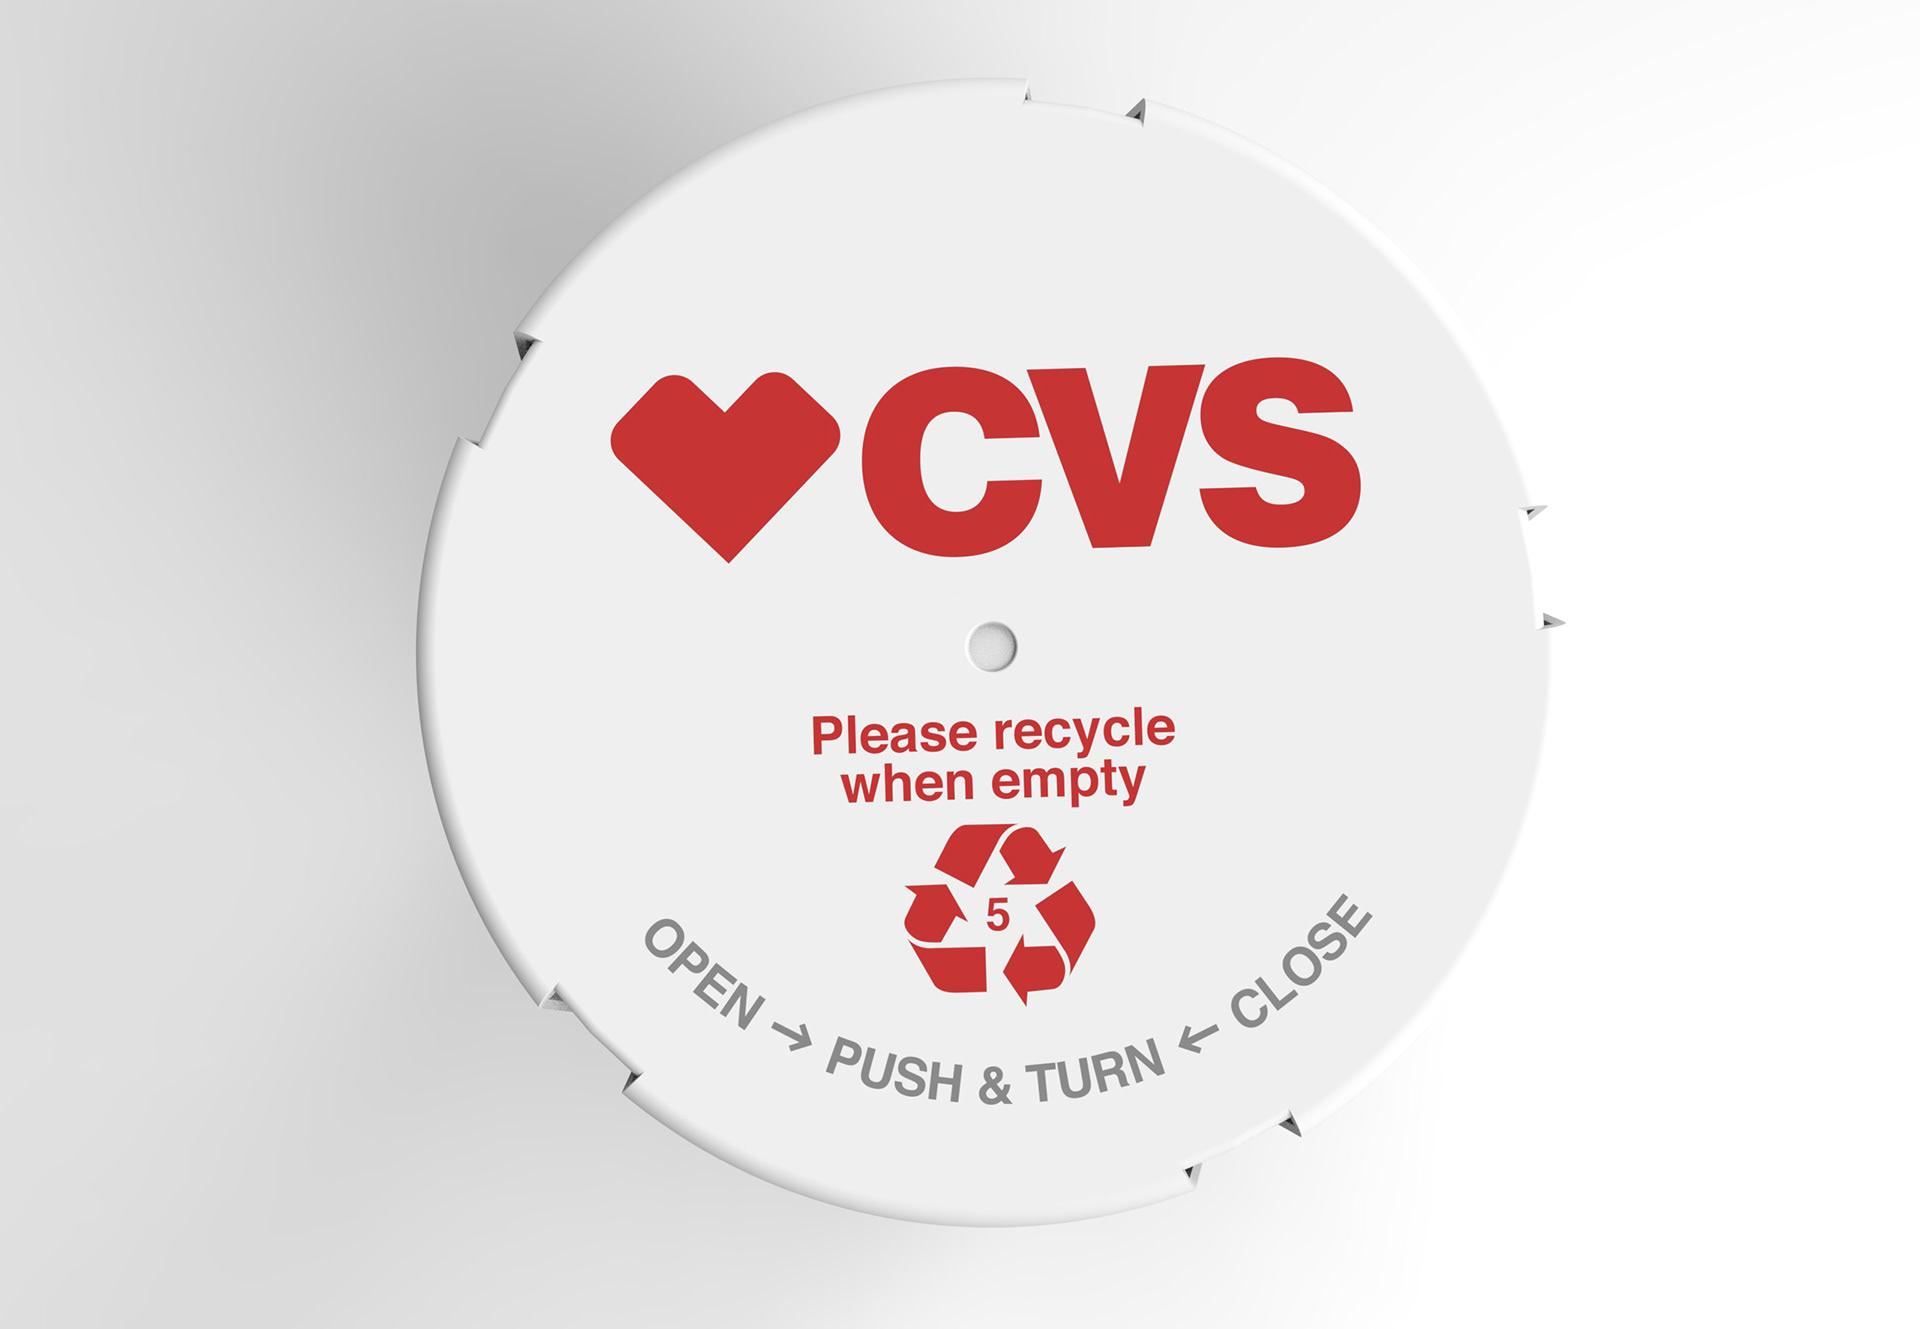
(11) Final touches and decals.
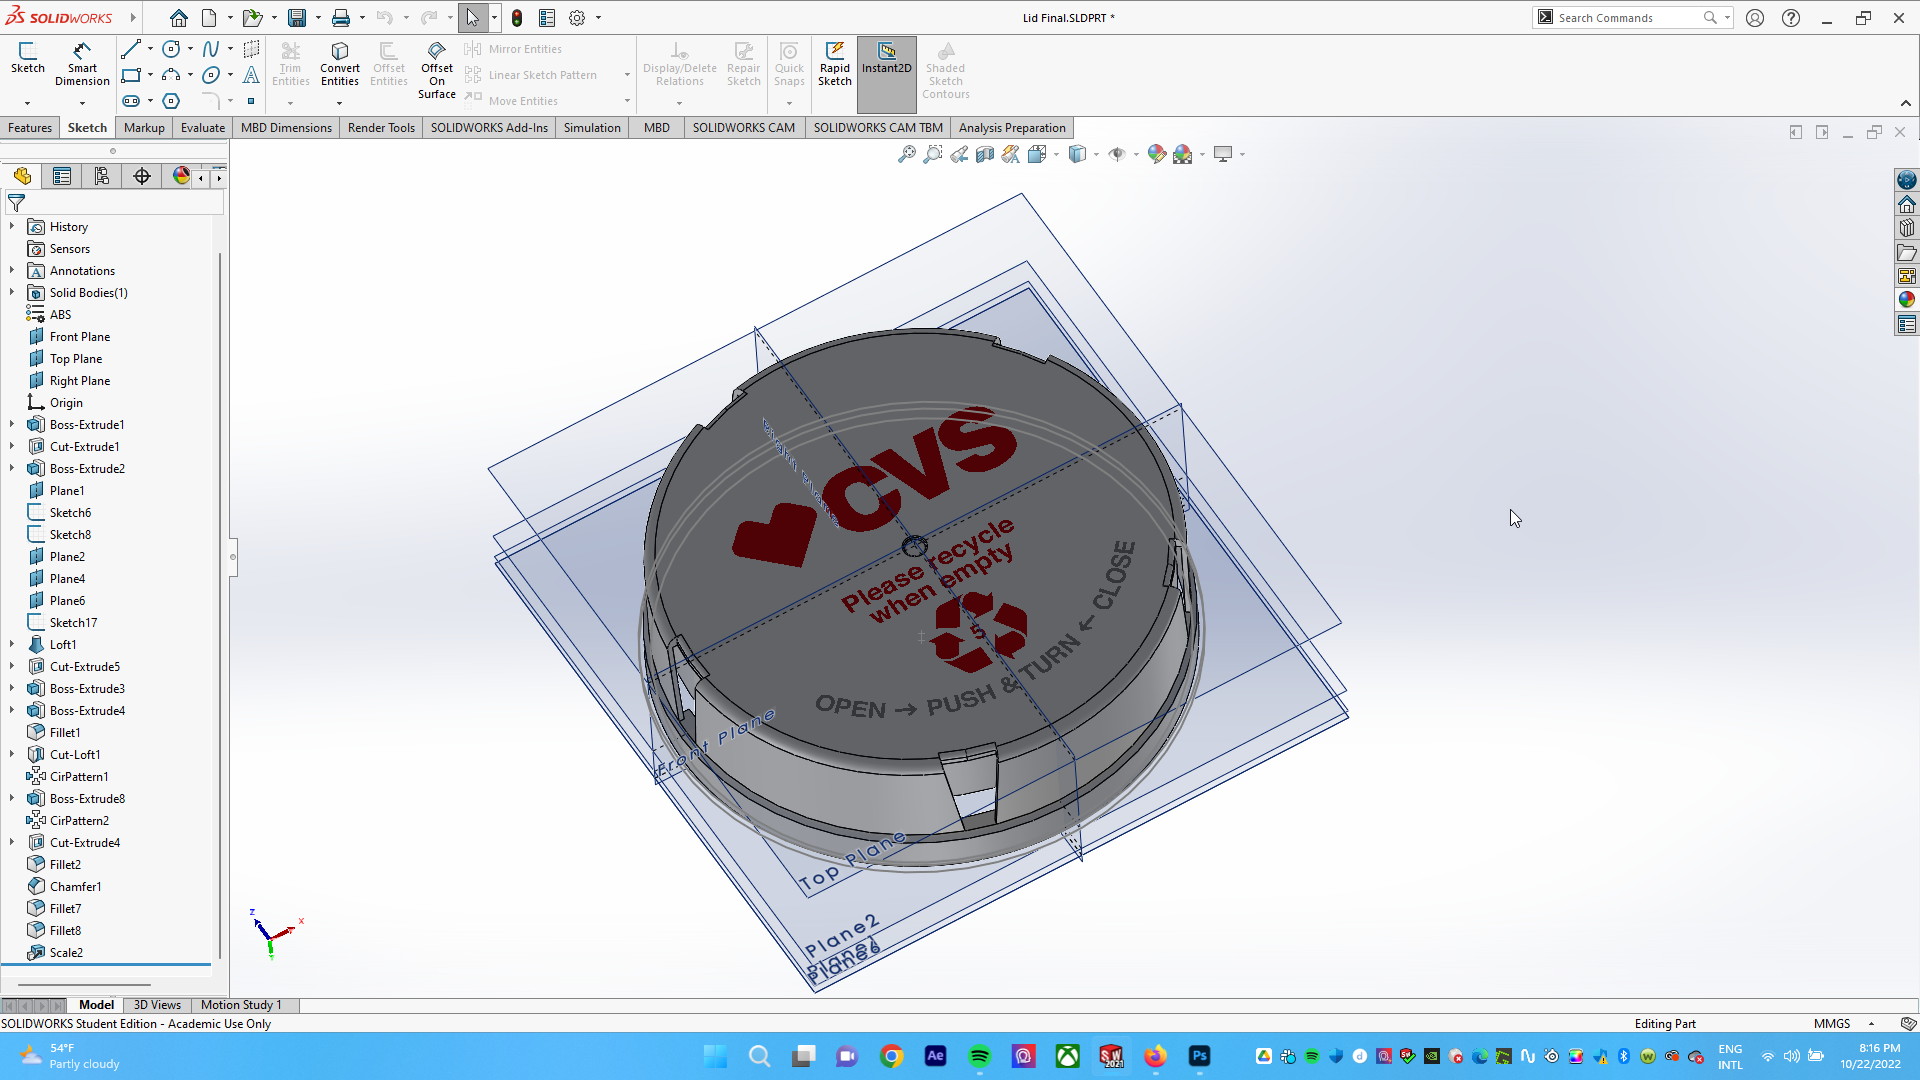
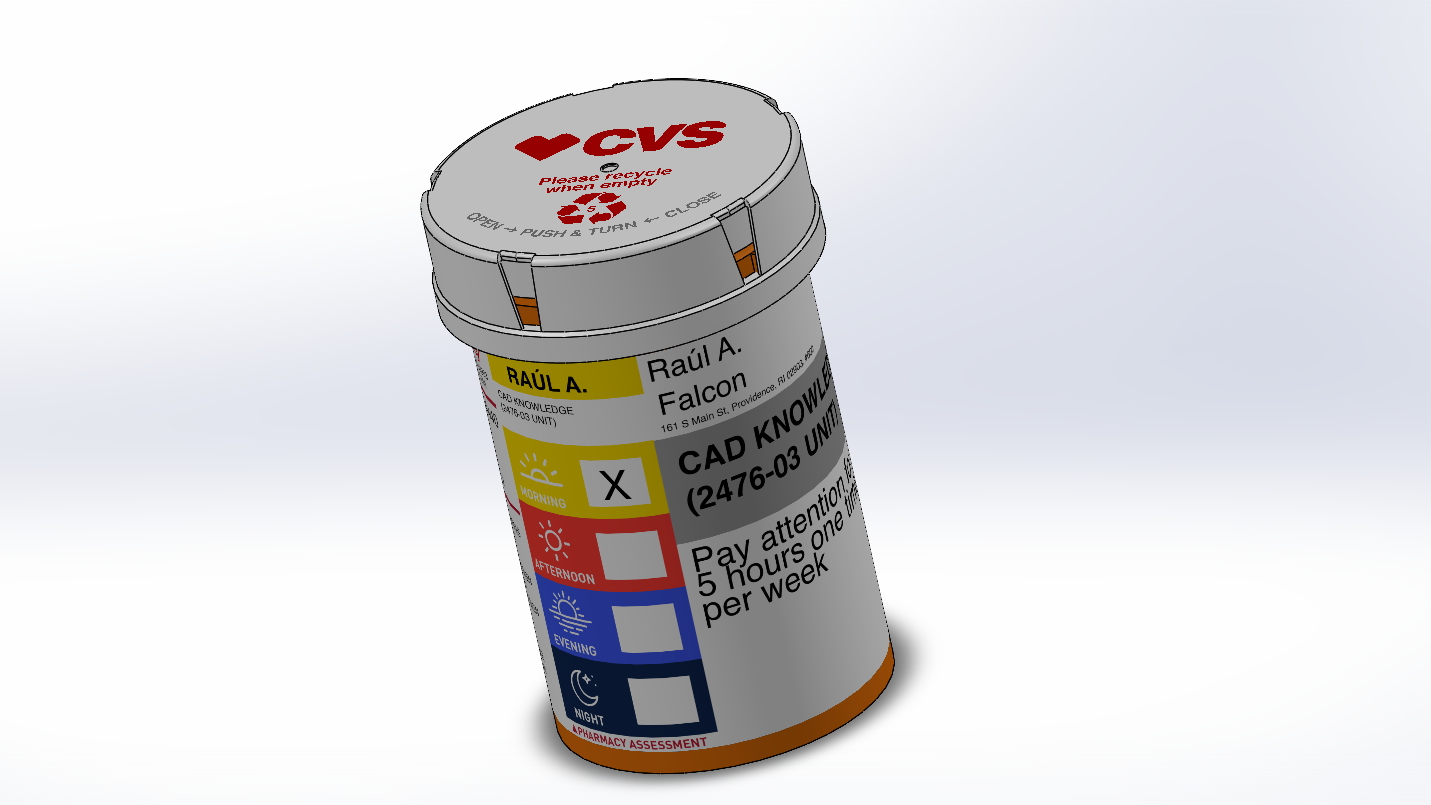
(12) Final Lid Exports
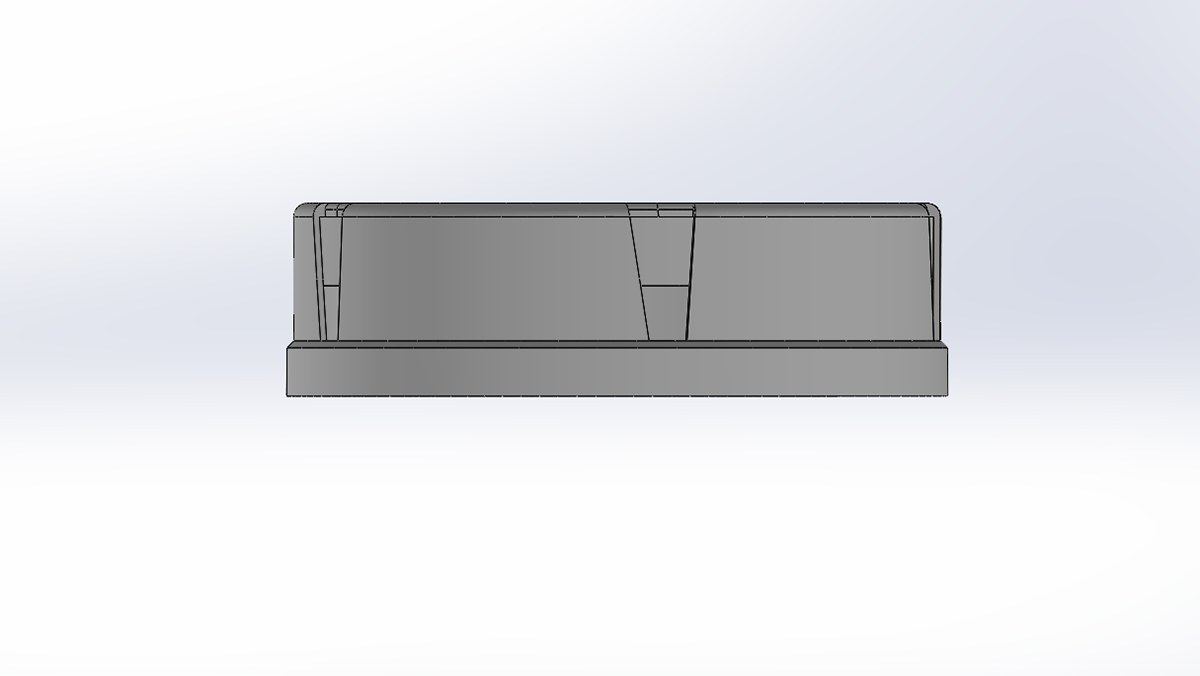

Cylindrical Container Process
(13) Basic shape extrusion and cuts to get the main structure out and then work on details.

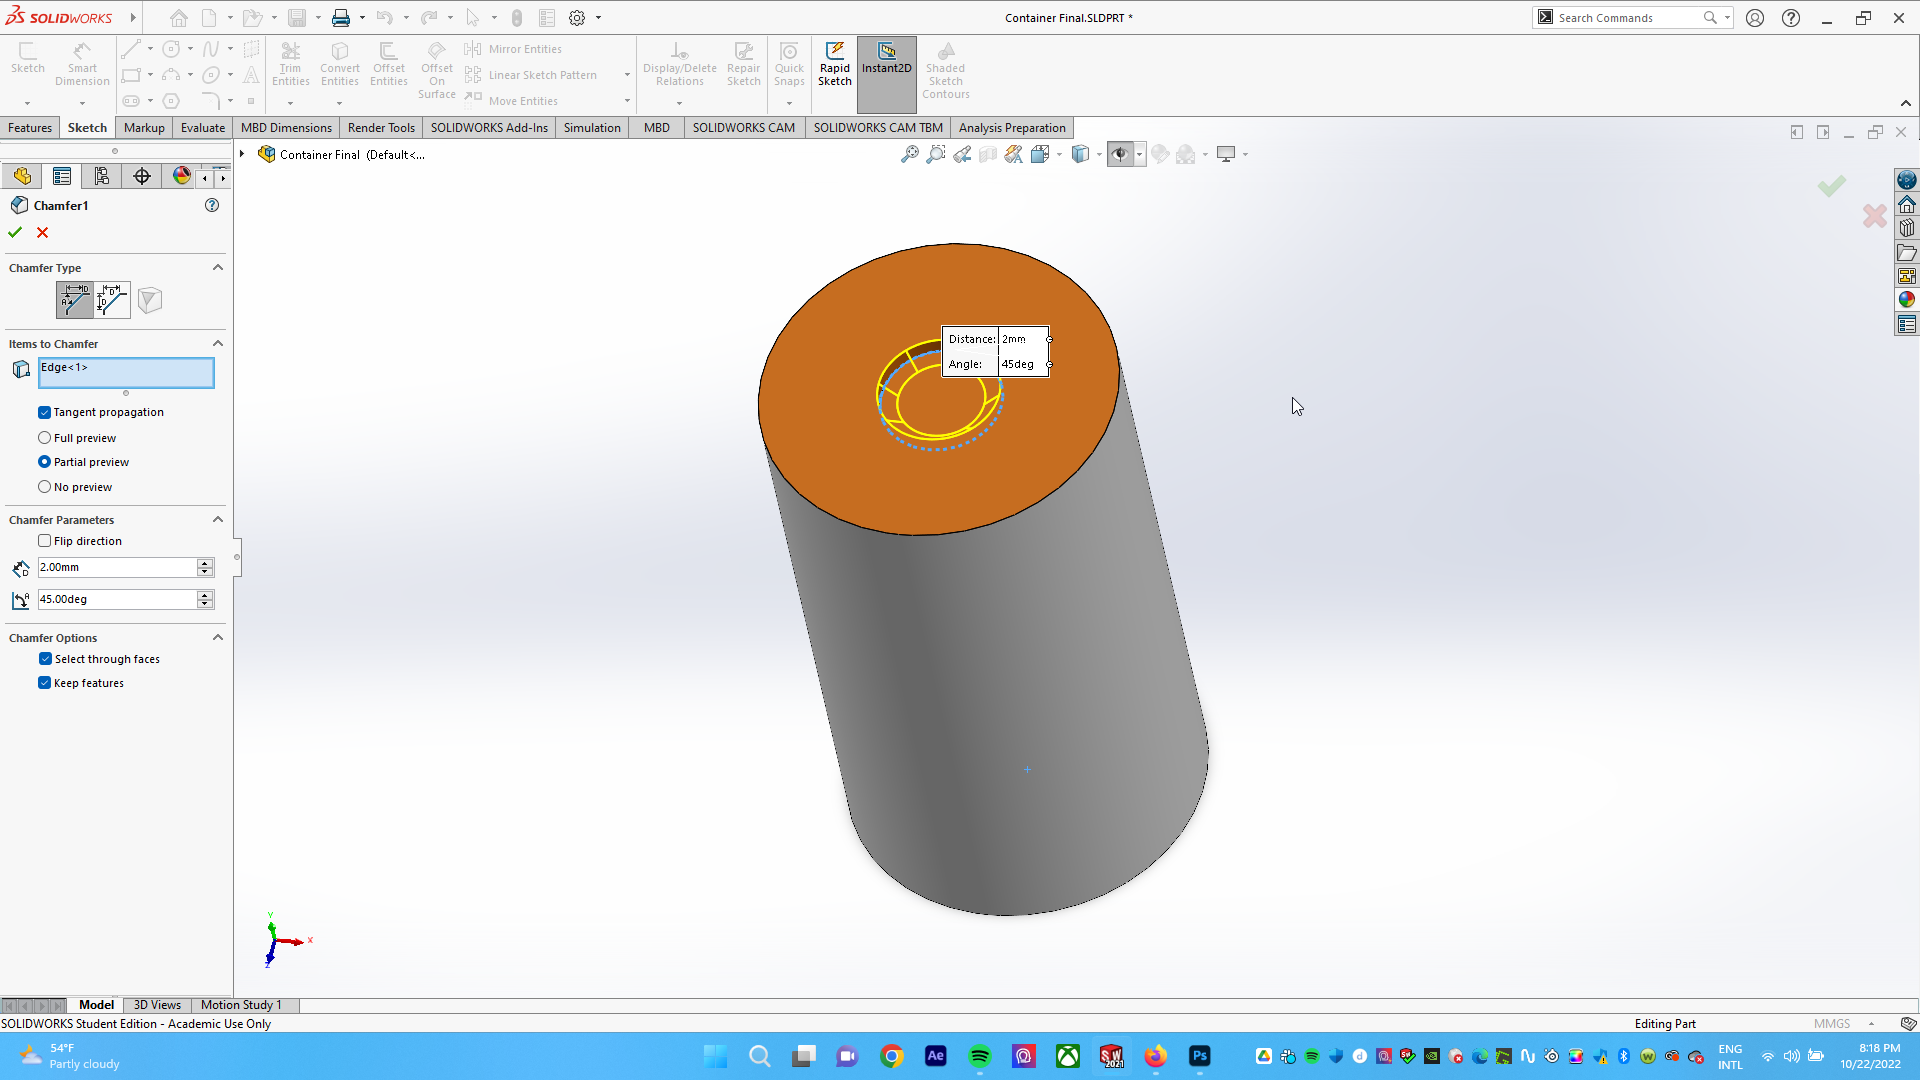
(14) Chamfer detail for lower extruded cut. This seemed like the way the part was manufactured in the first place.
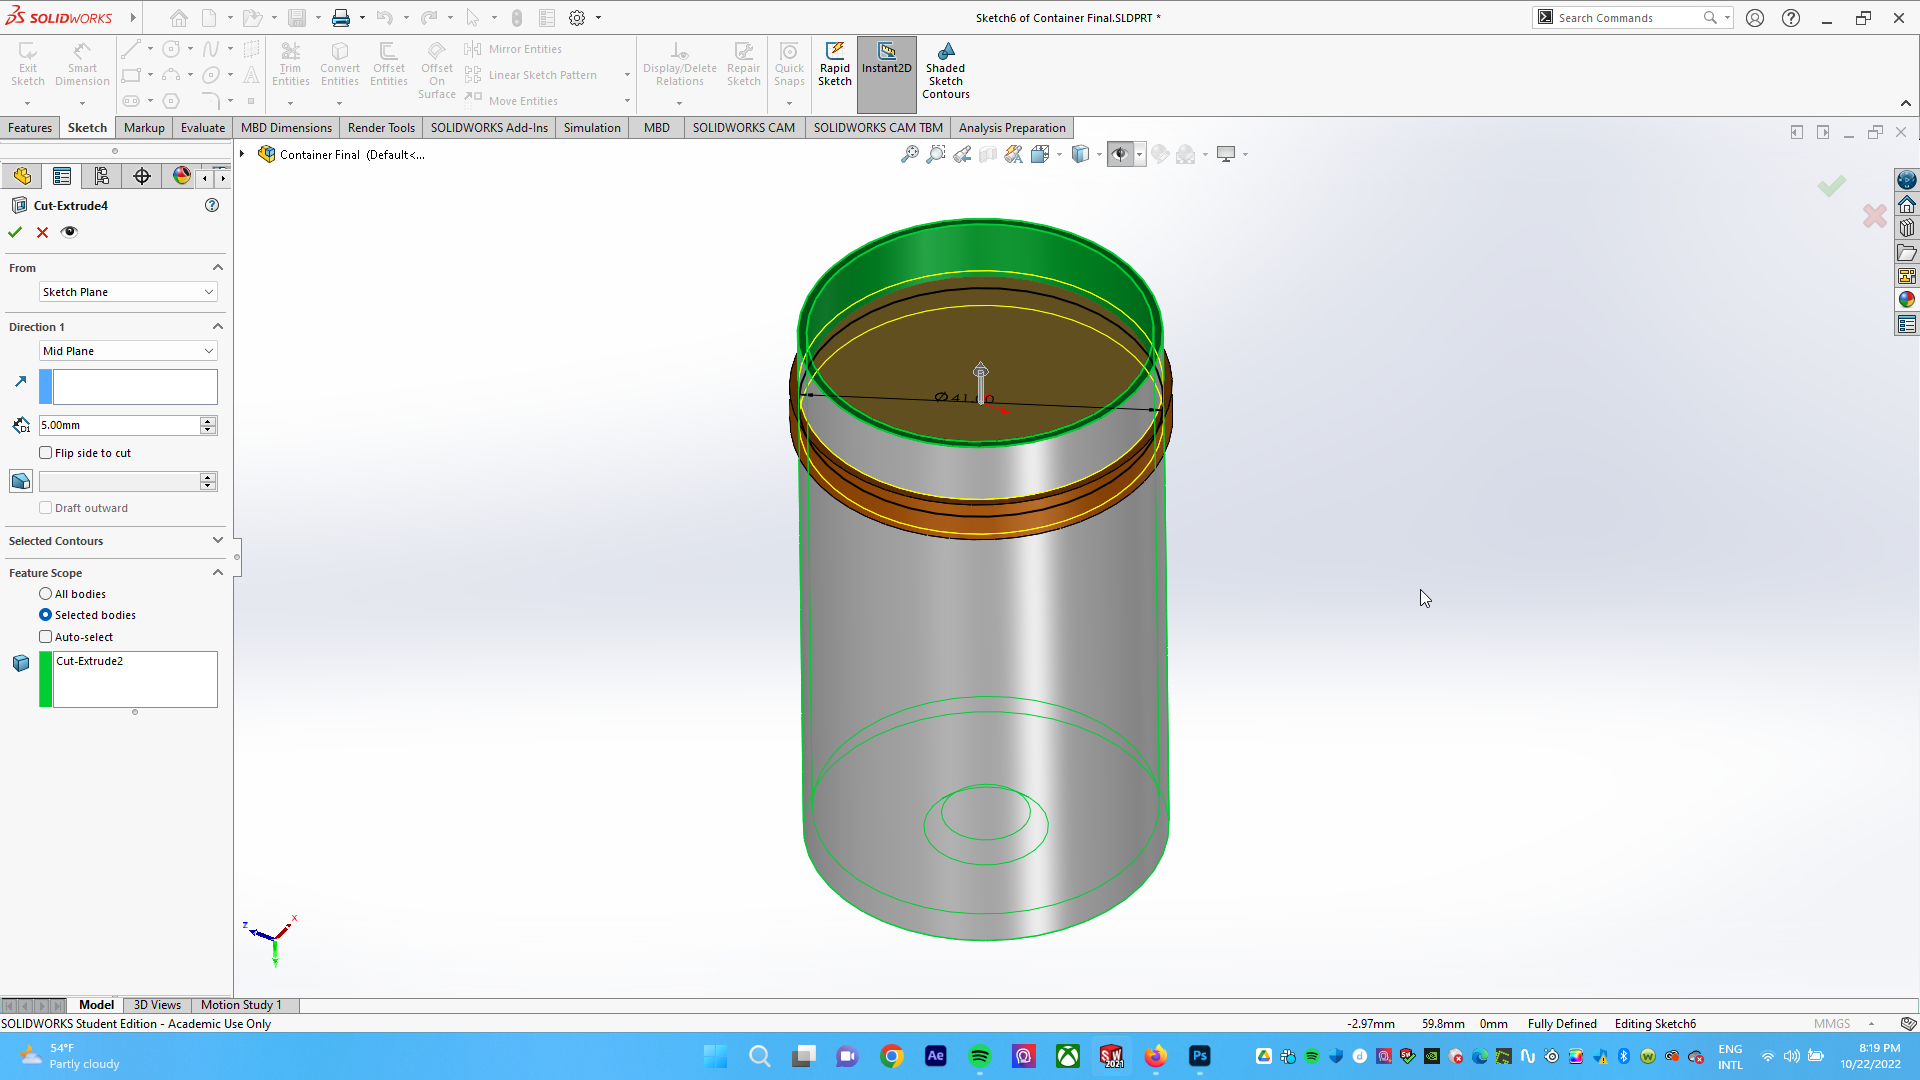
(15) Extrusion for notch, measured dimensions of the notch for connection.
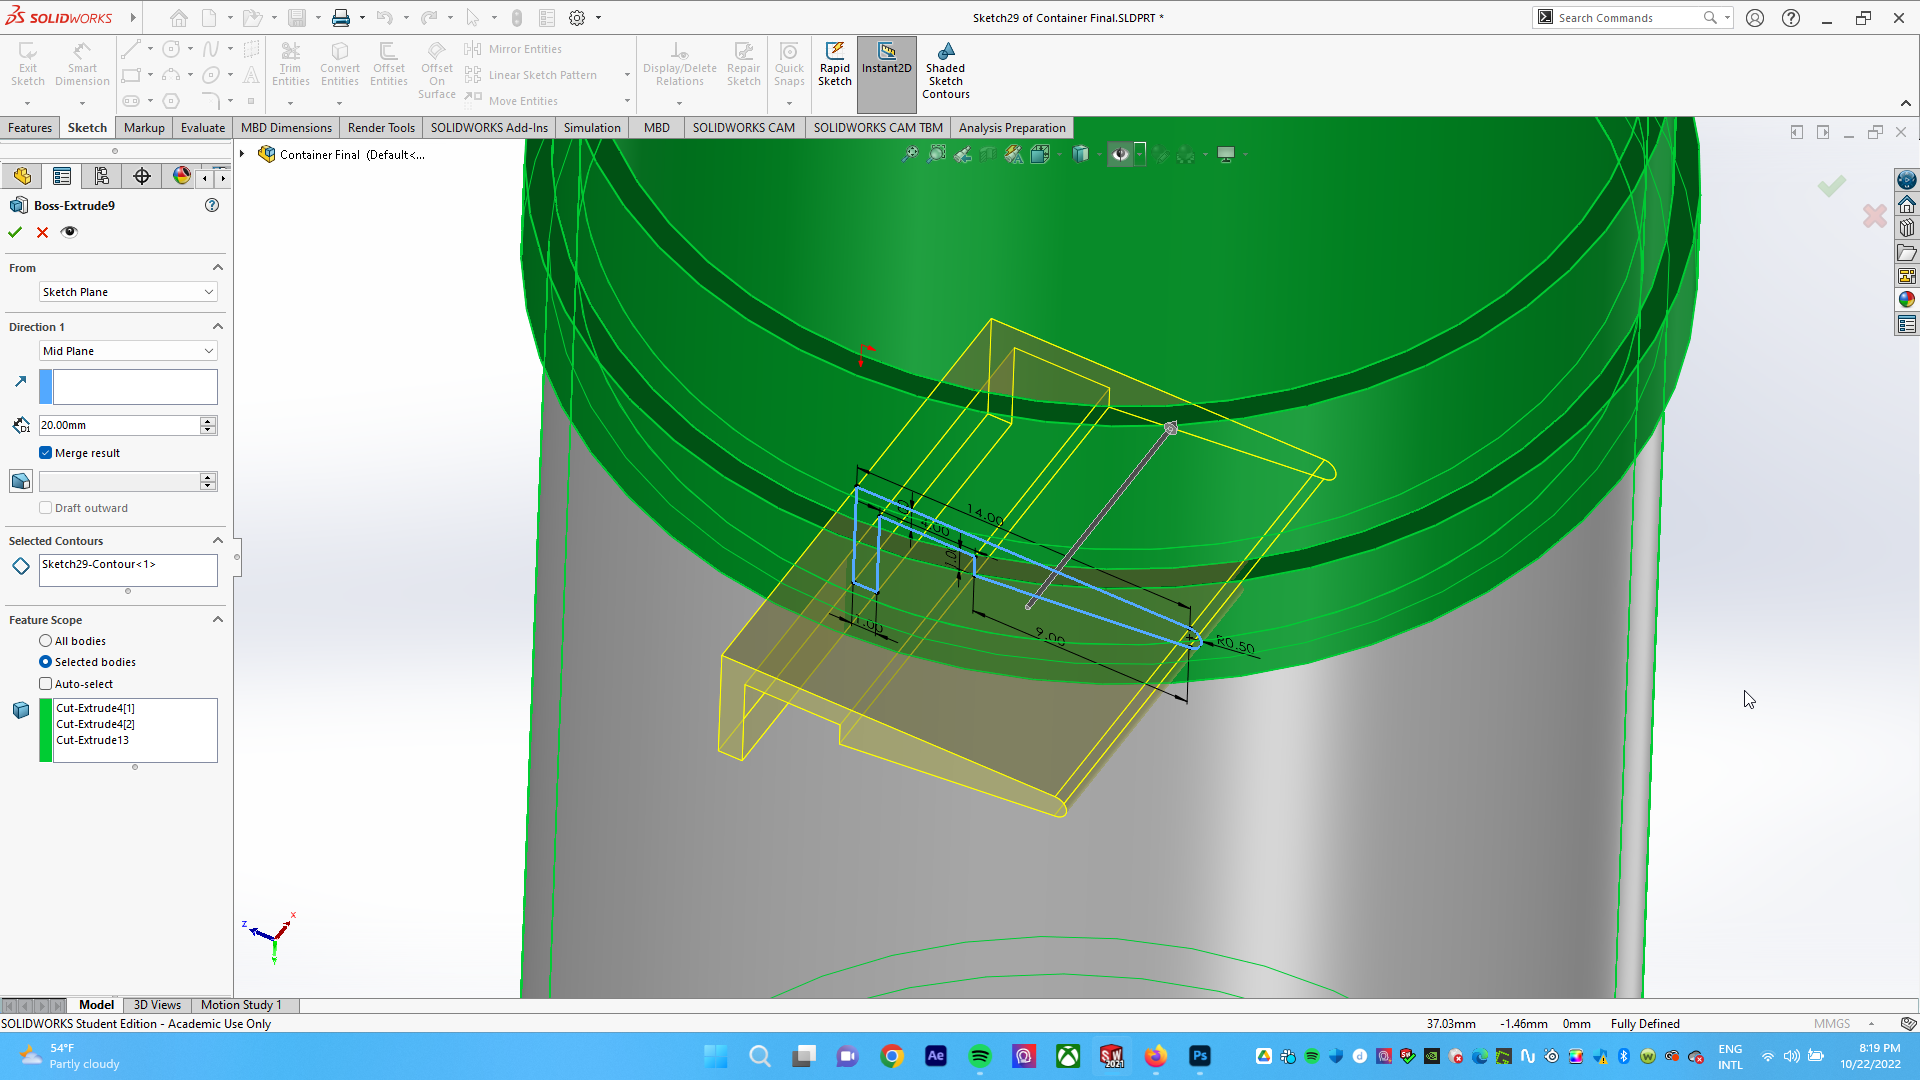
(16) The trick! Circular pattern for the extrusion and then extrude cutting a circle that gives it a thickness and the round shape*.
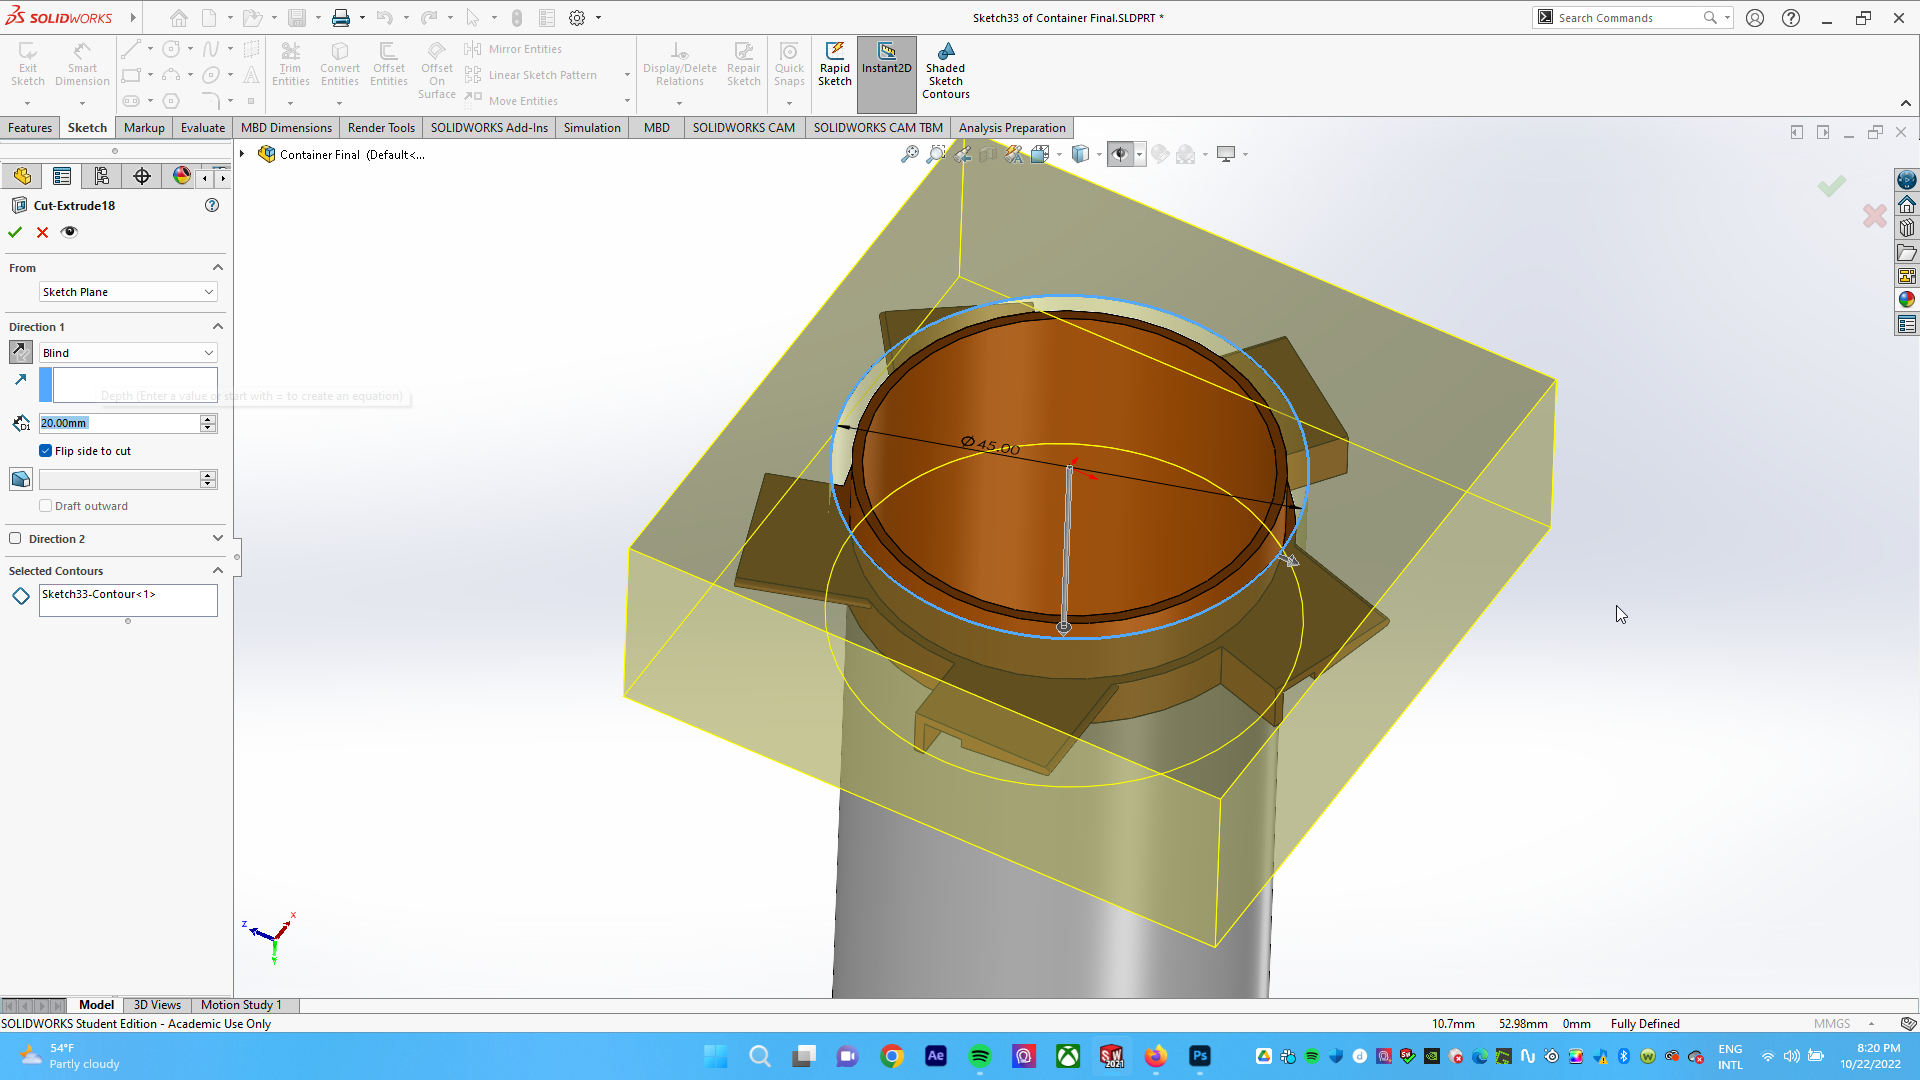
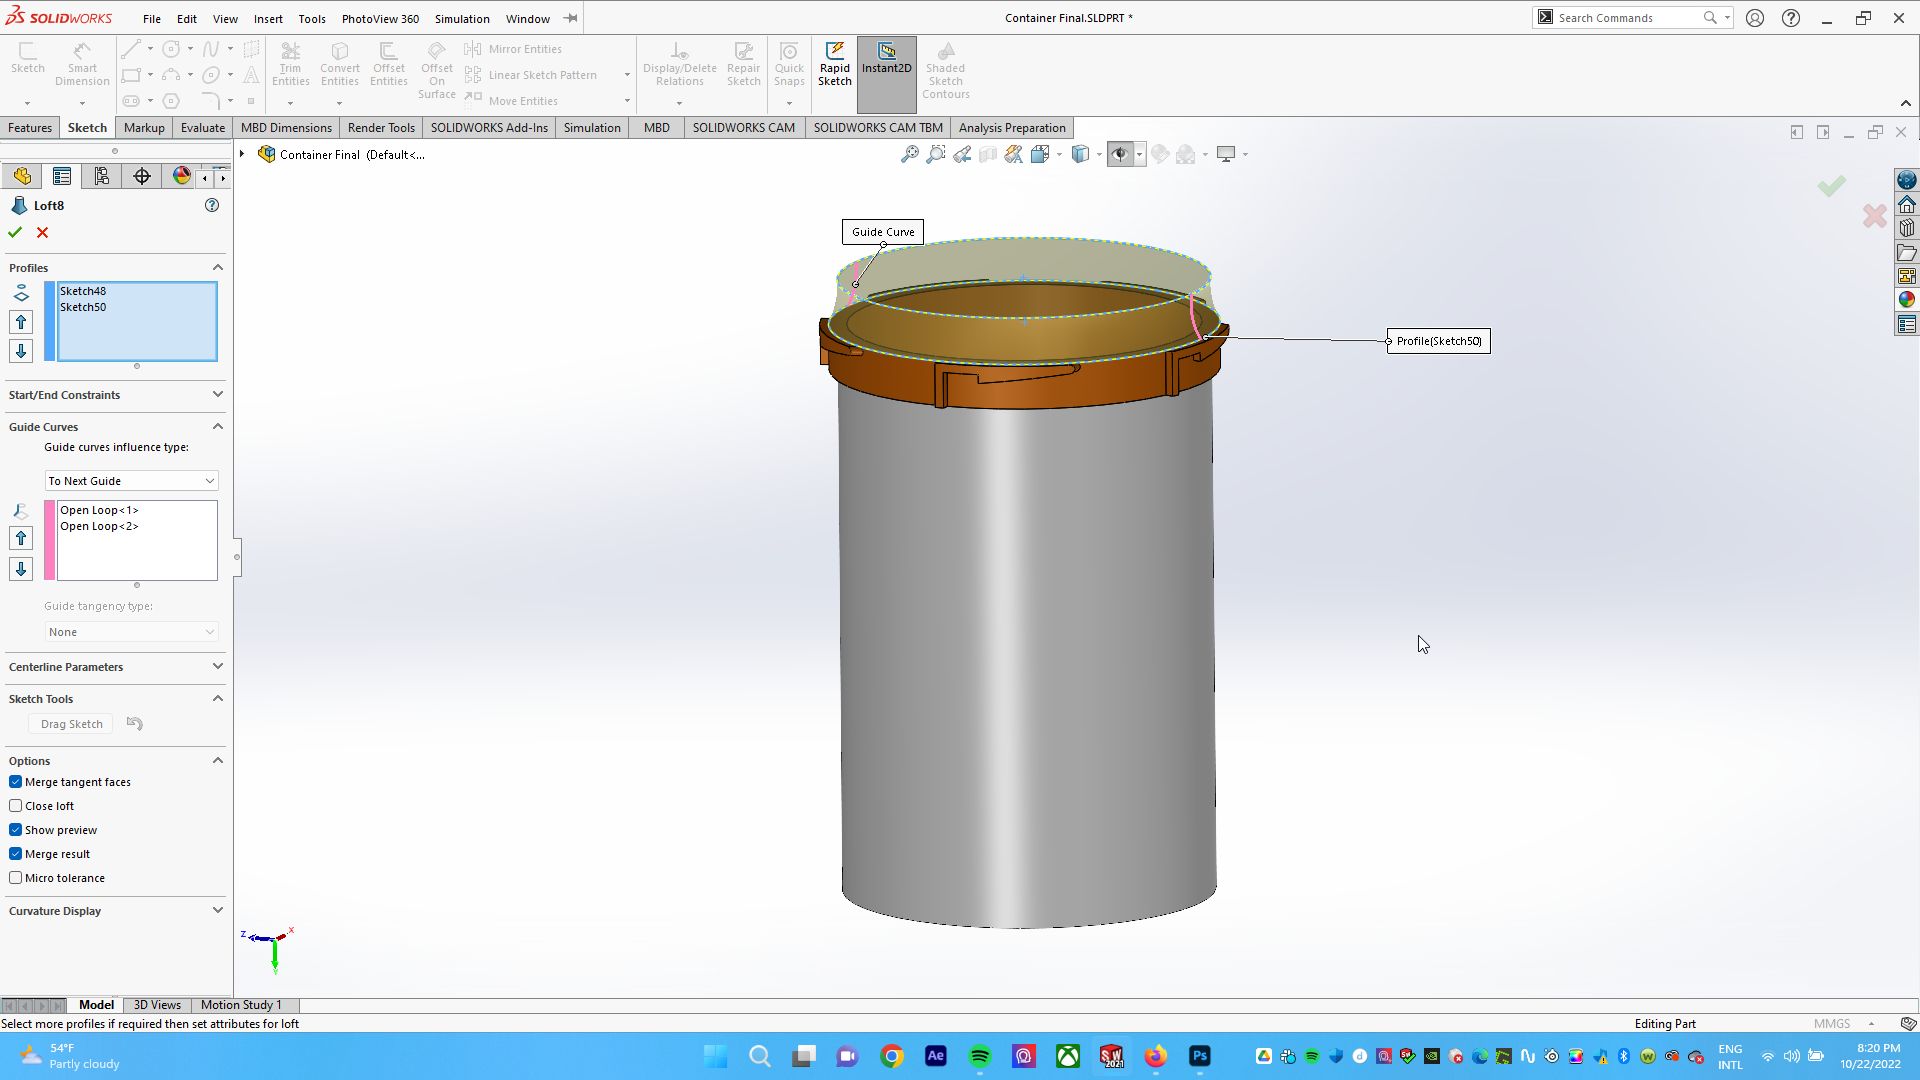
(17) Final touches and additional extrusions to clean up the interior of the shape.
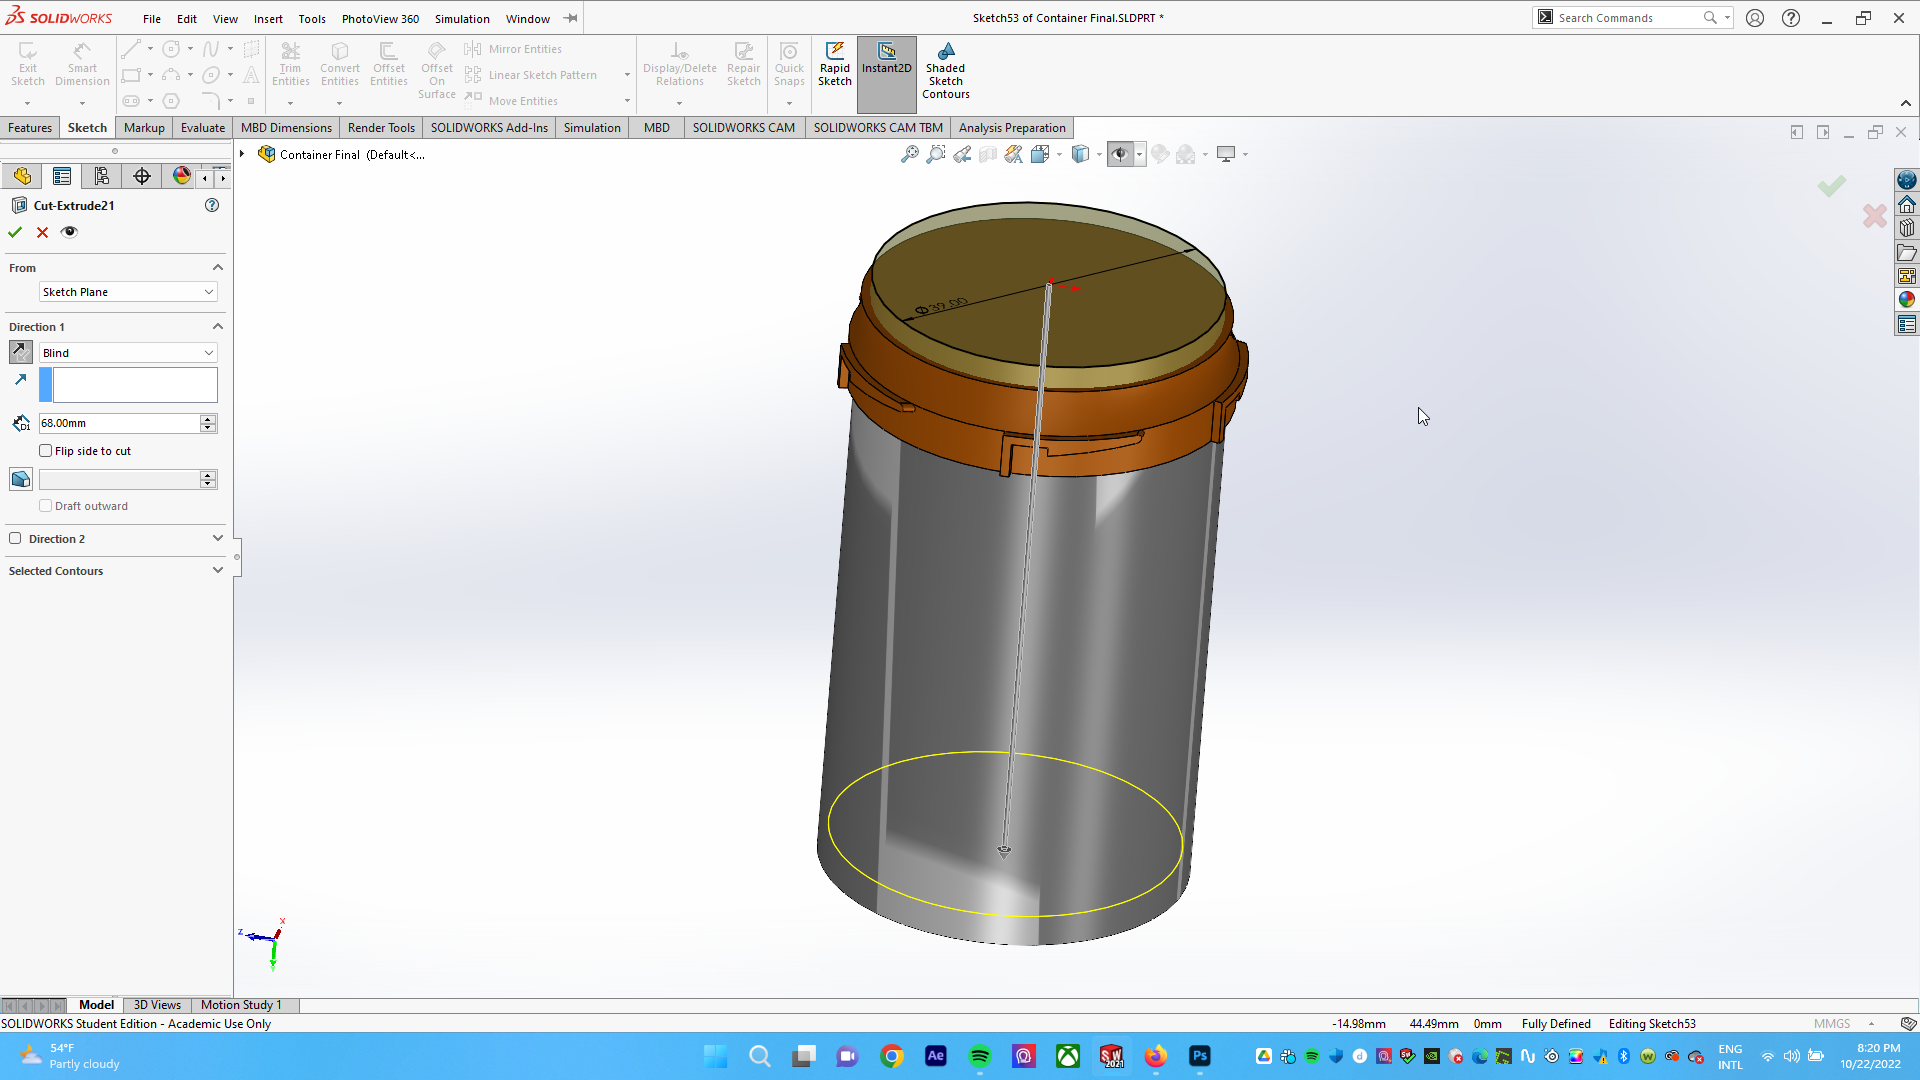
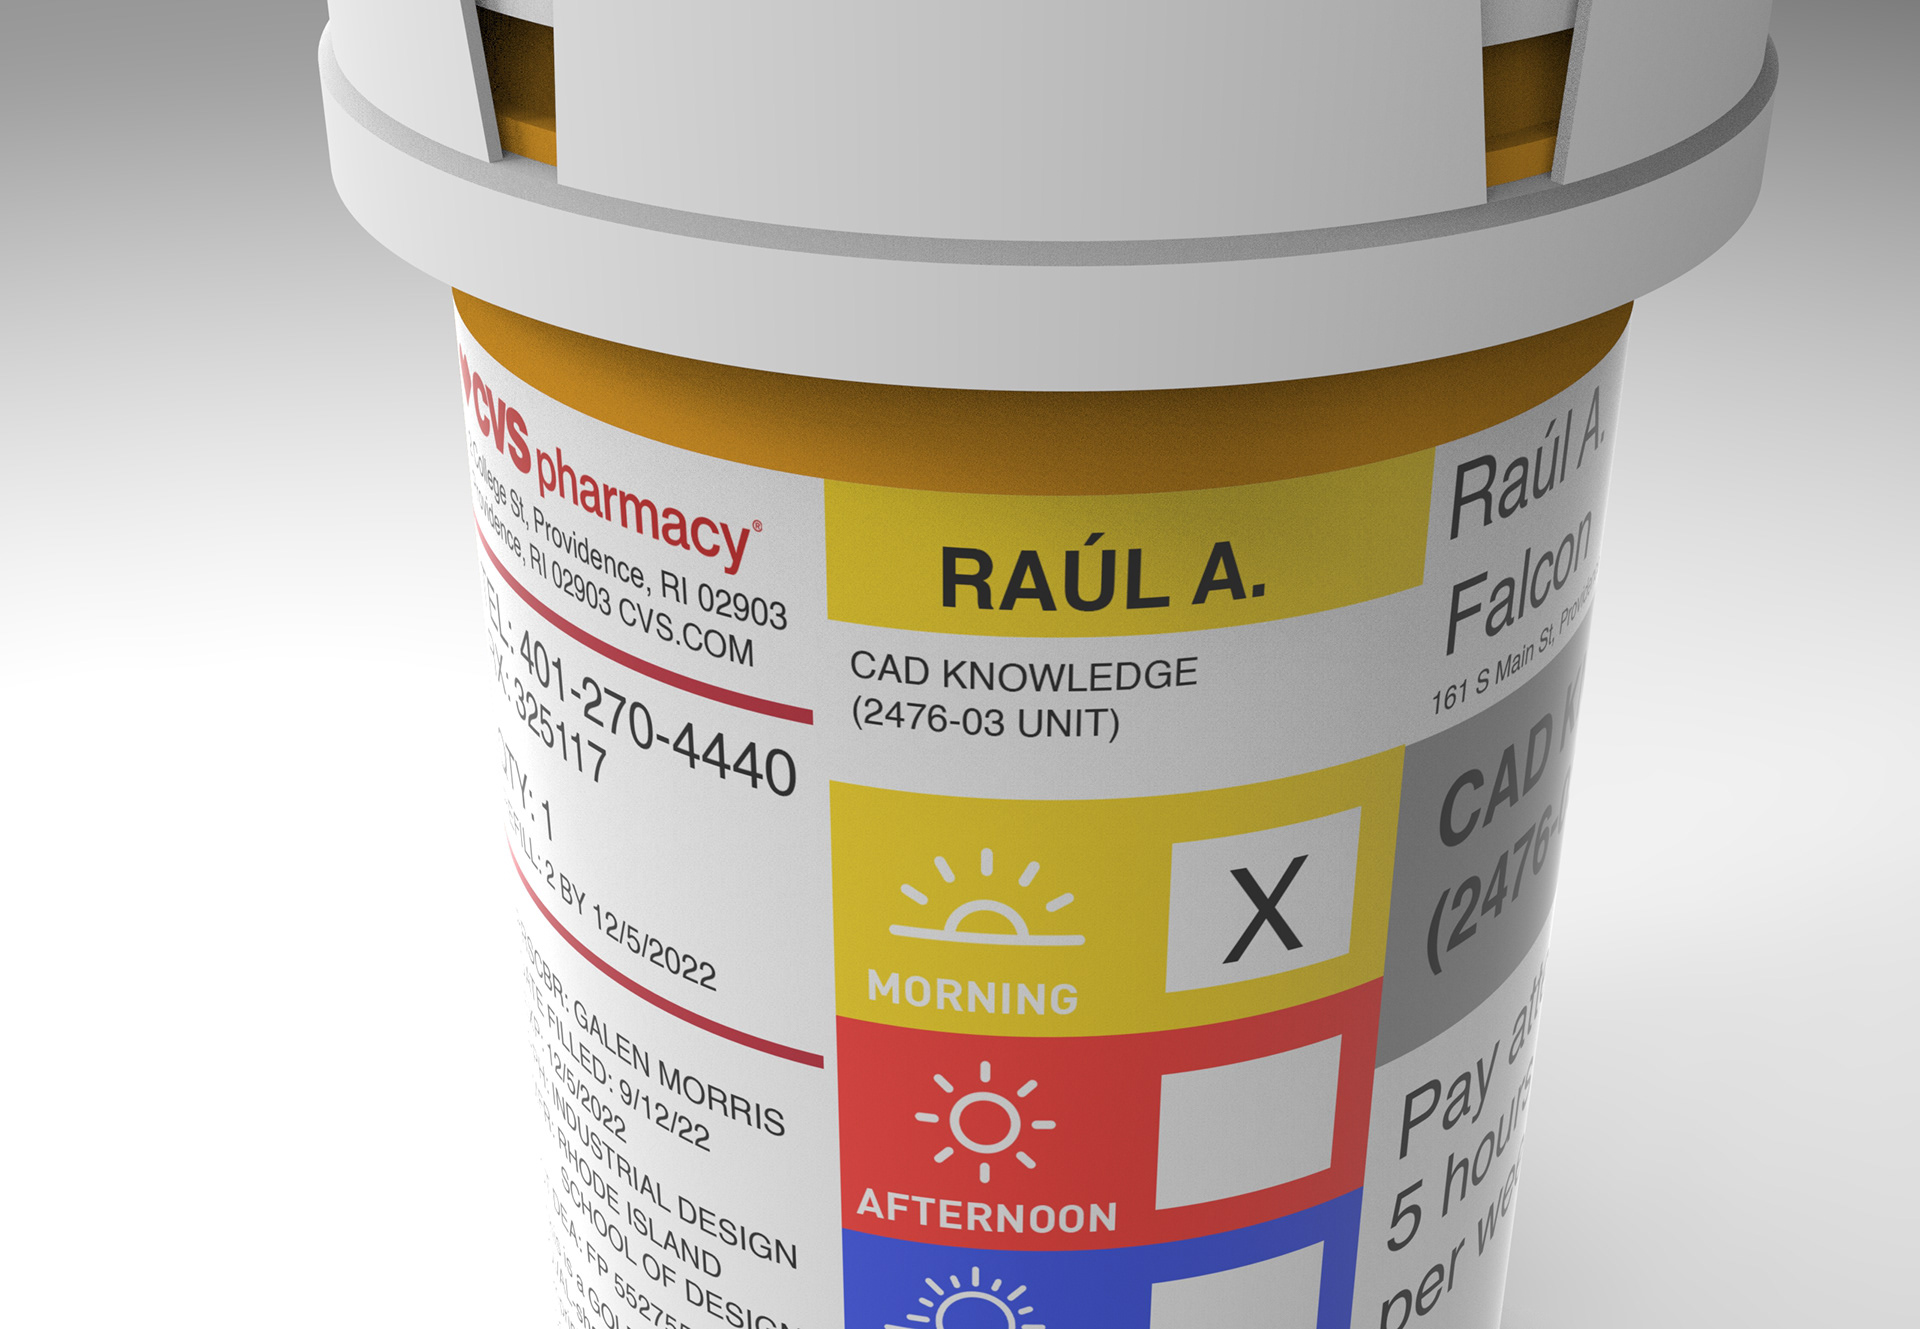
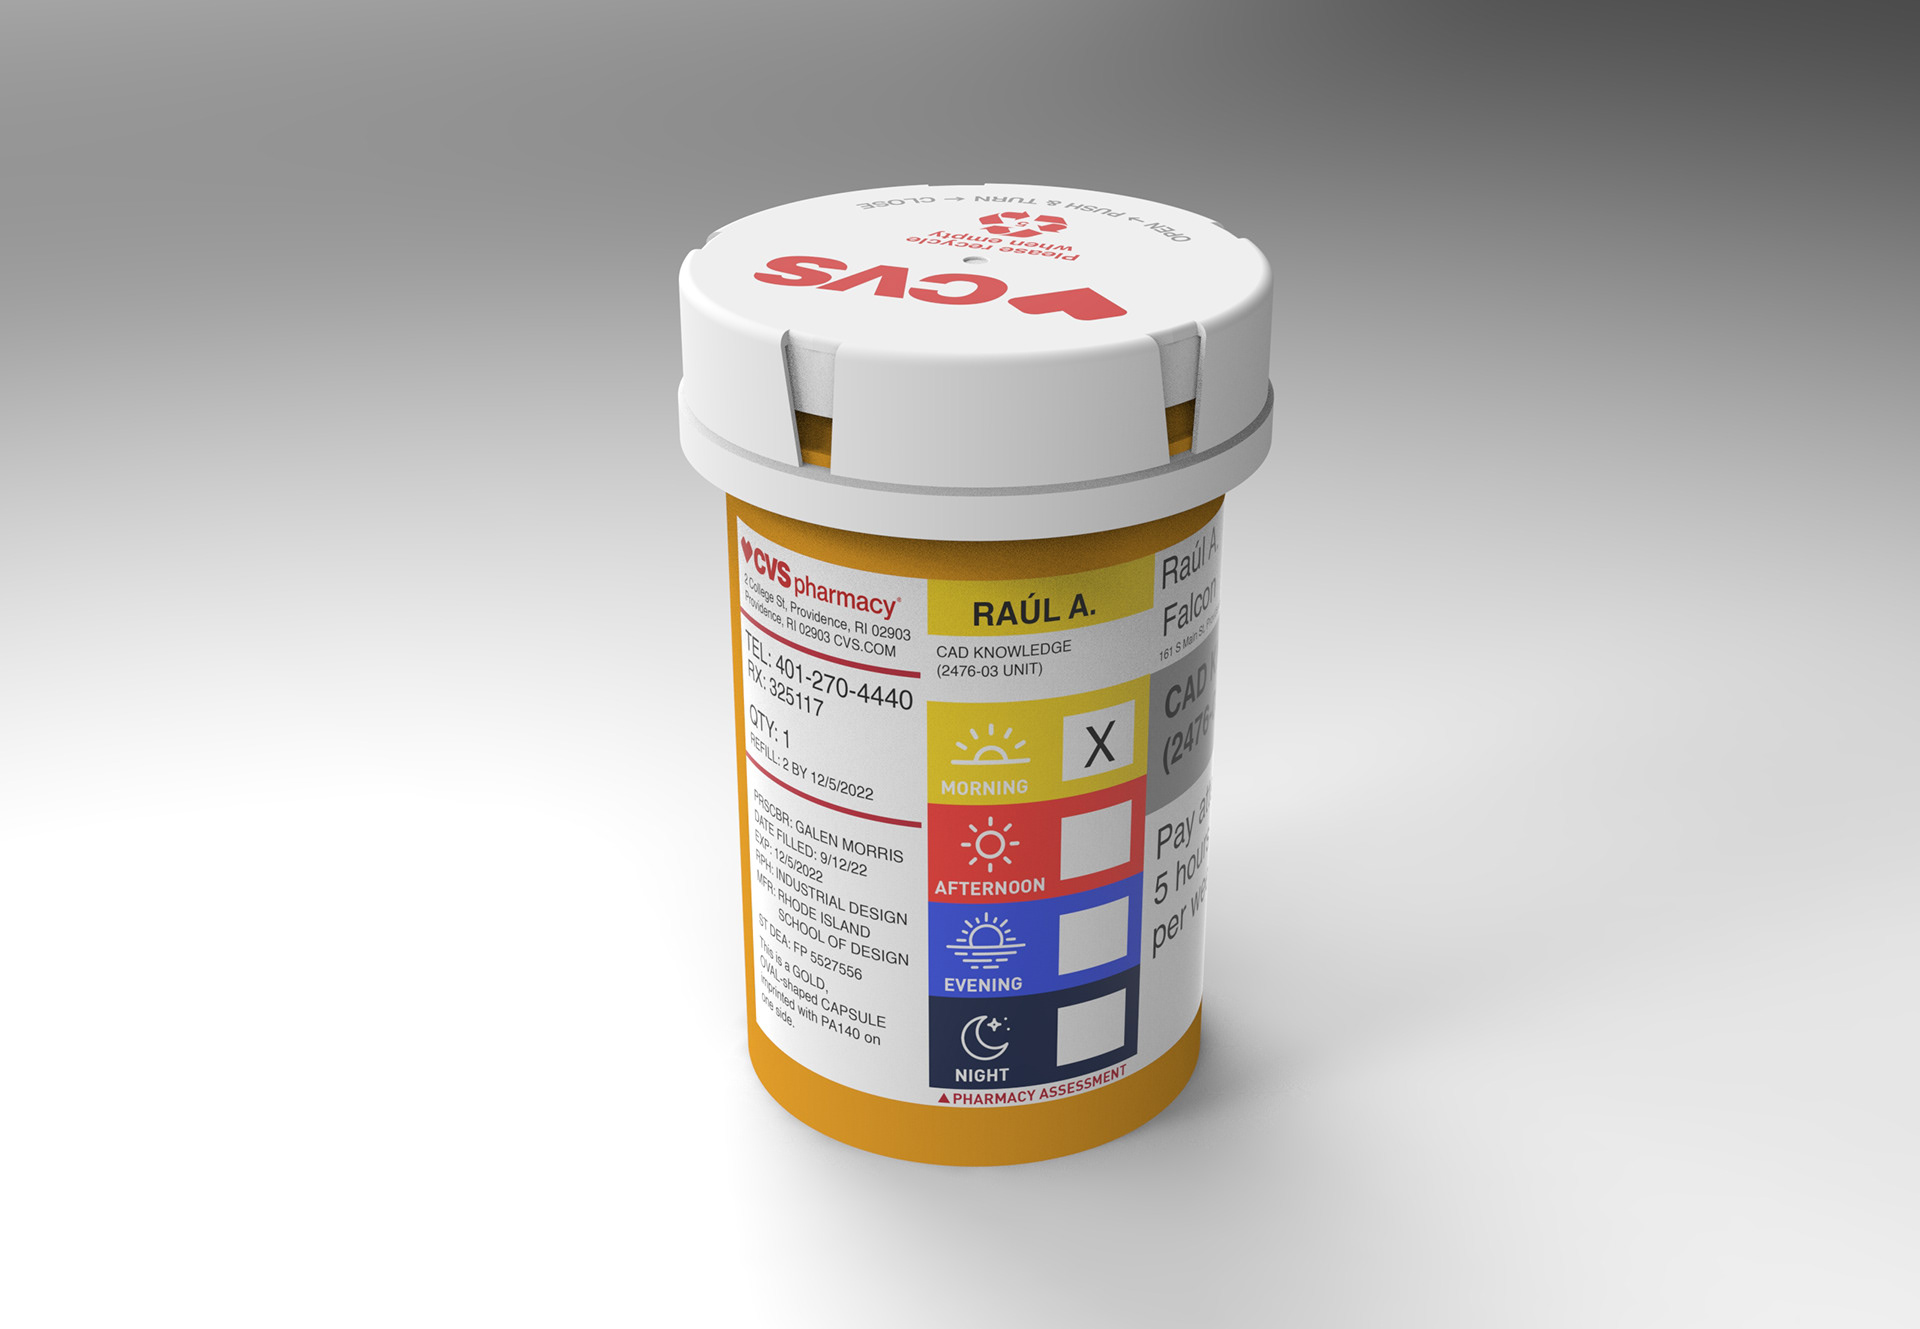
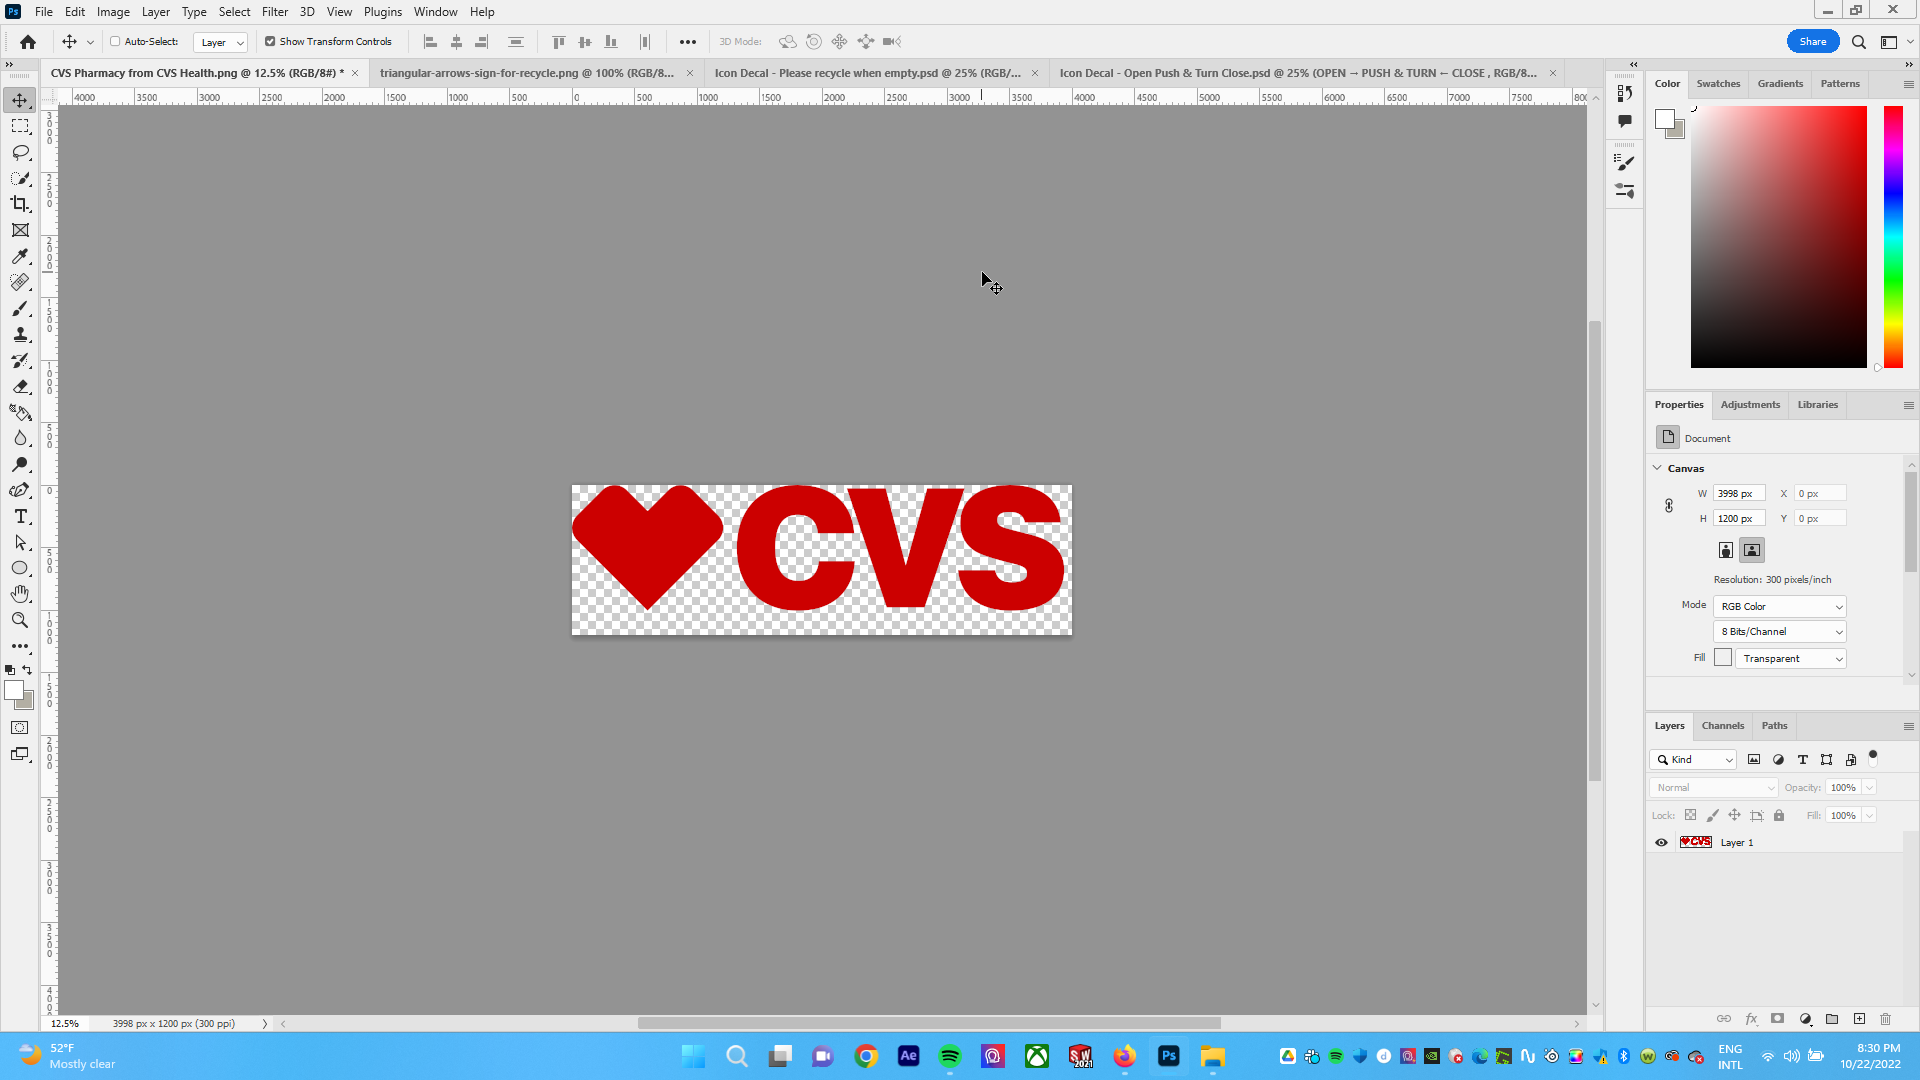
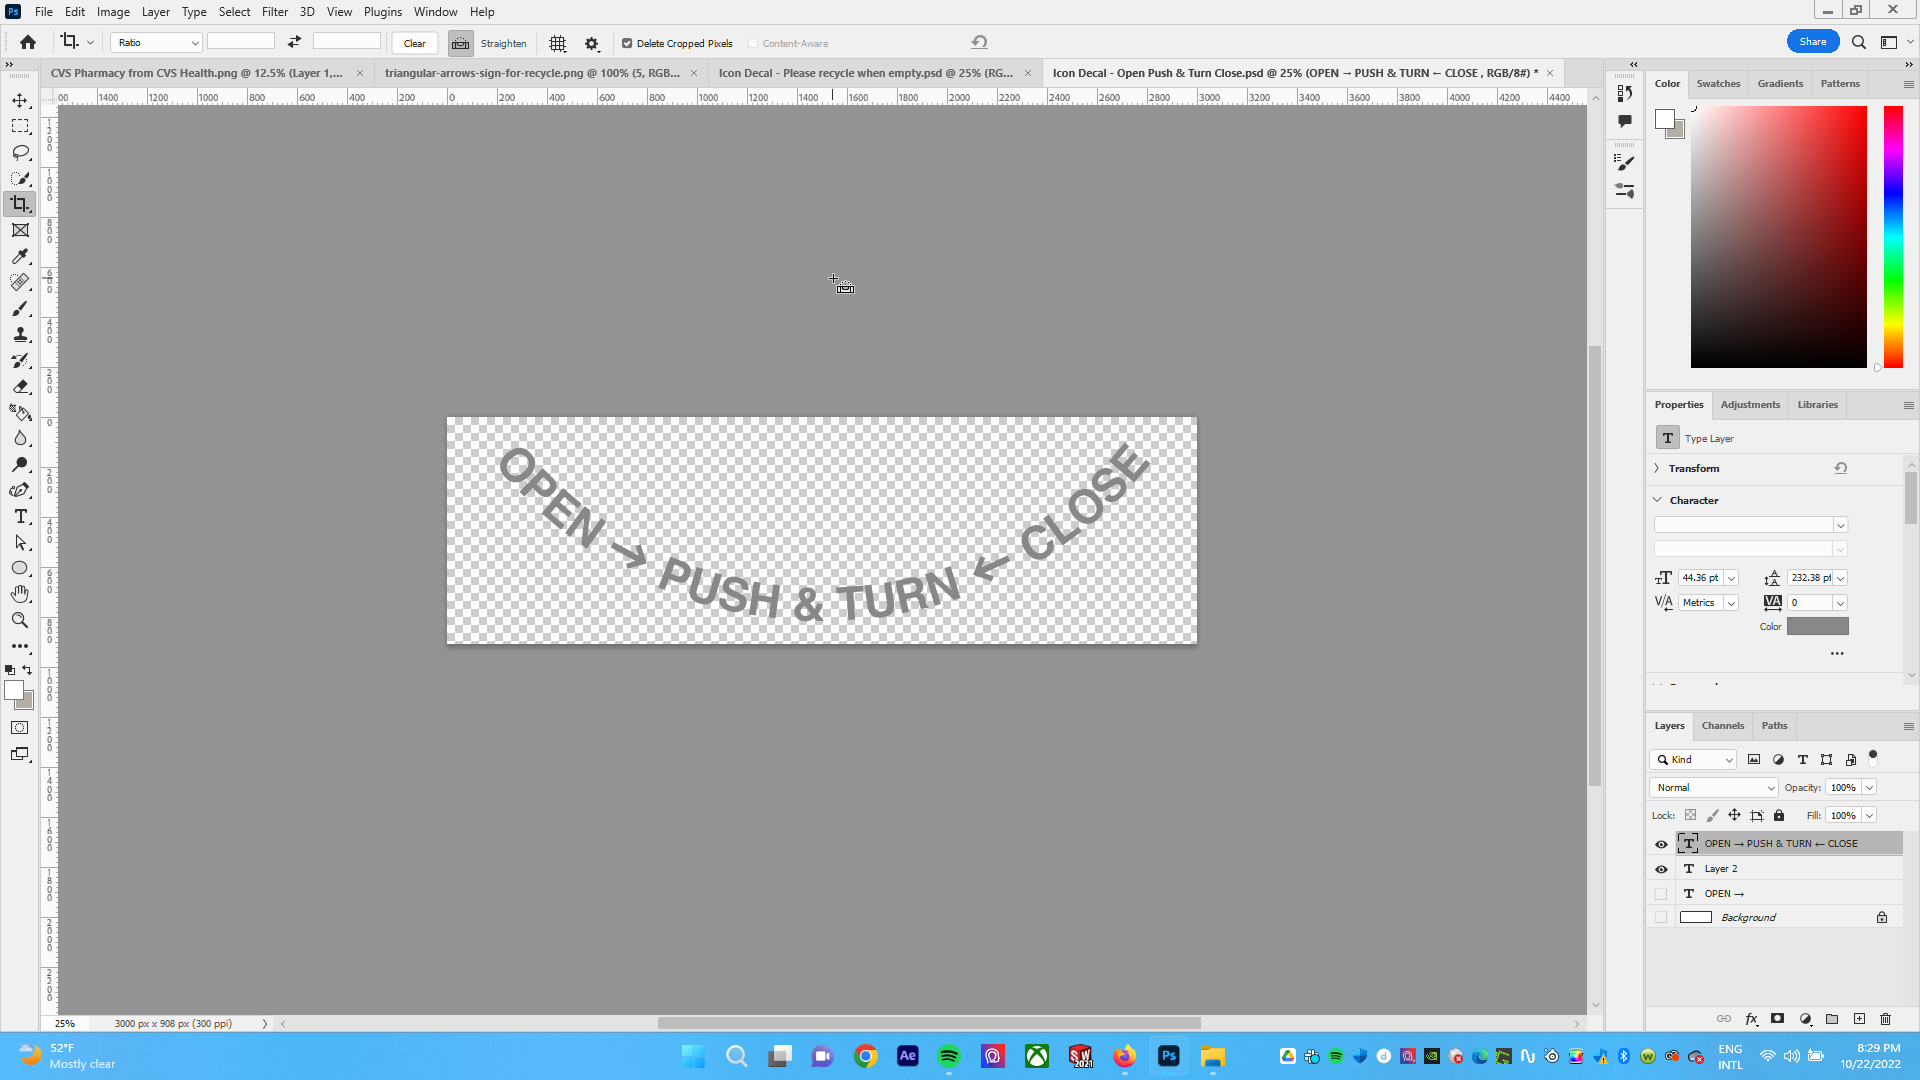
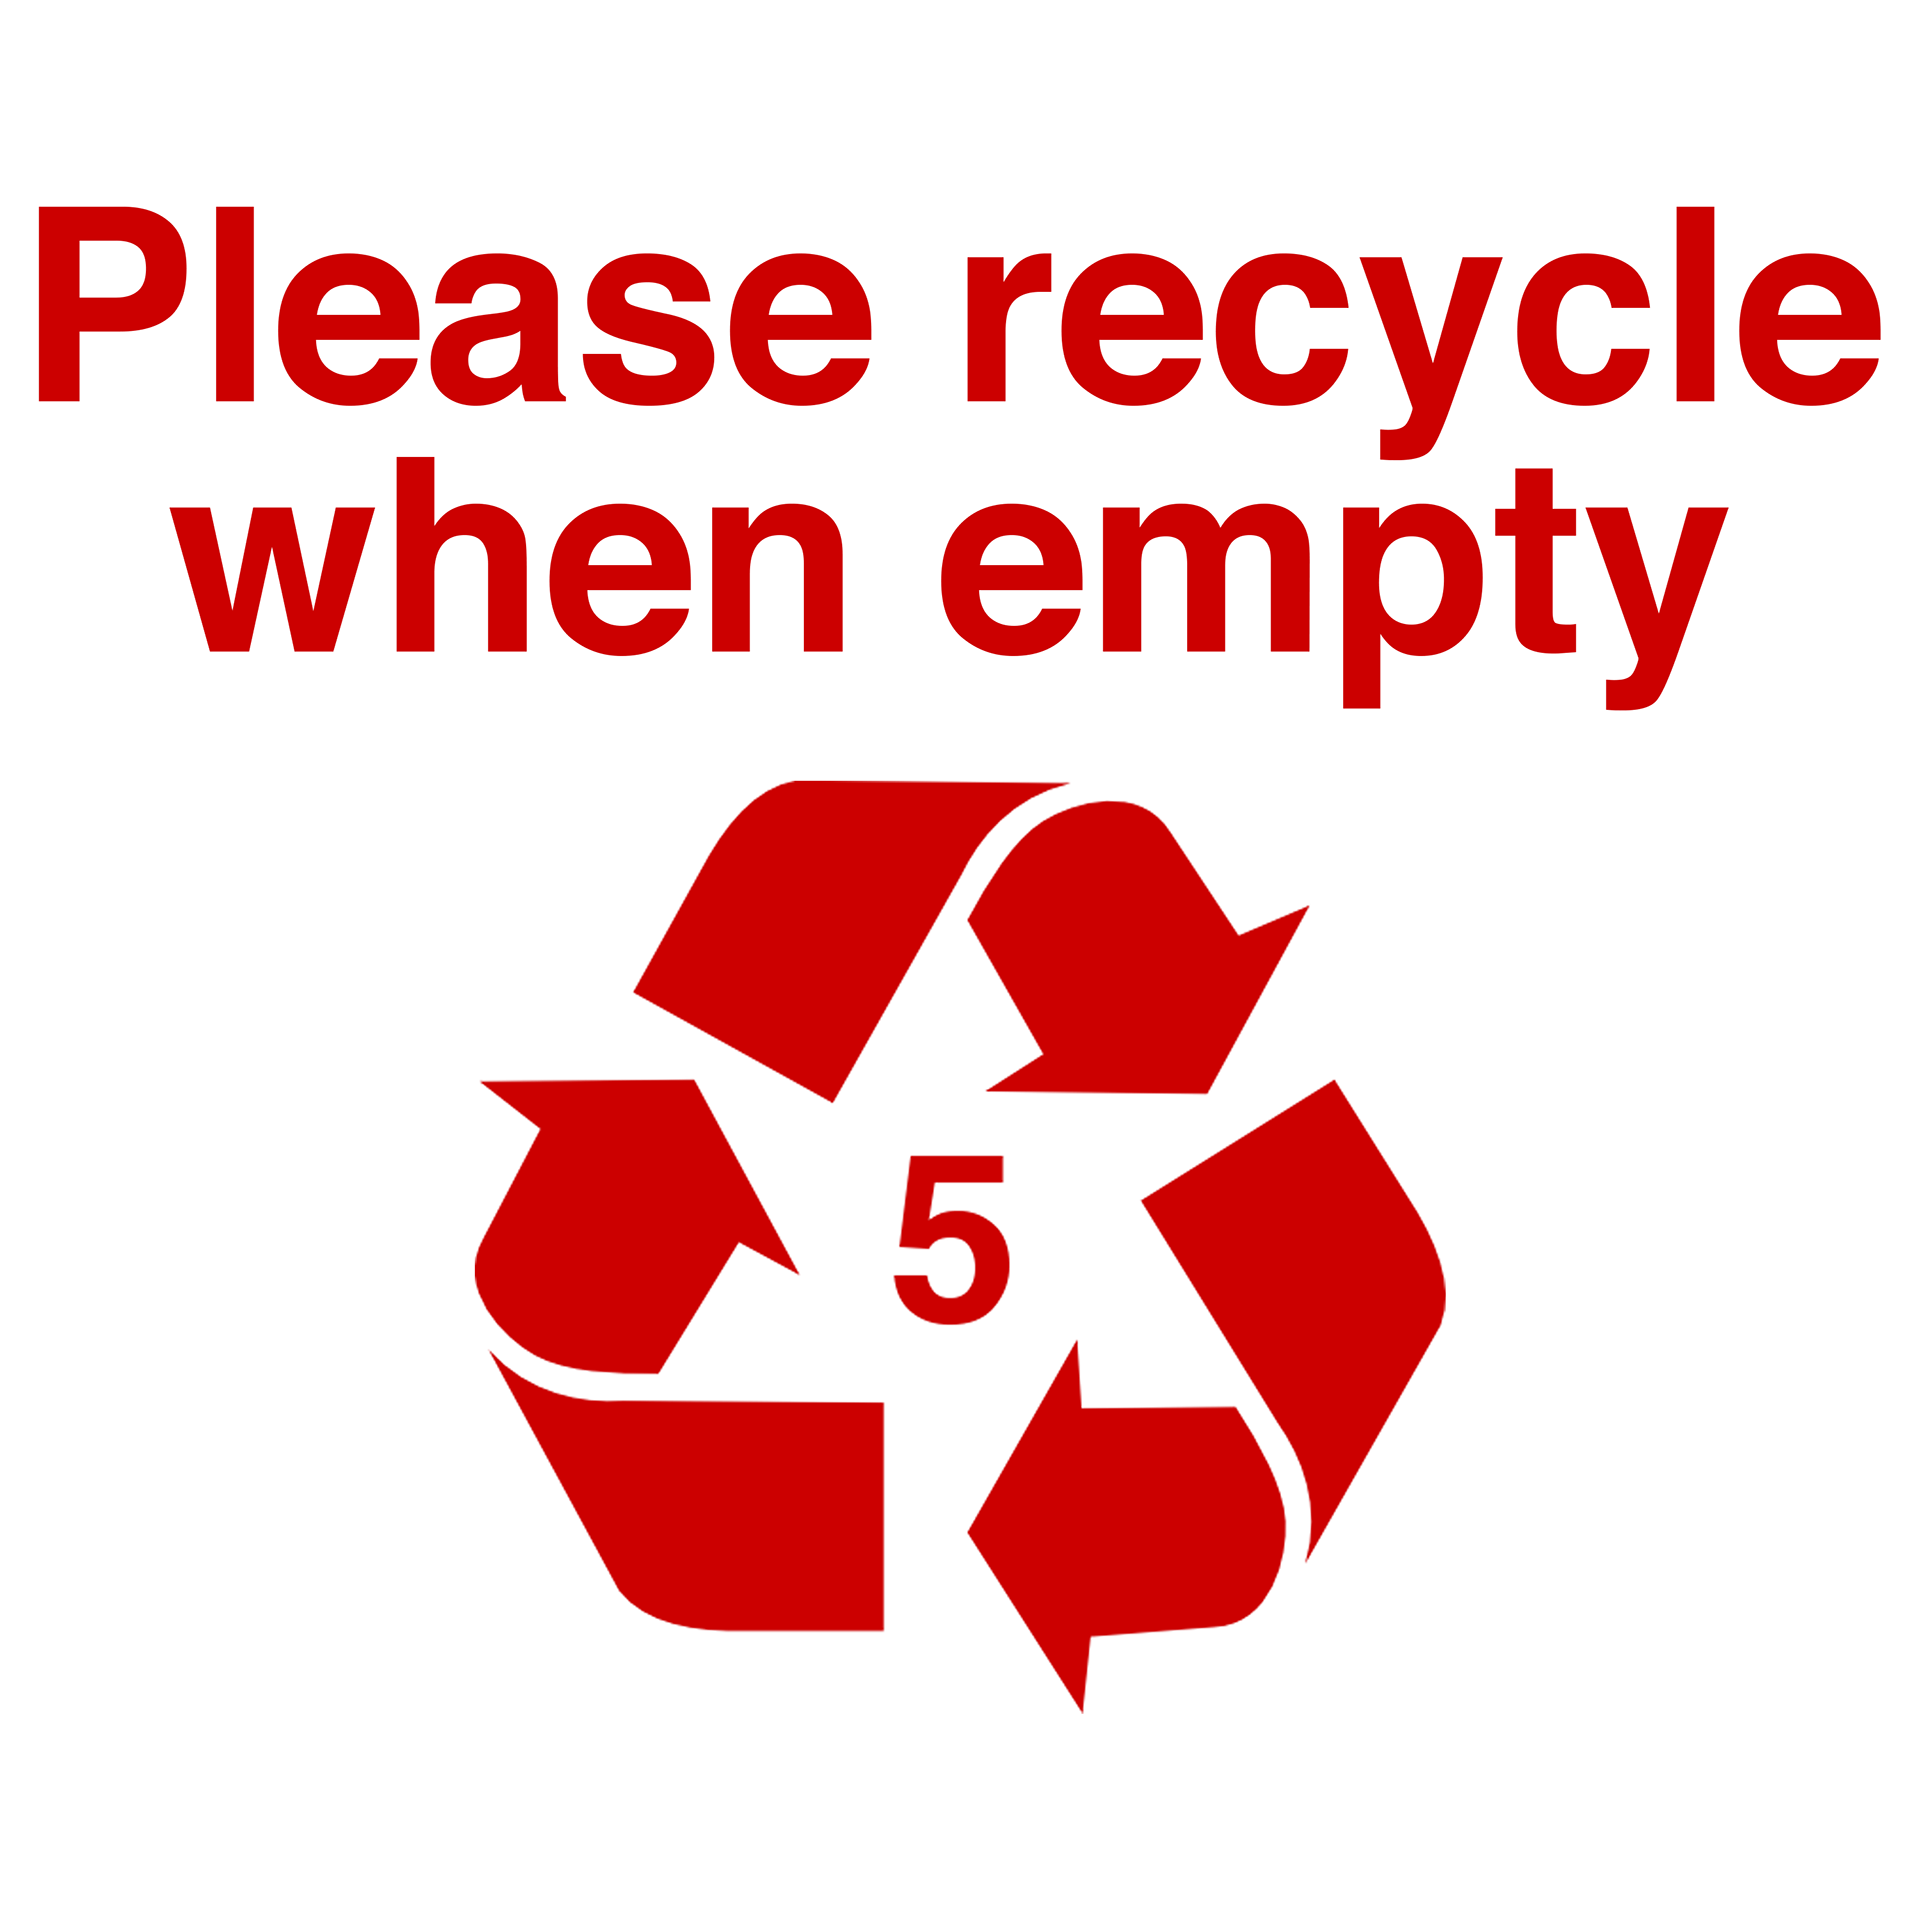
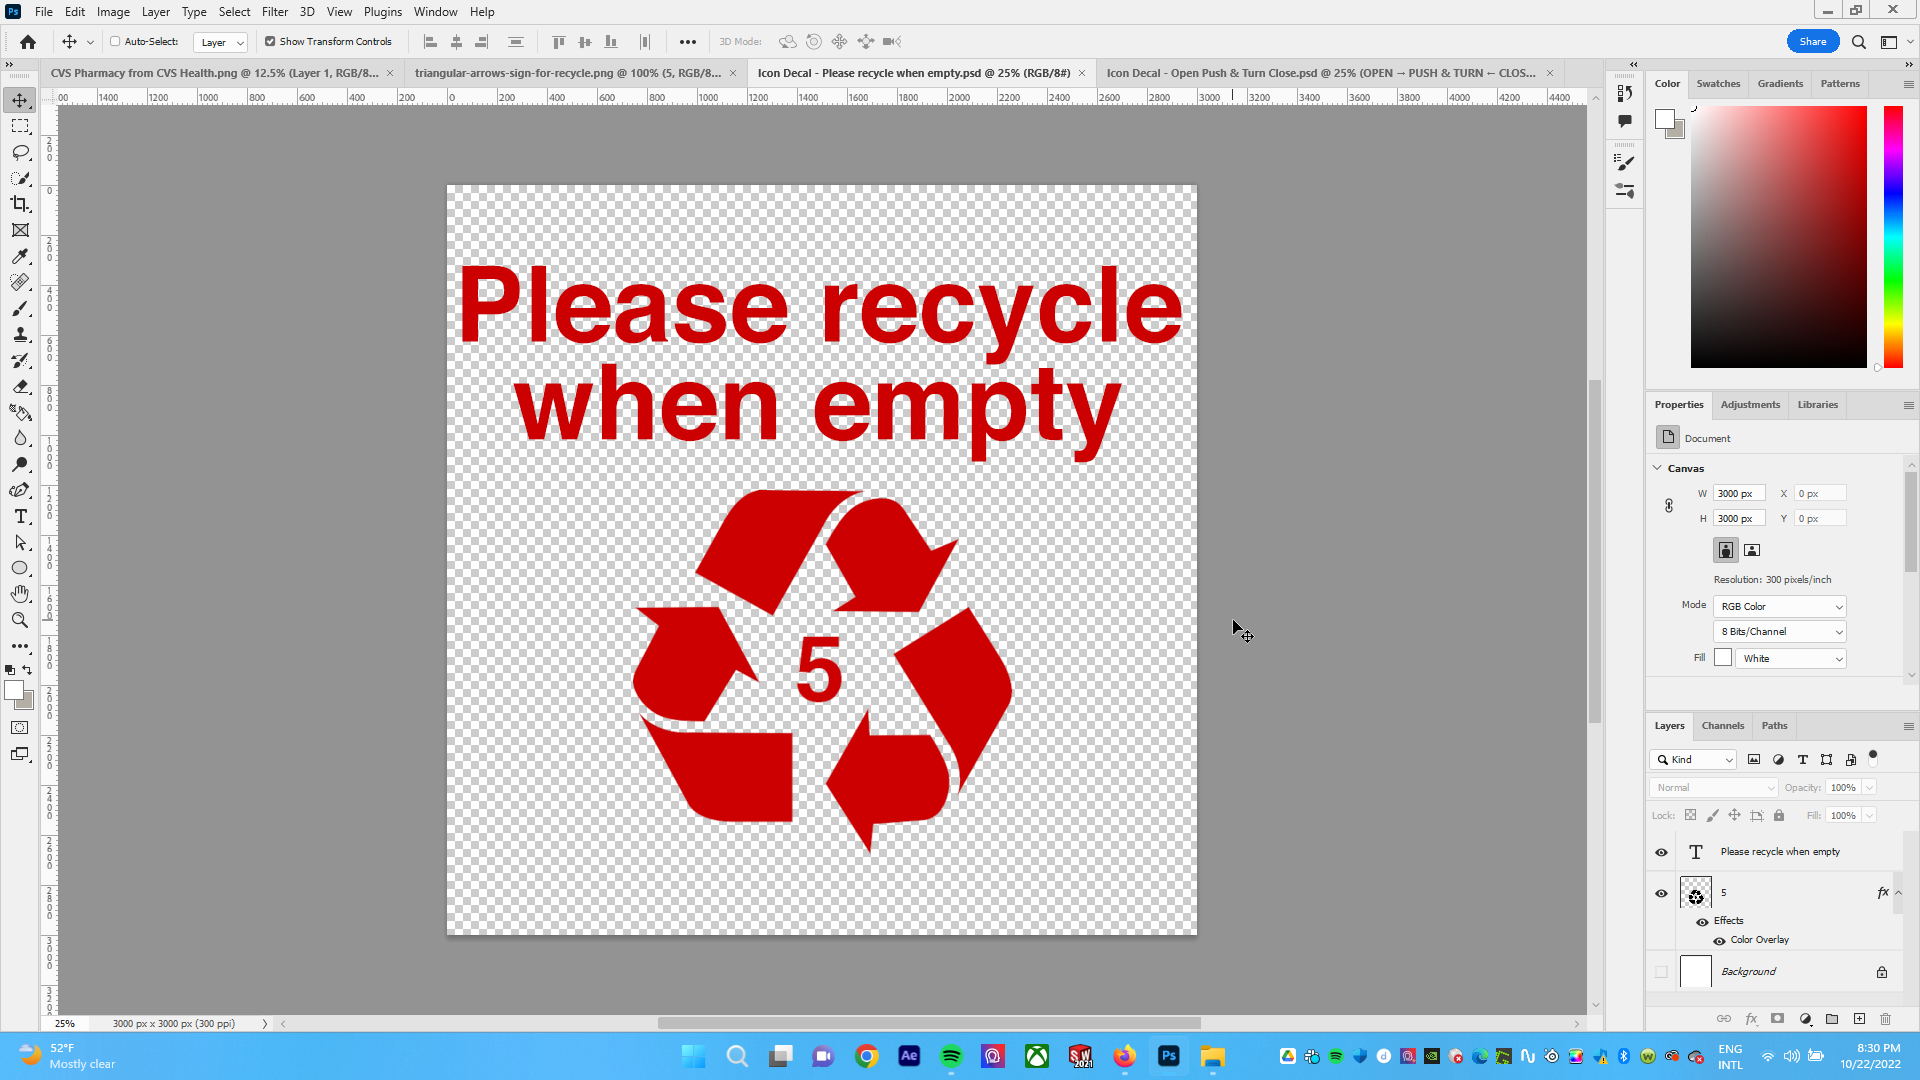
(18) Adding Decals and Materials to push the project further by using my graphic design and Photoshop skills.


(19) Final Cylindrical Container Exports
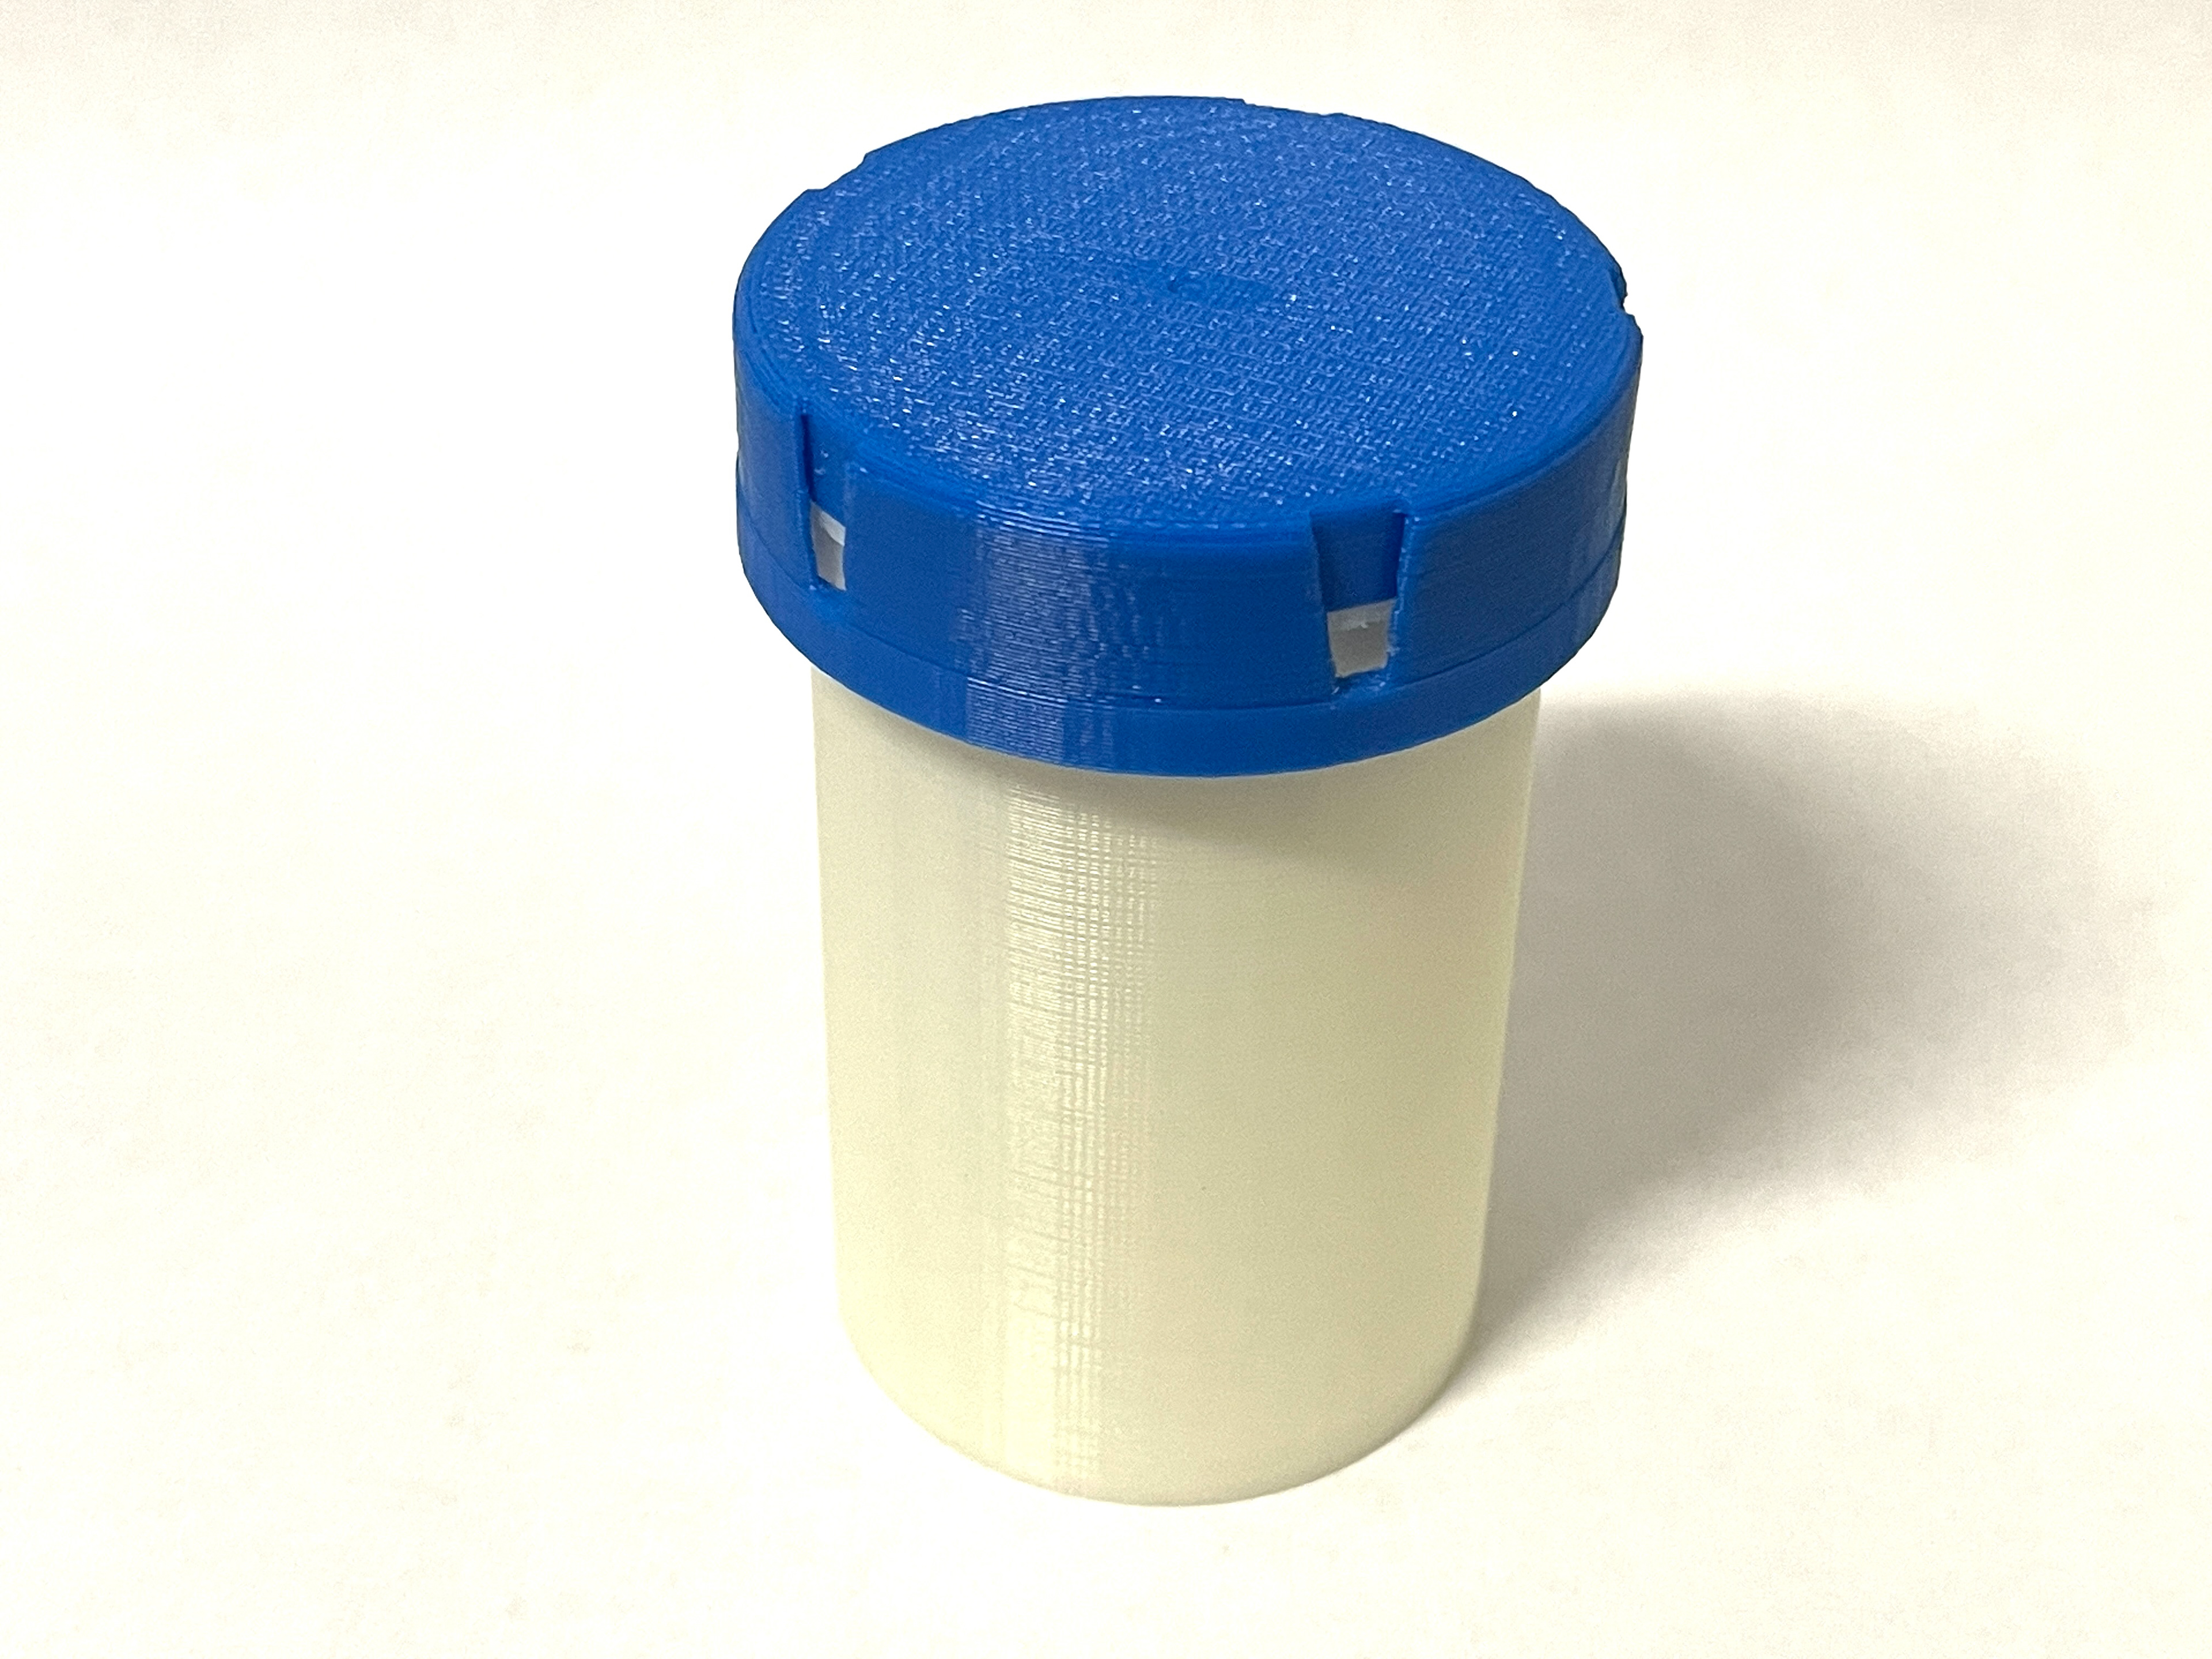
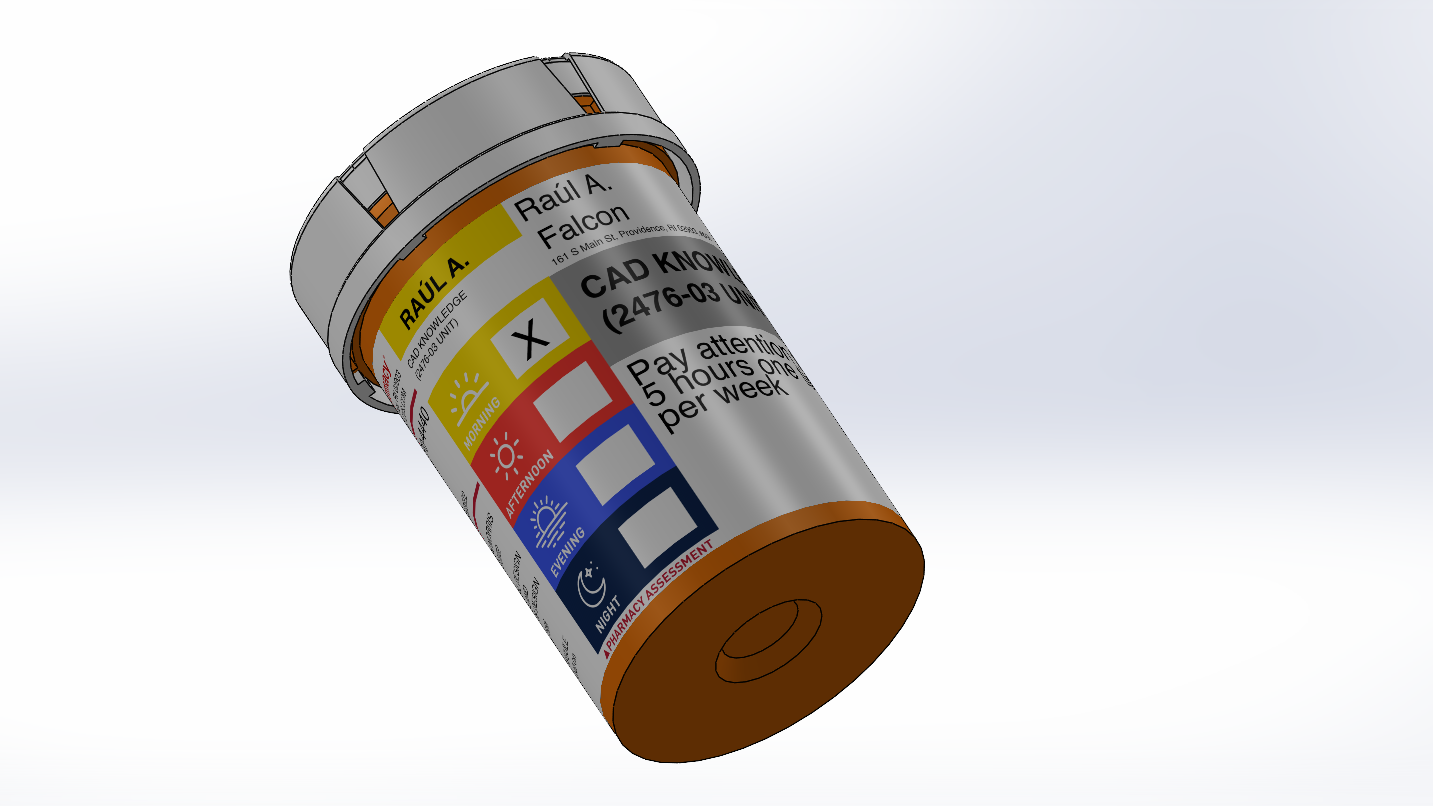
(20) Final Assembly Exports
Lessons
- Understanding systems to divide seemingly complex projects into chunks
- Using mates and assembly to put together components and make connections
- Using extrude, revolve, and other simple tools in creative ways to build successful solutions
- Applying decals and materials to stylize 3D models
- 3D printing and exploring material tolerances for a working connection
- Applying a correct order of operations for features to fit seamlessly
- Sketching and observing using real-life inspirations and noticing the many connections that keep our world together
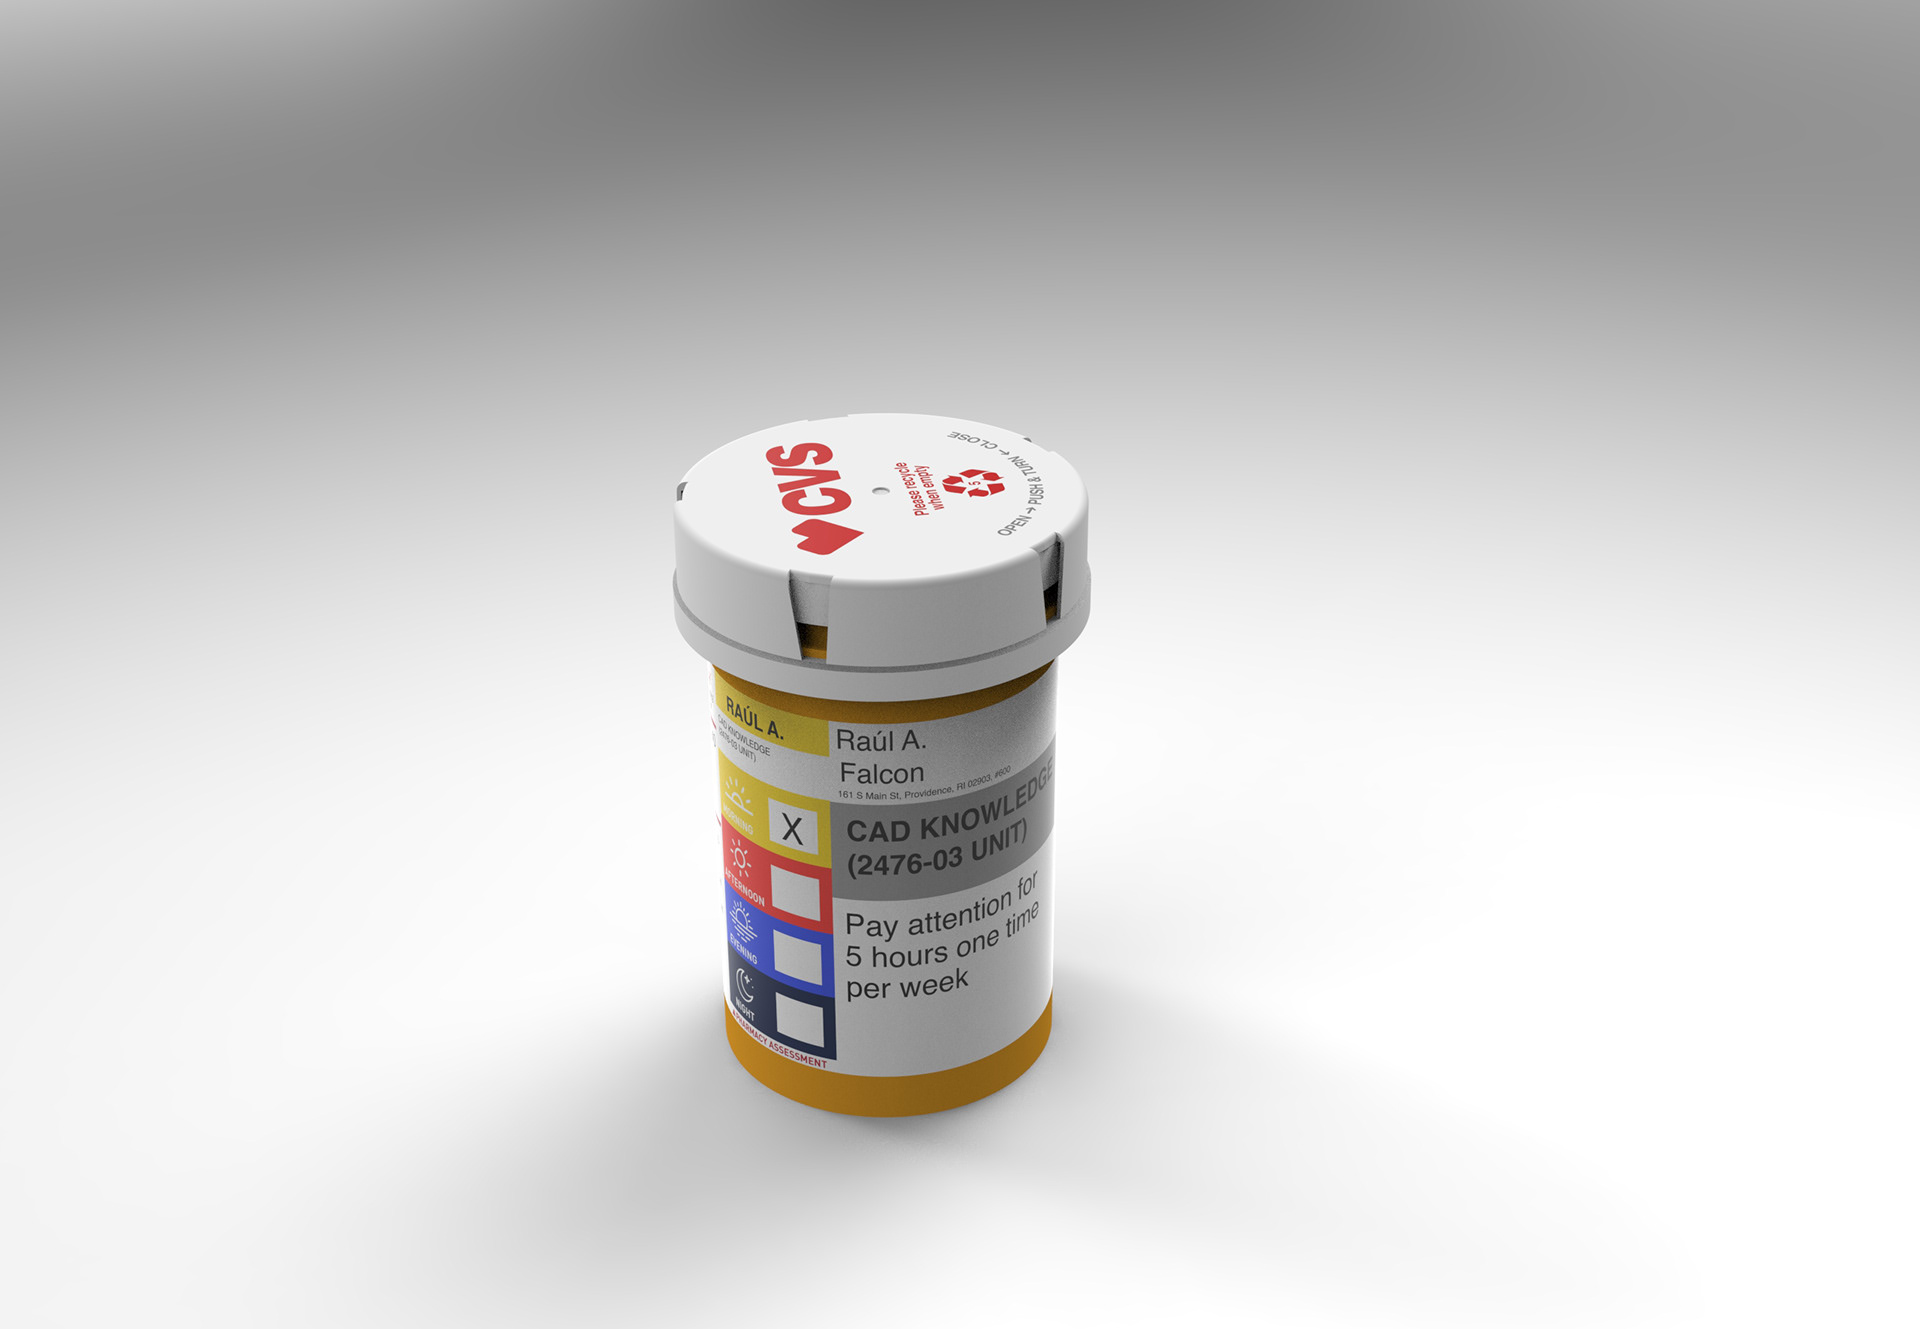
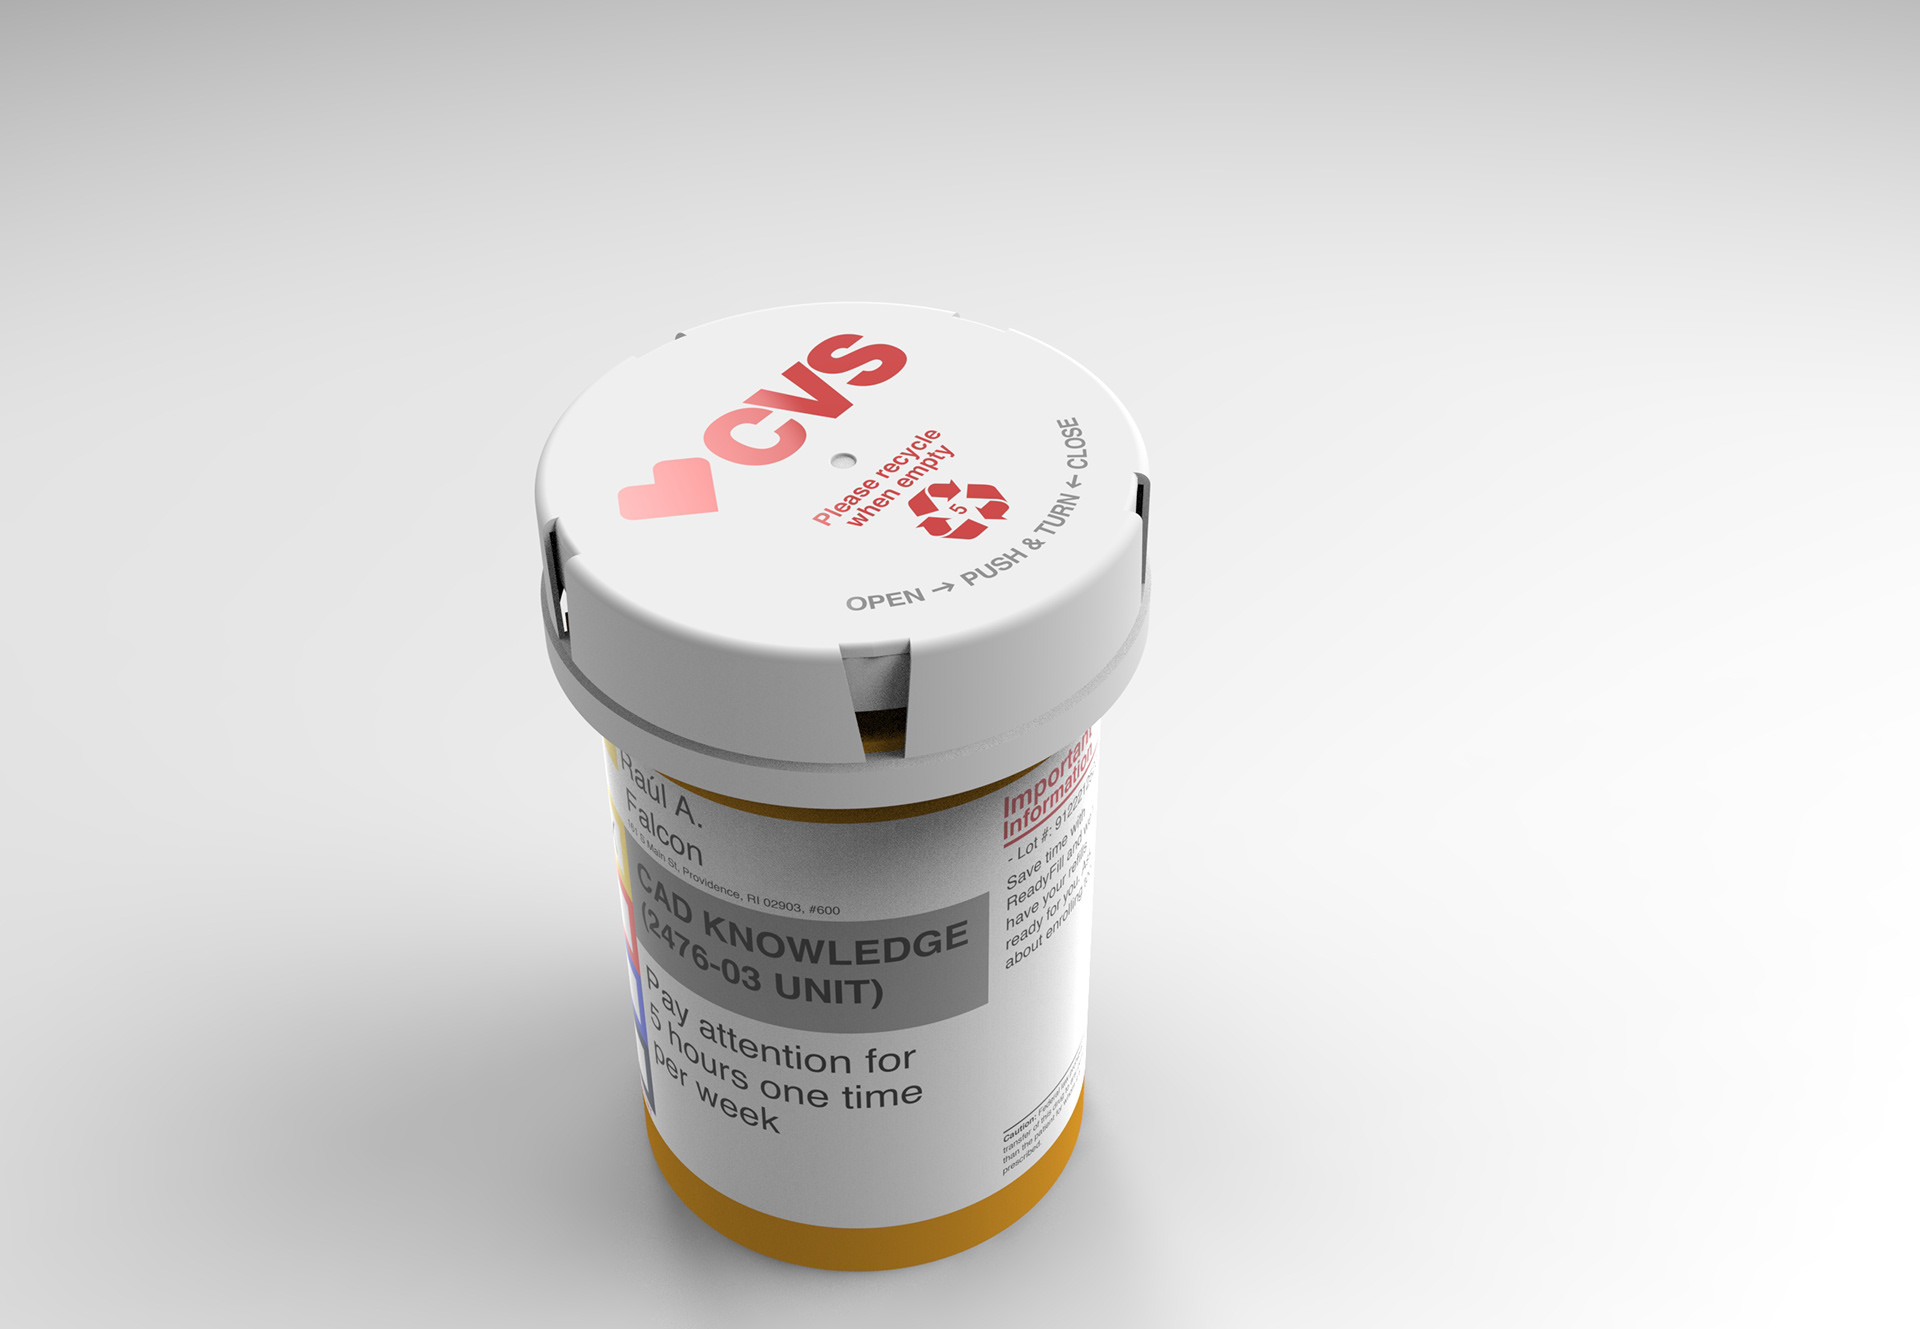

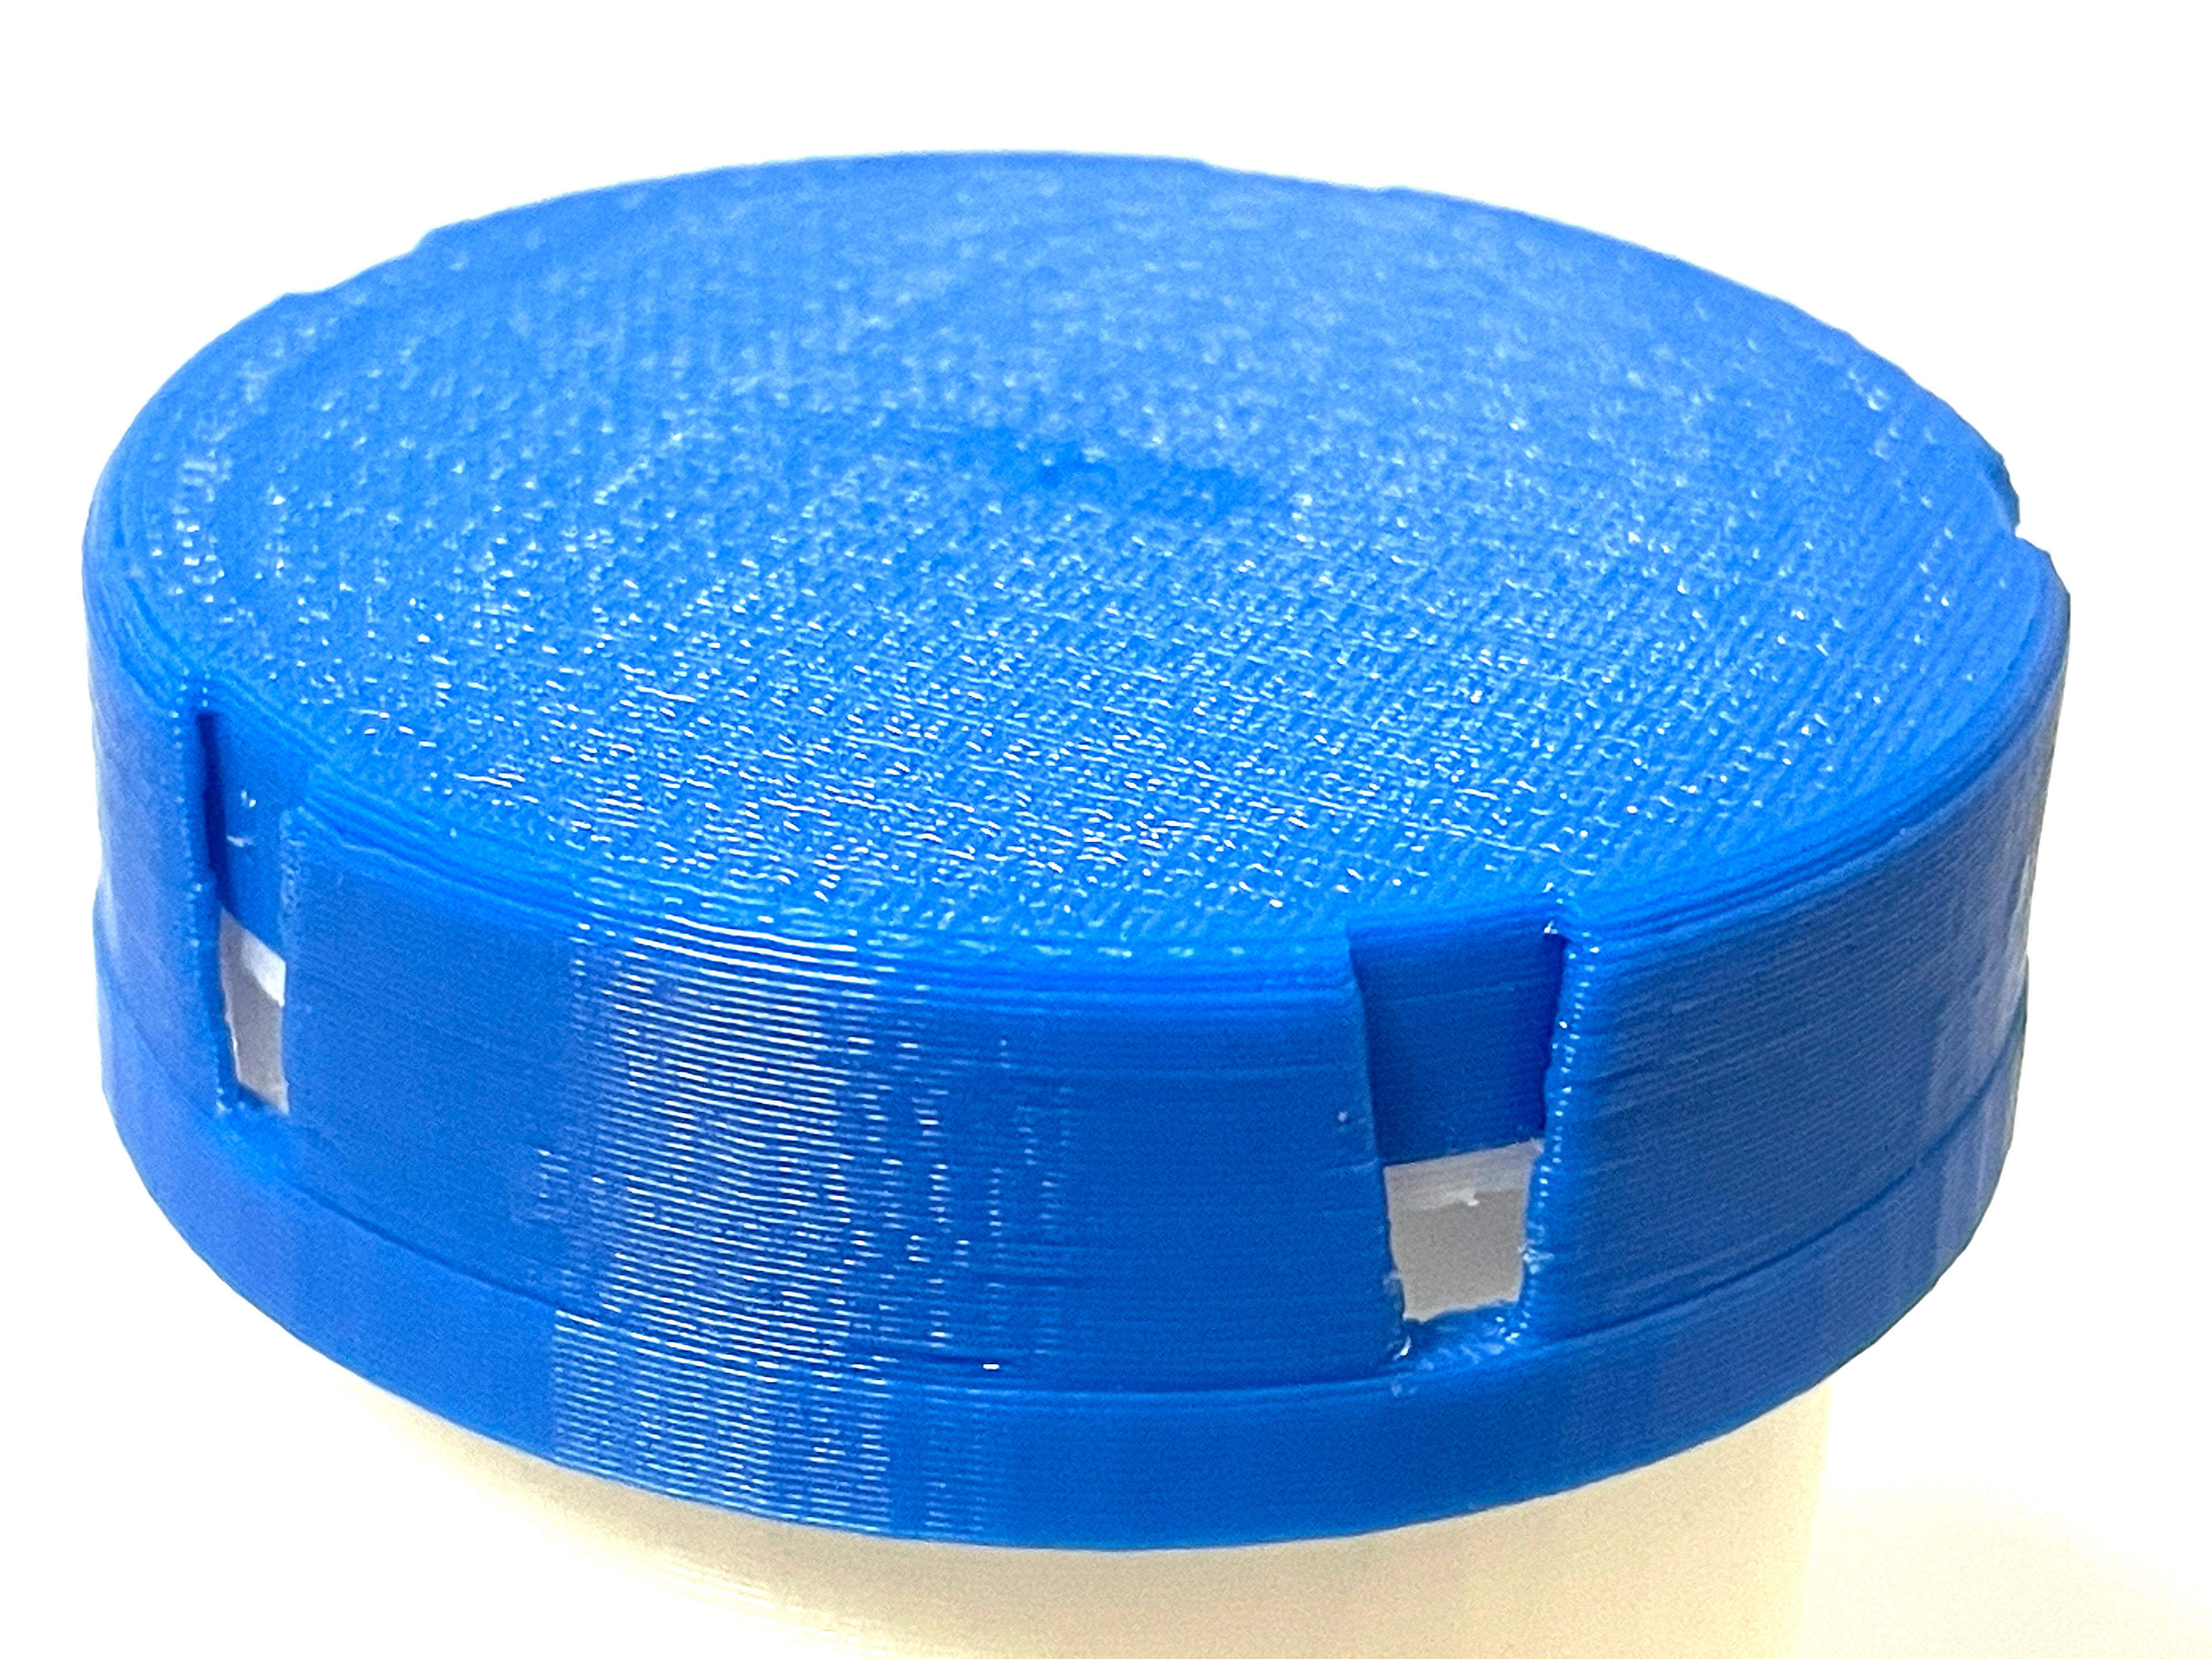
3D-Printed Model